This post may contain affiliate links. Please read our affiliate disclosure.
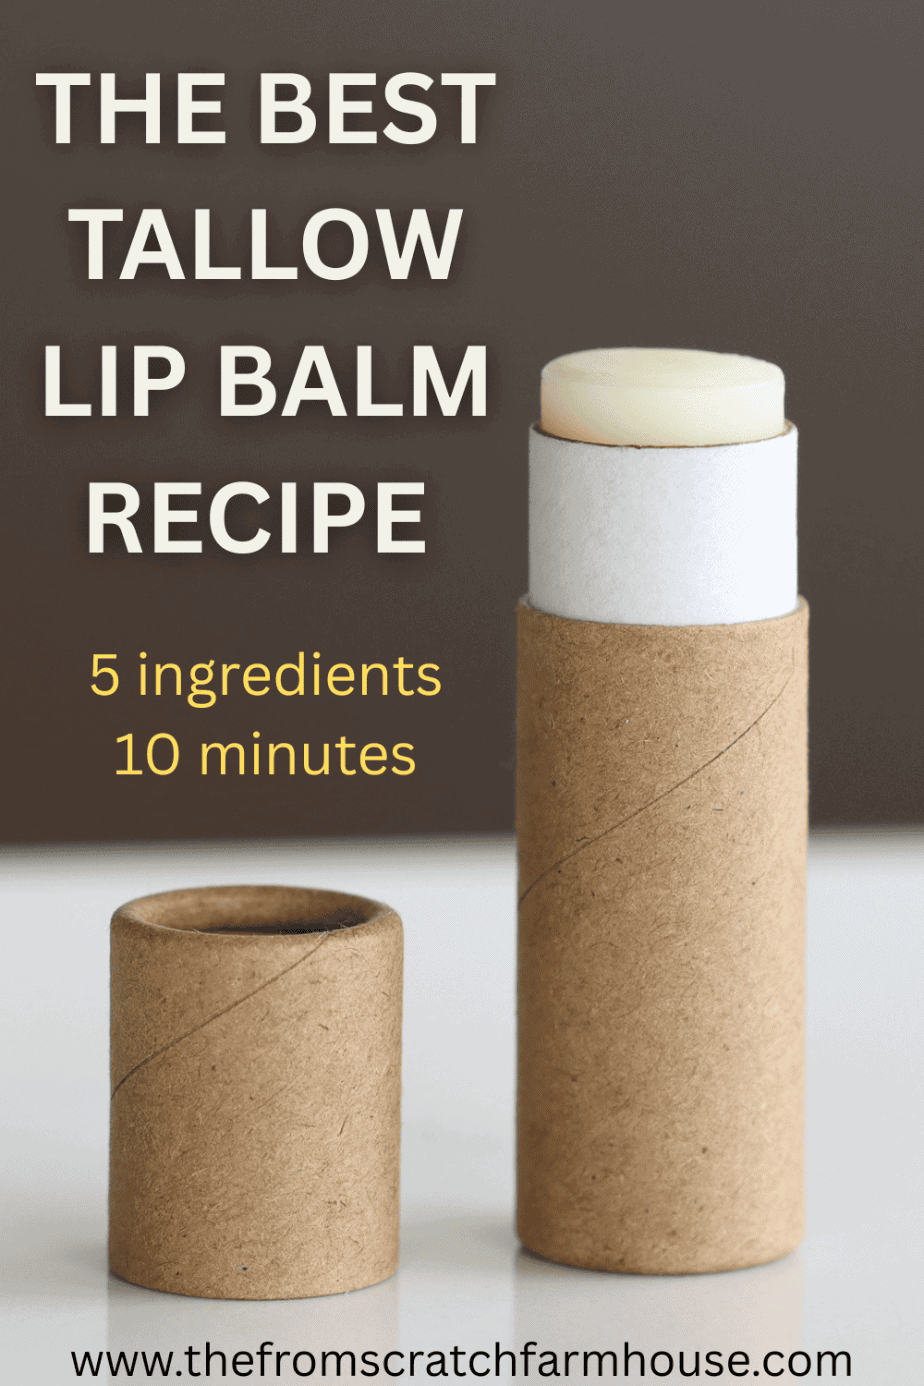
This tallow lip balm recipe is perfect for dry, cracked lips. It is healing, hydrating, and will leave your lips with a subtle shine. Once you see how easy it is to make the best homemade lip balm using natural ingredients, you will never want store-bought again.

When your kids are little, they will bring you their creations. You’ll hang them on the fridge and smile because you know the love and hard work that your little one put into it. But let’s face it… It’s rarely something practical for everyday use or that you’d go pay money for at a store.
One of the coolest things about watching my kids get older is seeing them do real valuable work and create real practical things that I get to enjoy even aside from their sentimental value. My teens have made chairs, tables, cutting boards, and several amazing skincare products!
This tallow balm recipe is my teenage daughter’s, and I’m so happy she has decided to let me share it here. She has made this for bazaars, friends, and family, and everyone says it is their favorite lip balm. Here in Northern Wisconsin, we go through a ton of lip balm in the winter months, thanks to our very dry, cold weather.
If you are like me, most of the lip balm you’ve owned over the years has come from the store. A few years ago, I went down a rabbit hole of learning what exactly was in that stuff. I will only make my own lip balm from here on out! Thankfully, this simple recipe makes it easy (like 10 minutes easy!)
Here is what you should know about most store-bought lip balms:
- Many contain petroleum-based ingredients that can actually dry your lips out over time, making you feel like you need to reapply constantly. Unfortunately, I believe this is intentional (job security!).
- Synthetic fragrances and flavors often irritate sensitive skin and can disrupt hormones.
- Some balms include alcohols that feel cooling but ultimately strip moisture from your lips. Again… companies want the product to feel amazing going on, but then make you feel the need to apply it all day long.
- Commercial lip balms rarely nourish—most simply coat the lips without offering real healing.
- Many “natural” lip balms still include questionable preservatives or hidden fillers.
Surprising, right? Not exactly what I want myself, or my children, putting on their skin, but especially not near their mouths!
That’s why making your own tallow lip balm is not only fun, easy, and saves money—it’s a smart move for healthier, truly moisturized lips.
Why You Will Love This Homemade Tallow Lip Balm Recipe
- Made with grass-fed tallow, it deeply moisturizes and heals dry, cracked lips.
- Free of synthetic fragrances, dyes, and preservatives—perfect for sensitive skin.
- Quick to make with just a few ingredients you likely already have at home.
- Naturally rich in vitamins A, D, E, and K for skin health and softness.
- Long-lasting hydration without that waxy or sticky feel.
- You have total control over the scent and flavor. I give several ideas below.
Why Use tallow in Your Lip Balm?
There are many amazing benefits of tallow lip balm. Tallow is a deeply nourishing and skin-compatible fat that makes an excellent base for lip balm. It closely resembles the natural oils found in human skin, which means it absorbs easily and helps restore the skin’s protective barrier. Rich in fat-soluble vitamins A, D, E, and K, tallow delivers lasting moisture and supports healing—perfect for dry, cracked, or chapped lips.
Unlike many commercial ingredients, tallow doesn’t just coat the lips—it feeds and repairs them. Its natural fatty acids soothe inflammation and help protect against harsh weather, making it ideal for year-round lip care. Plus, when sourced from grass-fed animals, tallow is completely natural, non-toxic, and free of synthetic additives.
Where Does Tallow Come From?
Tallow comes from beef fat, usually, the fat around the kidneys (called suet), but other fat trimmings may be rendered down as well. You slowly melt it down and strain it until it becomes a clean, creamy oil. Sounds kind of rustic—but hey, that’s our style, right?
Don’t worry, when done right, it has very little odor. You won’t have a clue that you are rubbing animal fat on your lips. Trust me… you’ll be sold once you try it!
Where to find grass-fed beef tallow
If you would like to render the tallow yourself, check with your local farmer, butcher shops, or farmer’s markets and ask for beef fat or suet. You can also buy pre-rendered tallow online from places like Azure Standard, US Wellness Meats, and even Etsy. I have been buying ours from a place called Sulu Organics, and the quality has been great! Just make sure it’s grass-fed for the best quality and skin benefits.
How to Store Beef Tallow
Rendered tallow is super shelf-stable. You can keep it in a jar at room temperature for months (as long as it’s sealed and out of direct sunlight). If you’re not using it right away, you can stash it in the fridge or even freeze it. It won’t go bad easily—it’s pretty forgiving.
Tips for Making Lip Balm
- Use high-quality, rendered grass-fed tallow for the best texture and skin benefits.
- Melt ingredients slowly over low heat to avoid damaging delicate nutrients.
- Add essential oils like peppermint or lavender at the end of melting to preserve their potency.
- Pour into lip balm tubes or small tins while still warm, and let them cool undisturbed.
- Label your balms and store extras in a cool, dry place to extend shelf life.
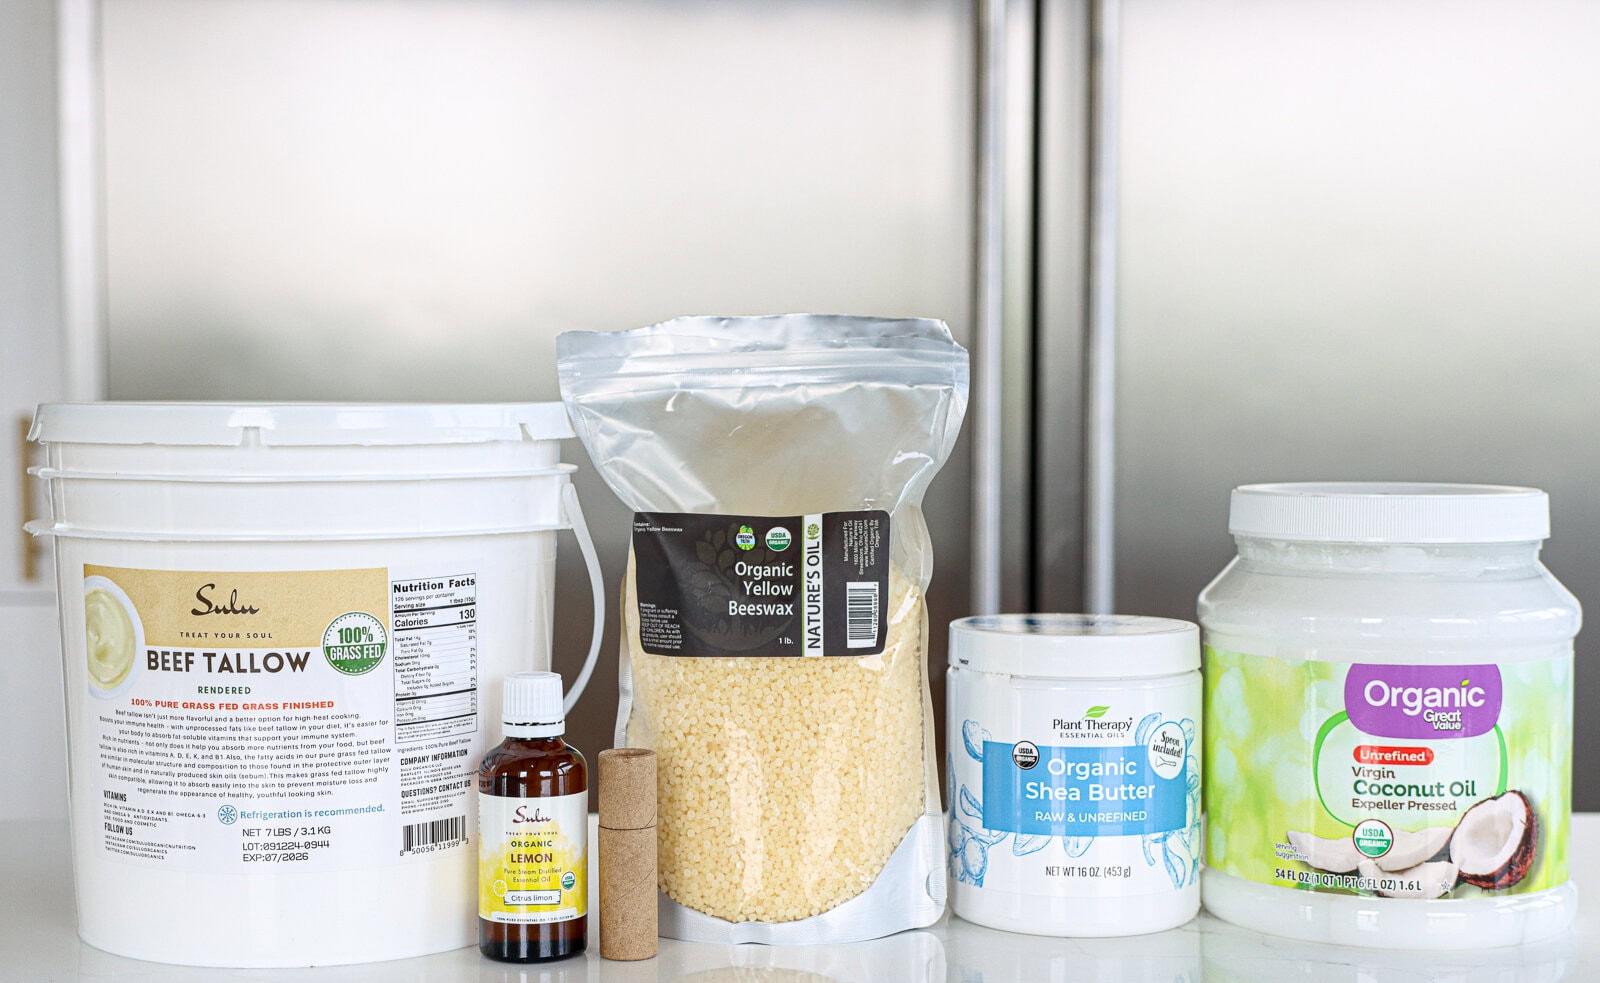
Ingredients you’ll need for this recipe:
For exact ingredient amounts, see the recipe card below.
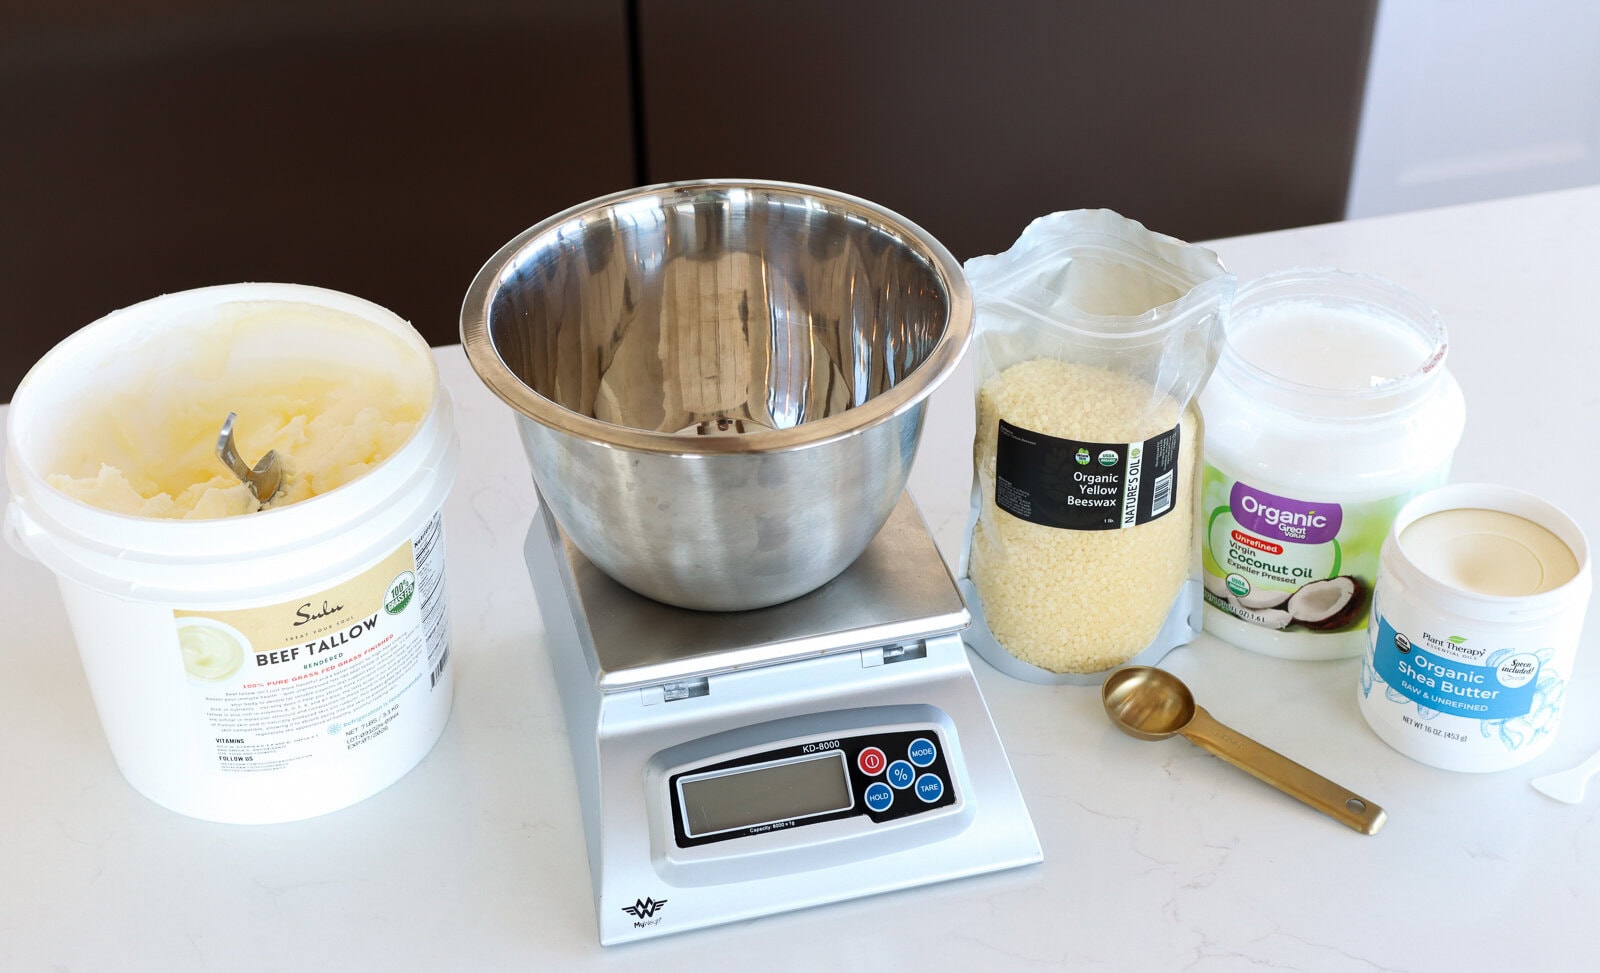
Tools or other supplies you may need:
How to Make This Easy Tallow Lip Balm Recipe
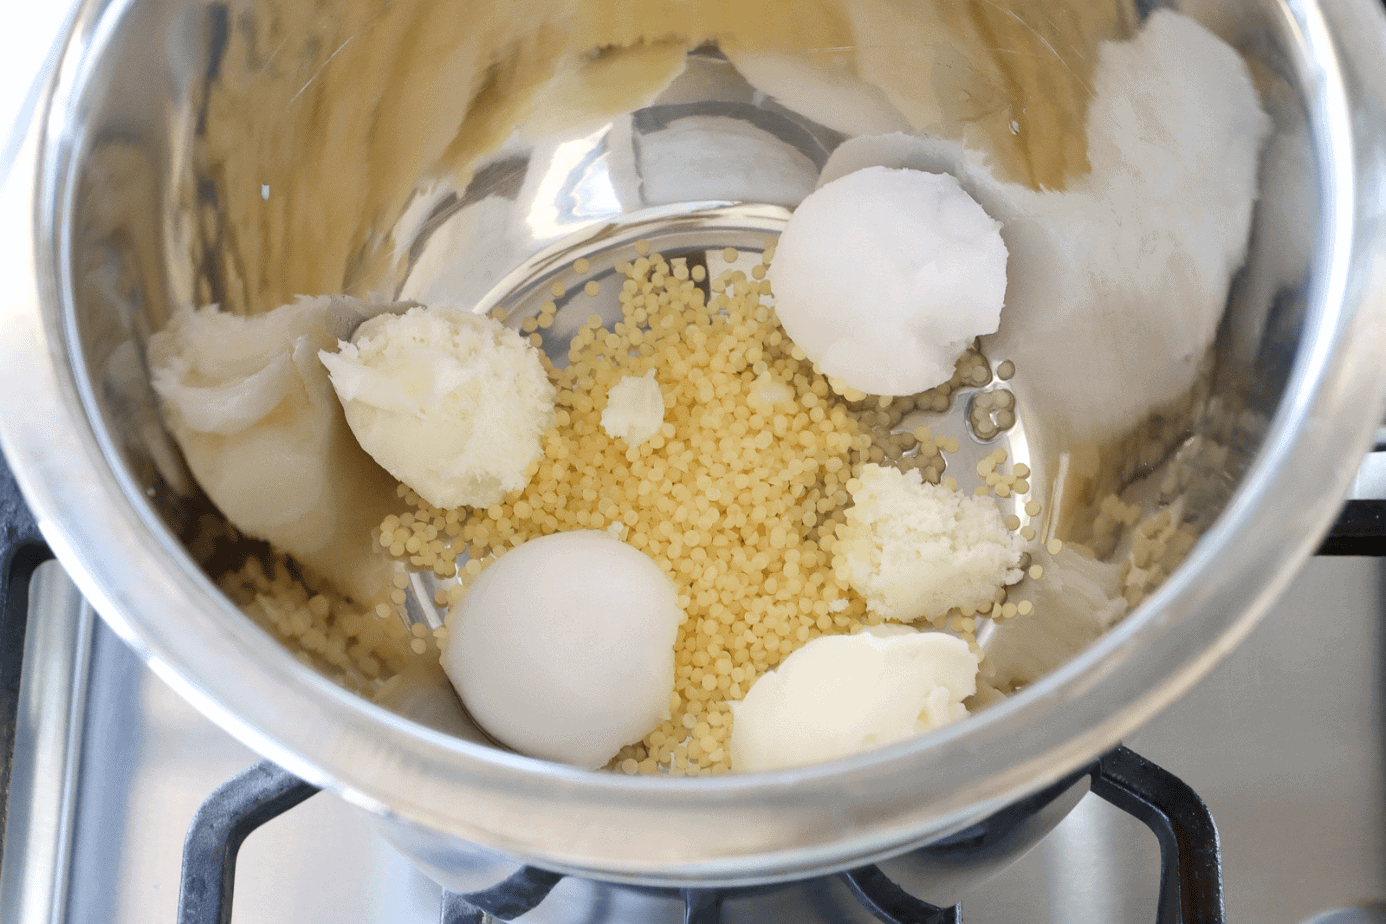
Step 1:
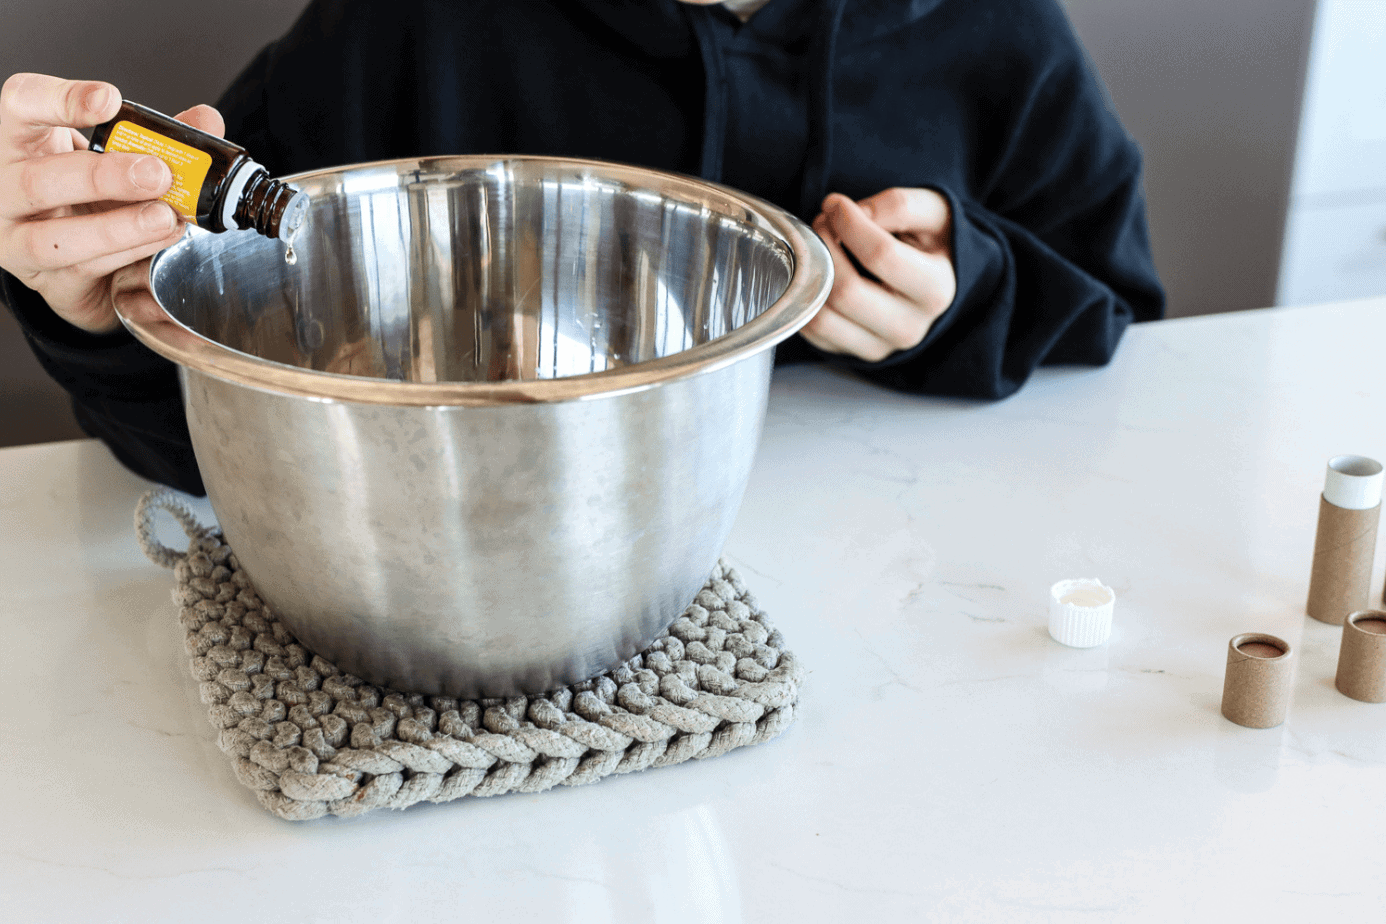
Start by measuring out your ingredients into your double boiler or small metal bowl. You will need 2 tablespoons of beeswax (18 grams), 1 tablespoon of shea butter (13 grams), and 1 tablespoon of tallow (12 grams). I like to use a kitchen scale to do this, but mostly because I find it easier than washing a bunch of measuring spoons, not because the measurements need to be super precise.
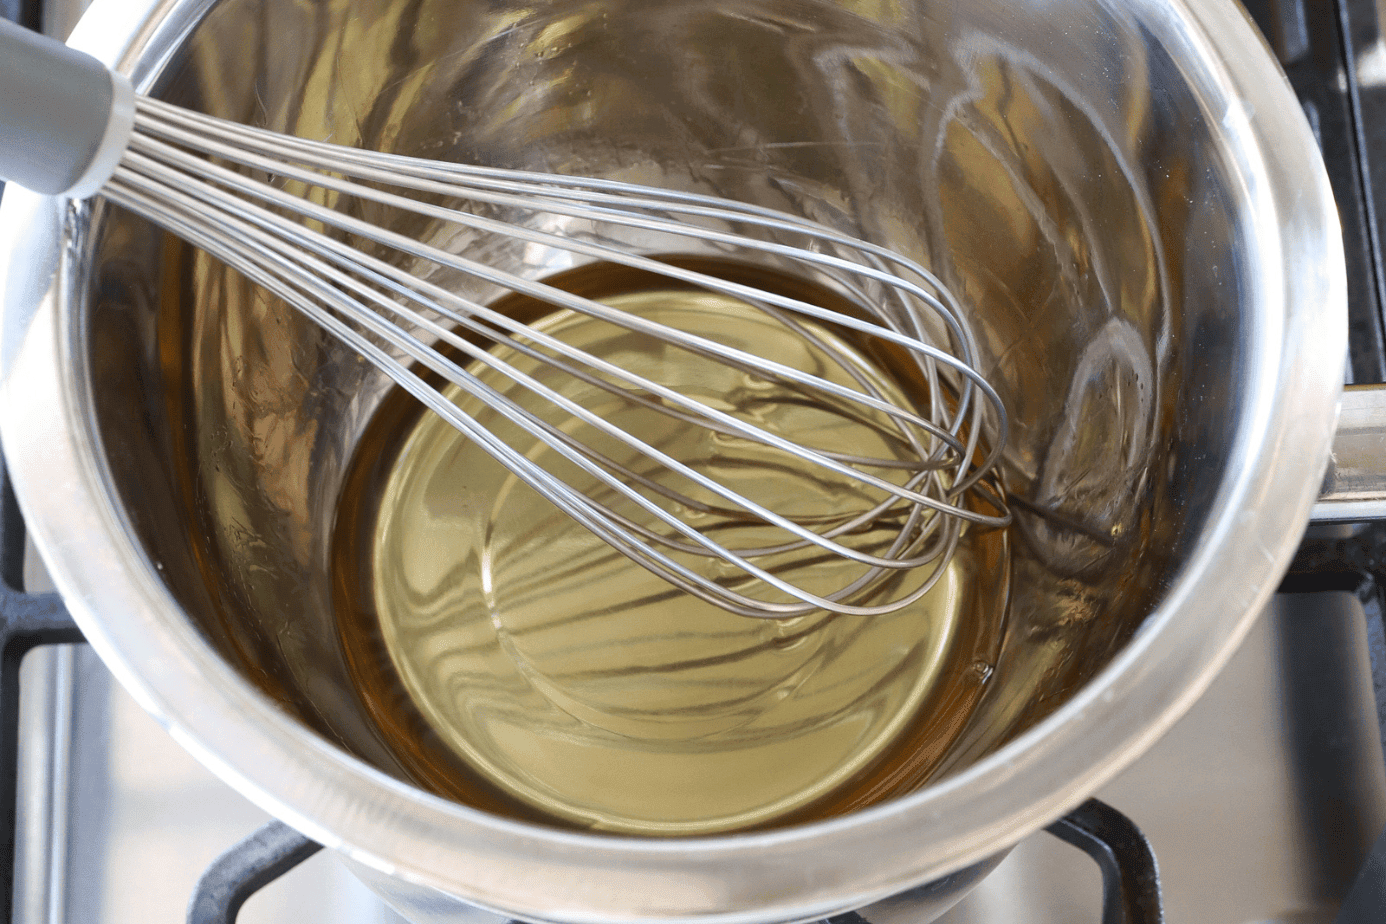
Step 2:
Place your double boiler over low heat to slowly melt the ingredients. Whisk as they melt to combine them well. If you don’t have a double boiler, you can place your small metal bowl over a small saucepan of water to create one. This just keeps your ingredients from heating up too hot, too fast. You could ruin some of the wonderful properties of these ingredients otherwise.
Step 3:
After your ingredients are completely melted and translucent, remove the pot from the heat. You want to let it cool just enough so that you can put your finger comfortably in the mixture, or if you are using a thermometer, below 115 degrees Fahrenheit.
Step 4:
At this point, you can add in 25 drops of your favorite essential oils. Don’t get impatient and add the oils too soon. Doing so may mean that the smells and properties of your oils will dissipate. You could also get creative and experiment using extracts as well. I really like almond extract!
Step 5:
You need to work quickly at this point because the mixture will begin to solidify as soon as it starts to cool. Don’t panic if it gets too solid to pour! All you need to do is return the pot to the stove and heat it very slowly until it is pourable again. Just don’t get it too hot!
Step 6:
After your oils or extracts are mixed in and your mixture is at a pourable consistency, it is time to fill your jars or tubes.
They do make a special tool called a filing tray. This allows you to fill the tubes without making a mess. I like to just wing it by pouring slowly, but if I were doing several of these to sell, I’d definitely use the filling tray.
Fill the tubes to the top and then let them sit undisturbed at room temperature until hardened. You may notice the mixture settling after a few minutes of hardening. To fix this, just gently reheat the mixture and then spoon a little more into the holes or areas that need to be evened out.
It will probably only take a few hours to fully harden, but I like to let it sit overnight before using.

If you would like to watch me make tallow lip balm, I show the process in this video:
Best Lip Balm Tubes
After trying a few different lip balm tubes over the years, I do have one word of warning. I thought that the Kraft paper tubes would be the perfect container for my all-natural product. Nope. It was a complete disaster. First of all, as soon as you pour into the tubes, you are likely to get a little of the greasy concoction on the sides. They will leave a permanent grease stain. Then, when you go to use it, the paper not only feels gross against your lips, but it also breaks down with any moisture… clearly not designed for mouths, especially those of kids who get a little aggressive with their lip balm habits.
Although I don’t love plastic, I haven’t found a more practical container than traditional plastic chapstick tubes. If you’d prefer, you can also use a small glass container and apply the lip balm with your finger.
Storing Your Homemade Lip Balm
This lip balm has held up very well in my pocket or purse, but I would suggest not keeping it in any place that is very hot to avoid a melting disaster.
Pro Tip
Don’t forget to label your lip balm containers with what it is and what scent you added. I have forgotten in the past and regretted it later. If you are gifting or selling your lip balms, there are some fun printable labels available online.
Recipe Substitutions and Variations
Feel free to get creative with different essential oils or extracts. Just be careful that you only use ingredients that are safe for your skin. Also, keep in mind that while you may not be intending to eat your lip balm, some will naturally get in your mouth.
Best essential oils for lip balm:
- Lemon (steam-distilled only)
- Lime (steam-distilled only)
- Sweet Orange
- Mandarin
- Peppermint
Best natural extracts and flavorings for lip balm:
- Almond
- Vanilla (Vanilla Oleoresin or Vanilla CO₂ Extract are the preferred types for adding to an oil-based product, but I have used kitchen vanilla just fine!)
- Cocoa Absolute (for a hint of chocolate)
- Coffee Oil or Coffee CO₂ Extract
- You can also add a little Stevia extract for a touch of sweetness!
Some popular essential oils that are not considered safe for lip balms are:
- Cinnamon
- Clove
- Oregano
- Thyme
- Wintergreen
- eucalyptus globulus
- Cold-pressed phototoxic citrus oils. In other words, just make sure that citrus oils like lemon and lime are “steam-distilled.”
Raw honey is also a great ingredient when used sparingly. Too much will make your lip balm sticky, and it may separate over time.
Save this recipe for later by pinning it!

How to Make Tallow Lip Balm (best lip balm recipe)
Materials
- 2 T beeswax (18 g)
- 1 T shea butter (13 g)
- 1 T tallow (12 g)
- 2 T unrefined coconut oil (33 g)
- 25 drops of lip-safe essential oils (lemon and peppermint are great options!
- 8 Empty lip balm containers
Instructions
- To a double boiler, or a metal bowl that fits on top of a small saucepan of water, add the beeswax, shea butter, coconut oil, and tallow.
- Whisk over medium heat until the ingredients are melted and the mixture is translucent.
- Remove it from the heat and let it cool until you can comfortably place a finger in the mixture. Add in 25 drops of your essential oils of choice.
- Whisk well to combine the oil with the mixture. Then pour it into the tubes or containers of your choice.
- If the mixture begins to harden too much to be pourable, gently warm it on the double boiler until it liquifies again, but don’t let it get too hot.
Notes
FAQs
Can I add in other ingredients for my specific needs such as vitamin e, olive oil, jojoba oil, or cocoa butter?
Sure! These ingredients have some great additional benefits. However, for best results, you need to keep the ratios of oils and beeswax the same. For example, jojoba oil is a liquid at room temperature. You may need to increase the amount of beeswax to still end up with a firm enough result.
What is lip balm vs Chapstick?
ChapStick is a brand name for a specific type of lip balm, while lip balm is a general term for any product that moisturizes and protects the lips. ChapStick often contains synthetic ingredients like petroleum and menthol, whereas lip balms—especially homemade ones—can be made with natural, nourishing ingredients like tallow, beeswax, and plant butters. Essentially, all ChapSticks are lip balms, but not all lip balms are ChapSticks.
With that said, I still slip and call my lip balms “ChapStick” out of habit. I’ve probably done so here!
How long does lip balm last?
The general rule of thumb is that lip balms will last at room temperature for 6-12 months. I can’t say that I’ve ever had one go “bad,” though, before I was able to use it up. Another consideration is the temperature you are keeping it at. If your lip balm tube is sitting in a hot car often, it may break down faster.
Did you enjoy this DIY lip balm recipe? Make sure to check out our other homemade tallow skin care recipes:
- How to Make Tallow Balm
- Homemade Tallow Sunscreen Recipe (coming soon!)
Did you make this recipe?
Please leave a 5-star review so that others can try it as well! Mention us @thefromscratchfarmhouse on Instagram so we can see your creations! You can also leave a comment below!
For even more helpful DIY recipes, you may like these:
Homemade Coconut Oil Sunscreen Recipe
Homemade Essential Oil Bug Spray Repellent Recipe
