This post may contain affiliate links. Please read our affiliate disclosure.
Give your favorite seeds a good start indoors with this simple and affordable seed starting setup!
I’m always eager to get into the garden once signs of spring start to emerge – but there are a number of reasons to start certain seeds indoors beforehand.
You may want to grow crops that need to be started indoors before they can safely be planted out in your garden in your growing zone.
Or, you want to spare the expense of buying seedlings. Perhaps the varieties you want to grow aren’t even available at your local nursery.
Whatever the motivation for planting seeds indoors, putting together a simple seed starting setup is helpful.
I’m walking you through my affordable seed starting setup in this post to help you get started. We’ll cover the supplies you’ll need, some tips for choosing grow lights, picking trays and inserts for planting seeds indoors, the best soil for seed starting, and the basics of when to start your seeds.
Supplies You’ll Need for a Simple Seed Starting Setup
*This post contains affiliate links, which means I make a small commission at no extra cost to you. See my full disclosure here.
It’s very possible to create an affordable seed starting setup without fancy equipment! You can successfully sprout seeds in things like egg cartons and yogurt cups. Soil for seed starting can be collected from your garden and baked so that it’s sterile, and you can use inexpensive shop lights as grow lights.
As a busy homeschooling, work-at-home mom I choose to purchase some inexpensive supplies that come ready to go. It’s convenient and saves me time in the process.
But if you don’t want to take that route, know that there are even cheaper ways to create a simple seed starting setup. I will go through both what I use and some even cheaper alternatives.
The supplies I use to start seeds indoors are:
- A 4-shelf metal wire shelving unit. I got mine from Menard’s for $133.49 and it’s 24” deep by 48” wide.
- A grow light. I use (4) 4’ T5 Durolux Grow Lights purchased from Amazon for $109 each. I can fit 4 standard 1020 flats of seedlings under each light, so if you don’t have a large family like mine you can probably get away with one or two.
- Trays for planting. I have 1020 plastic trays, which don’t have holes in the bottom because I add various inserts depending on the seed variety.
- A variety of inserts for the trays that I use depending on the crops. I now purchase mine from Grower’s Solution. See below for what sizes I use.
- A spray bottle for misting my seedlings.
- Domes from my local farm store. Alternatively, you can use plastic wrap. Simply poke a few toothpicks into the dirt to hold the plastic wrap in place.
- Potting soil for seed starting (or seed starting mix).
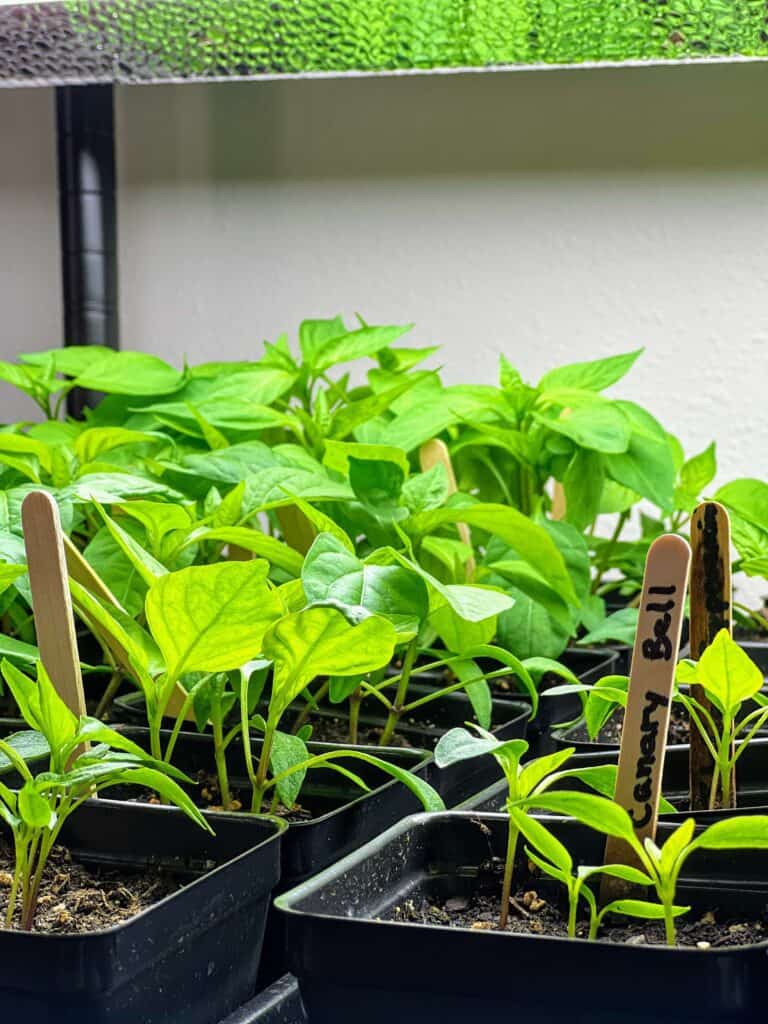
- Plastic plant tags or popsicle sticks. I use the popsicle sticks, but I will say that they won’t hold up if you plant to use then outside. The weather will make the writing run and fade.
- A fan of some sort. Some people use little clip-on fans on each row and someday I plan to upgrade to this. For now we just rely on airflow from the exterior door to our mudroom or a large boxfan ran on low.
Optional items that are helpful, but you can certainly do without are:
- A timer. This will turn your lights on in the morning and shut them off for you at night. You cannot just leave the grow lights on all the time or it will make your plants weak and unhealthy. Plants need periods of darkness and rest just like we do!
- Heat mats. These can be placed under seed trays to help them germinate faster. I don’t personally use them because I have had good enough success withouth them.
Things to Consider When Choosing Grow Lights
For a cheaper alternative to grow lights, regular fluorescent shop lights work too.
You can then purchase one “cool” bulb and one “warm” bulb which will give you the full spectrum needed, or opt for full-spectrum LEDs.
The ideal Kelvin for bulbs when planting seeds indoors is 6500 – but I’ve also heard from other gardeners that their seeds grow just fine without this.
So, what is the deciding factor in choosing grow lights versus a more cost-effective alternative?
I’d opt for grow lights if you have a lot of money invested in seeds and if you plan to have your seedlings indoors under the lights for a long period of time.
In my northern climate, I know there is a chance that my planting date could get pushed out even further past my last frost date. I also have a lot of seedlings at stake so, for me, the grow lights made sense.
Things to Consider when Choosing Your Trays and Inserts
Trays and inserts for planting seeds indoors come in many shapes and sizes. Choosing the right ones for your simple seed starting setup will depend on what you are growing, how long the seedlings will be indoors before being transplanted outside, and the space you have available.
For most crops, I prefer the 606 Standard Size inserts. These have six 6-packs, which works out to 36 individual planting cells per sheet. They also have holes in the bottom and fit nicely into the 1020 trays for easy bottom watering.
I use plug trays for planting seeds indoors for smaller crops, or for seedlings that will be transplanted when they’re still small.
I also have flats with holes that I sow my onion seeds in, and an array of different-sized pots.
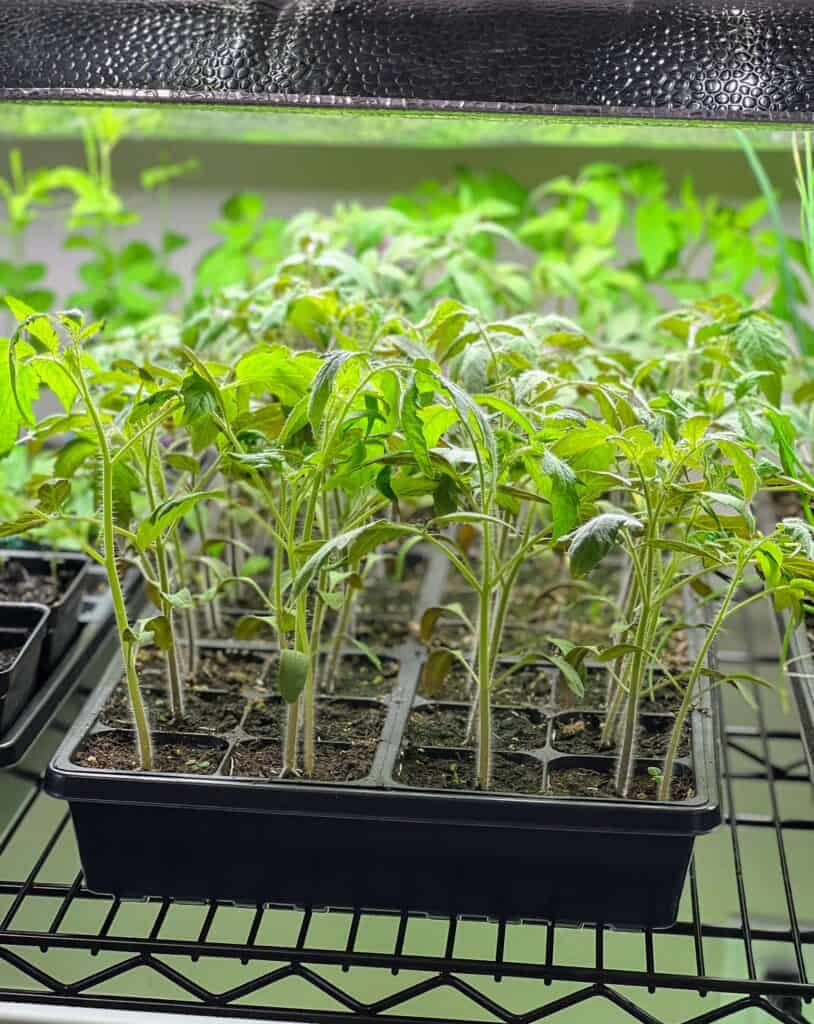
For plants that are grown to a larger size before transplanting outdoors, like peppers and tomatoes, I like the 3.5” black square pots.
As you can see, there’s no one-size-fits-all when it comes to choosing supplies for your simple and affordable seed starting setup!
Can I Plant My Seeds in Dirt from Outside?
The short answer is no. Seed starting mix is the best choice for planting seeds indoors.
It’s not a good idea to use dirt from outside when planting seeds indoors because young seedlings are vulnerable and dirt contains bug eggs and fungi. They can also die quickly from a disease called damping off.
The exception to this rule is if you’re planning to sterilize your dirt before planting.
What Soil for Seed Starting is Best?
I actually recommend potting soil for starting your seeds!
The mixtures generally sold as “seed starting mix” often contain very little nutrients – which means that it’s not the best soil for seed starting. Just a few weeks after planting you’ll need to fertilize your plants or replant them in new potting soil.
Instead, I like to start with a fine organic potting soil that will provide nutrients to my seedlings for a longer period of time.
I go into this debate, as well as show how to start onion seeds in my YouTube video I will link below. This video is from last year, so I have changed a few things, but I think you’ll still get a lot out of it!
When to Plant Seeds Indoors
Now that you have everything you’ll need to put together an affordable seed starting setup, the next step is establishing your timeline for planting seeds indoors based on your growing zone.
Fortunately, it’s pretty simple to figure out. You just need a chart that shows how many weeks prior to your growing zone’s last frost date you should start each crop.
Personally, I use a planner by Melissa K. Norris that has this chart in it, which is super handy. However, this information can also be found pretty easily online by searching for a planting calendar for your particular growing zone.
You’ll also need to know your average last frost date, which you can look up on websites like almanac.com.
So, once you know that date, and you know how many weeks before that date the crops that you are starting should be planted, you can use the calendar to work backward from your frost date, to determine your planting date. I like to write my planting dates down for easy reference.
There you have the basics for a simple and affordable seed starting setup. Happy planting!
Hi Staci! Thank you for all of the helpful info and links! The grow lights aren’t available anymore. Is there another type you recommend?
Hey! I’m glad you found the info helpful. If the grow lights I mentioned aren’t available, I recommend looking for full-spectrum LED grow lights. They’re energy-efficient and work great for indoor gardening. Happy growing!