This post may contain affiliate links. Please read our affiliate disclosure.
Microgreens are highly nutritious and easy to grow no matter where you live. This tutorial will tell you why you need them in your life and show you how to grow them!
Several years ago I spent countless hours learning the art of growing animal fodder for my pigs and chickens. I would buy grains in bulk and sprout them. It worked great and had so many benefits! Here is the funny part… it never occurred to me that a similar thing could be done for human consumption!
If you too are new to the idea of microgreens, let me first give you the run-down on what they are why you need them in your life.
What are microgreens?
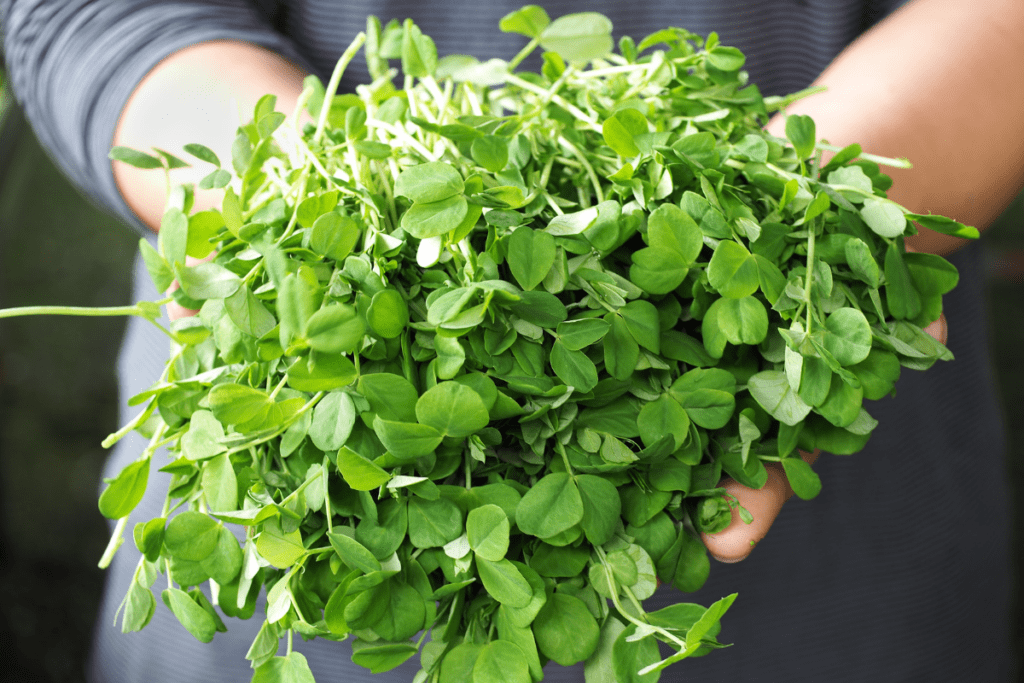
Microgreens are the young seedlings of veggies or herbs harvested less than 14 days after germination. They are usually 1-3 inches tall.
Are microgreens grown with regular seeds?
Yes! While some varieties work better or are easier to grow, you don’t need special seeds to grow them. An important note here is that some plants should NOT be consumed, so don’t just eat the sprouts of anything, ok? Also, some seeds are treated with chemicals to help them germinate. Do not use treated seeds for microgreens.
Why should you eat microgreens?
Microgreens have been shown to be 40x more concentrated with nutrients than their mature versions. Red cabbage, for example, has 40x more Vitamin E and 6x more Vitamin C as a microgreen than as a mature cabbage! Many of the nutrients that they contain are very important for your skin, eyes, and for fighting off cancer cells.
Practically speaking, microgreens are great because they are easy to grow indoors. Perfect for midwinter greens! Also, kids prefer them, as they are not tough to chew as mature greens can be. They are also very easy to sneak into many things.
Do I have you convinced? After doing many hours of research, here is the exact method I will be using to grow my own microgreens in my home.
How to Grow Microgreens Step-by-Step
What do you need to grow microgreens at home?
- A shallow tray or container without holes
- A tray with holes that will fit in the above tray or container
- A sterile growing medium (i.e. potting soil)
- Water (pH neutral and chlorine-free)
- A spray bottle
- Seeds
- Something to cover the tray (another tray set on top works great!)
- A 3-5 lb. weight. (A brick paver is one option)
- Either a grow light or a sunny window. This is only needed for a few days and the microgreens will still do ok in even low-light conditions
Steps to Growing Microgreens At Home
- Place tray with holes inside of tray without holes
- Add soil (or growing medium) to almost flush with the top of the inner tray
- Wet soil thoroughly and tamp down
- Sprinkle seeds evenly across the top of the soil
- Mist seeds heavily with a spray bottle. You don’t want puddles, just an even amount of moisture.
- Place your cover on top so that no light is hitting the seeds. Then place your weight on top of that.
- Put in a room-temperature location (65 – 75 degrees F)
- Come back to check and mist, if needed, in 12 hours.
- Uncover, check, and mist if needed. Keep moist, but not wet! Recover. Continue to do this every 12 hours.
- When you see roots beginning to come out of the bottom holes, begin heavily misting the bottom tray so that the roots don’t dry out. You want them to stay nice and white, not brown.
- Two days after your seeds germinate, remove the weight, but keep covered (day 3-4). Note: You gain most of your height during the “blackout period” as the sprouts are looking for light!
- When you see the first leaves beginning to form, wait one more day, and then it’s time to remove the top and place it under light (days 5-6). If you have a grow light, this works great. You can also just place your tray in a sunny window. Also, add ½ cup of water to the bottom tray at this point. Note: Pros use a special “nutrient water” for better growth.
- Adding a fan will help with circulation and prevent mold growth.
- Continue to check every 12 hours, keeping water in the bottom tray and light above.
- Add increasing amounts of water, as needed, so that the soil remains moist.
- When greens reach your desired height, or when you see “true leaves” beginning to form, it is time to harvest (7-13 days)
- Harvest by slicing with a sharp knife right about the soil level.
- Enjoy!
If you’ve read through these steps and feel intimidated, I assure you that it is easier than it sounds. Growing microgreens is also a great project to do with kids!
Do you have a good source for buying seeds in bulk ?
I like True Leaf Market!