This post may contain affiliate links. Please read our affiliate disclosure.
After you see how quick and easy it is to make thick and creamy homemade yogurt in an instant pot, you will never want to buy yogurt from the store again. Not only does it taste amazing, but making it at home gives you complete control over the ingredients, consistency, and flavor!
I can vividly remember my first experience with making yogurt at home. I had purchased a yogurt maker from an elderly lady off of Craigslist and she was kind enough to send instructions home with it! The appliance worked great, but as our family grew, the small portions that it was designed to make were no longer worth my time and effort.
Then I discovered Noosa, a yogurt brand unlike anything I had ever had, and I instantly became a yogurt snob. Nothing could compare.
A few years later when I discovered that yogurt could be made in an instant pot I decided to give making it home another shot. But… I was pretty skeptical that it would be able to compete with my beloved Noosa.
Wrong. After some trial and error, I was able to create a thick and creamy yogurt that lives up to all of my high standards.
And the best part is that it is SO very easy.
How To Make Thick and Creamy Yogurt In An Instant Pot
Step 1: Gather your materials
For this recipe, you will need two quarts of milk (not ultra-pasteurized or UHT milk), a thermometer, an Instant Pot, and either 3 tablespoons of plain yogurt from the store, or a yogurt “culture” that you purchase. If you are using yogurt from the store, you must make sure that there are live and active cultures in the ingredients, or it won’t work.
I personally chose to buy my culture from a wonderful place called Cultures for Health. The biggest reason I did this was that when you make yogurt from store-bought yogurt, you can’t continue to reuse it indefinitely. The yogurt cultures will continue to weaken over time, which also means it will continue to contain fewer of the good bugs that make yogurt so healthy over time. By purchasing a starter with specific bacteria in it, I can continue to make yogurt by just saving a quarter cup each time to start the next batch. I want to point out that not all yogurt starter cultures from Cultures for Health are meant to be used in this way. If you want to check out the exact one I bought you can do so here.
Step 2: Let’s make yogurt!
- Measure 2 quarts (2 L) of milk into your Instant Pot. If you are starting yogurt using a culture for the first time, follow the instructions that came with that culture. It may tell you to do only one quart the first time.
- If using an Instant Pot with the “yogurt” button, just hit that button until it says “boil” on the screen. Go ahead and place the lid on, but there is no need to close the pressure regulator. It will beep when it is done and say “YOGT.” At this point, the secret to thick yogurt is continuing to bring the milk a little hotter than the Instant Pot gets it. If you are short on time, you can skip this step, but it really does help. Switch the IP to “saute” mode and bring the milk to 185 degrees F. If you do not have the Yogurt button, just turn it to saute and whisk until the milk comes to to the correct temperature.
- Turn off the heat and return the lid. Let the milk sit, warm, for 30 minutes. When this time is up, skim the film off the top of the milk that has formed. You can also just whisk it in, but there is a slightly increased chance for clumps in your finished yogurt.
- Remove the inner pot from the Instant Pot and let it cool to 115 degrees. You can place your pot in an ice bath if you need to hurry this process along. I am usually doing this in the evening and set it on the stove to cool down while I’m cleaning up the kitchen and getting ready for bed.
- Remove 1 cup of milk from the pot and place it in a glass measuring cup. Add your starter culture, or 1/4 cup of plain yogurt, and mix well.
- Return the milk/culture mixture back to the pot and mix well once more.
- Pour the yogurt into whatever container you will be culturing it in. If you are using the Instant Pot, you can just leave it be.
- At this point, your goal is to cover it and keep it at 110 degrees for 6 – 12 hours. If using the Instant Pot, you simply put on the lid and hit the “yogurt” button until it says “Normal” and set the time for 6 hours. Another method is to pour the yogurt mixture into quart-size mason jars, add lids, and then place in a cooler with bath towels around the jars. Check to see if they have set around the 6-hour mark, just as you do with the Instant Pot method.
- At the 6 hour mark, you will check it to see if it has set, but it may take up to 12 hours to be to the consistency and taste that you like. The longer you culture it, the thicker and tangier it will get. We personally love ours right about the 8 hour mark. You will know when it has set when you tilt the pot or container and the yogurt pulls away from the side, instead of just running up the side. Note that it will thicken more upon chilling it.
- Chill in the refrigerator for at least 6 hours.
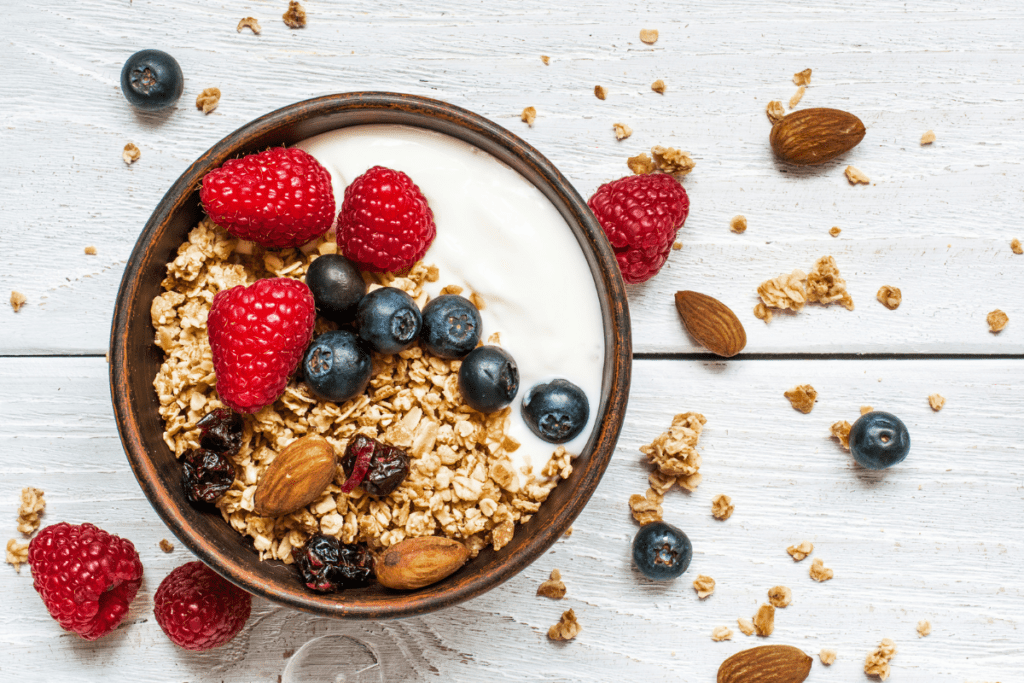
- Your yogurt is ready to eat! I then like to add sweeteners and fruit, such as maple syrup and strawberries.
- If you have used a culture made for continuous use, you should try to make a new batch each week to keep it going. In order to make a new batch, you need 1/4 cup of your previous batch to repeat the process! If you just used store-bought yogurt for the cultures, or a “direct set” culture, you will need more in order to make a new batch.
FAQs
Can I make yogurt without an instant pot?
Absolutely! In order to adapt this recipe if you do not have an instant pot, just heat your milk to the correct temperature in a pot over the stove, and then keep your culturing yogurt warm (between 105 and 112 degrees F) for the required time in another way. I have personally used an actual yogurt maker device and a slow cooker. Others ideas include using a quart canning jar wrapped in a heating blanket or placed in a dehydrator. Feel free to get creative here using what you have!
Can you make dairy-free yogurt in an instant pot?
You bet! You can see exactly how to make dairy-free yogurt in an instant pot in this post here.
Can you make Greek yogurt in the instant pot? Will it be this same method? Thanks!
Yes! After you make the yogurt, let the whole pot chill in the fridge. Don’t stir! After it is chilled, strain the yogurt through cheesecloth to remove the liquid. You now have greek yogurt!