This post may contain affiliate links. Please read our affiliate disclosure.
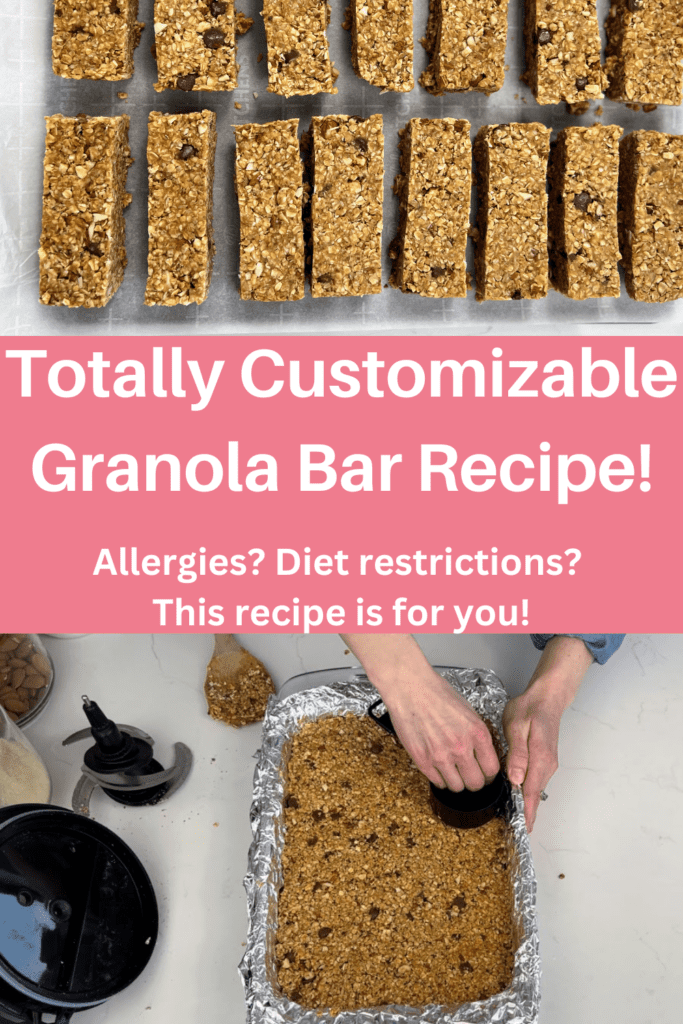
These homemade granola bars are quick and easy to make, require no baking, and are sweetened with honey. Food allergies? No problem! This recipe is easily adapted to your family’s dietary needs and preferences.
I became convinced to make homemade granola bars after I had purchased a box of so-called “healthy” granola bars, only to find out that they were definitely not up to my standards.
If you are looking for other food items that are easy to make at home, will save you a ton at the grocery store, and are WAY healthier than their store-bought counterparts, check out my post on 5 Food Items We No Longer Buy From the Store.
Ok, back to the granola bars…I tried a few different recipes at first that required store-bought ingredients like boxed cereal. That wasn’t going to work for us as it really defeated the purpose. Those boxed cereals came with the same problems that we faced with the granola bars!
Next, I found a few from-scratch recipes that required several steps and baking in the oven. No thanks. This mama needed something I could whip up for homeschool co-op and be out the door 20 minutes later.
So how did I land on the perfect no-bake homemade granola bar recipe? I’d love to say I did tons of research and recipe testing, but friends, I did not. I was late one morning and was supposed to be bringing snacks for one of my kiddo’s classes. I tossed and scooped and somehow magic happened.
When parents started emailing me asking for the recipe I quickly wrote down what I did. Success! It’s been one of our family’s favorite easy snacks ever since.
*This post may contain affiliate links.
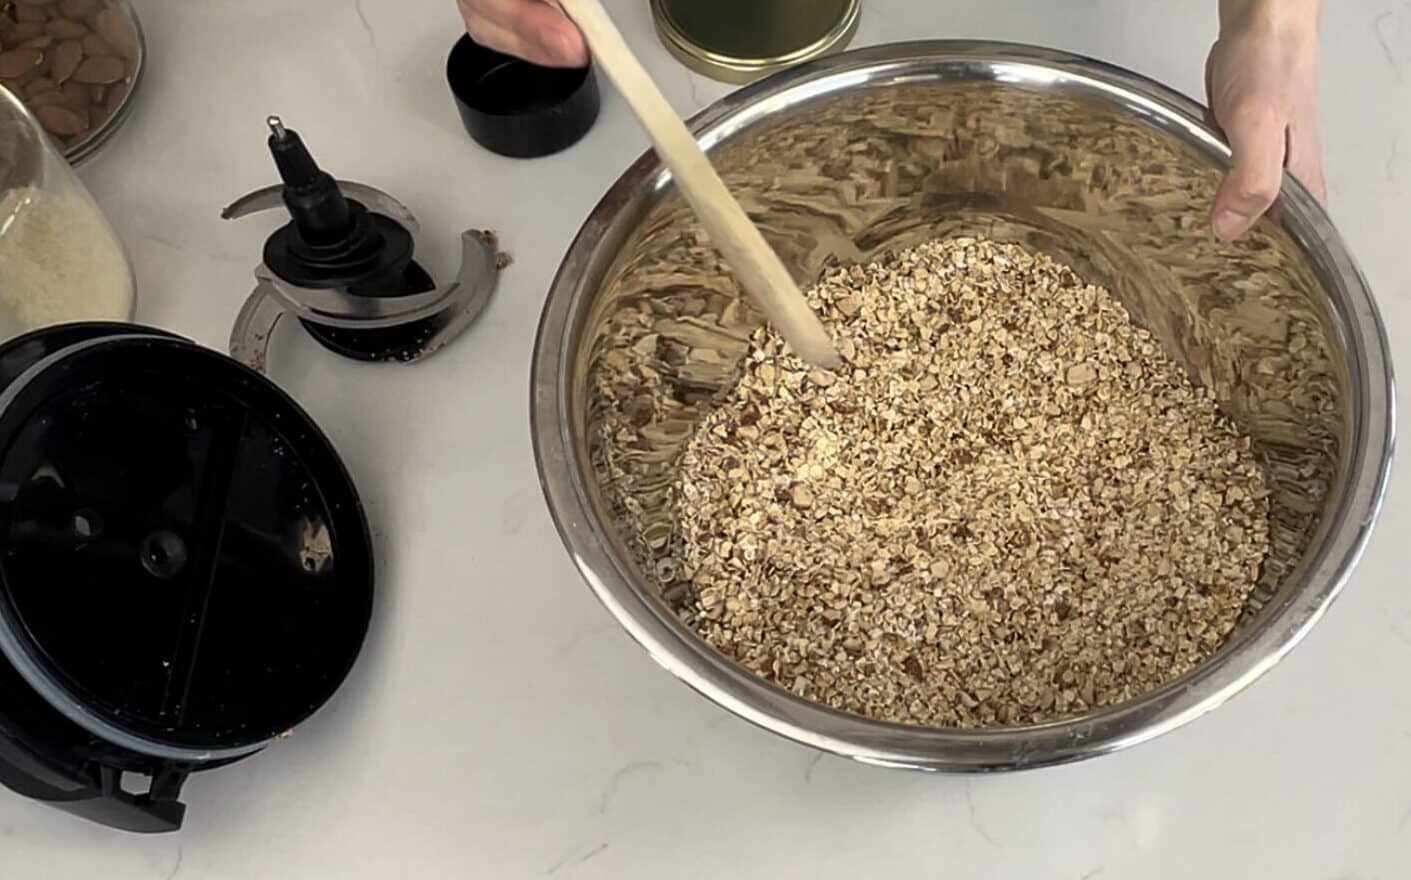
To make the granola bars, start by adding to a large bowl: 4 cups of quick oats and 2 ½ cups of your family’s favorite add-ins. We do ½ cup of unsweetened shredded coconut, and 2 cups of chopped pecans and almonds.
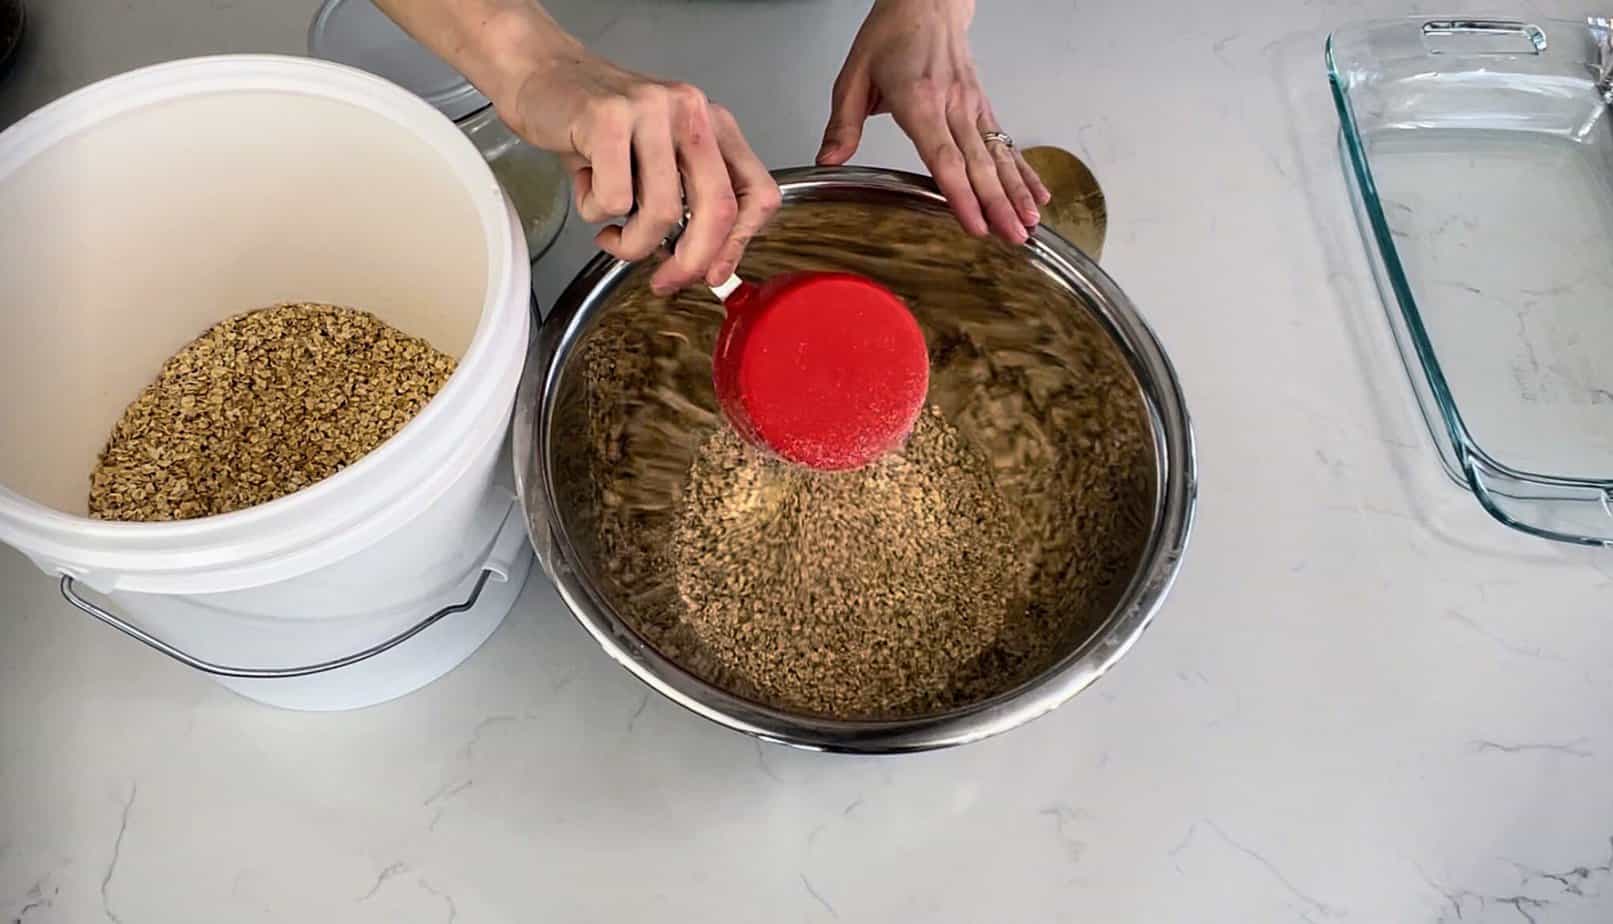
I just pulse the nuts in my food processor to make sure I don’t have any large pieces. You could also use cereal or dried fruit. Mix all of your dry ingredients until well combined. Set that bowl aside.
Next, line a 9×13 pan with aluminum foil or parchment paper. Set that aside.
Now grab a small saucepan. To the saucepan add 1 ½ cups of peanut butter, 2 heaping spoonfuls of coconut oil, 1 ¼ cups of honey, and 1 tsp. Vanilla extract. For the coconut oil you can use refined or unrefined, but we choose unrefined for the extra coconut taste. If you can’t have peanut butter, feel free to substitute the nut or seed butter of your choice.
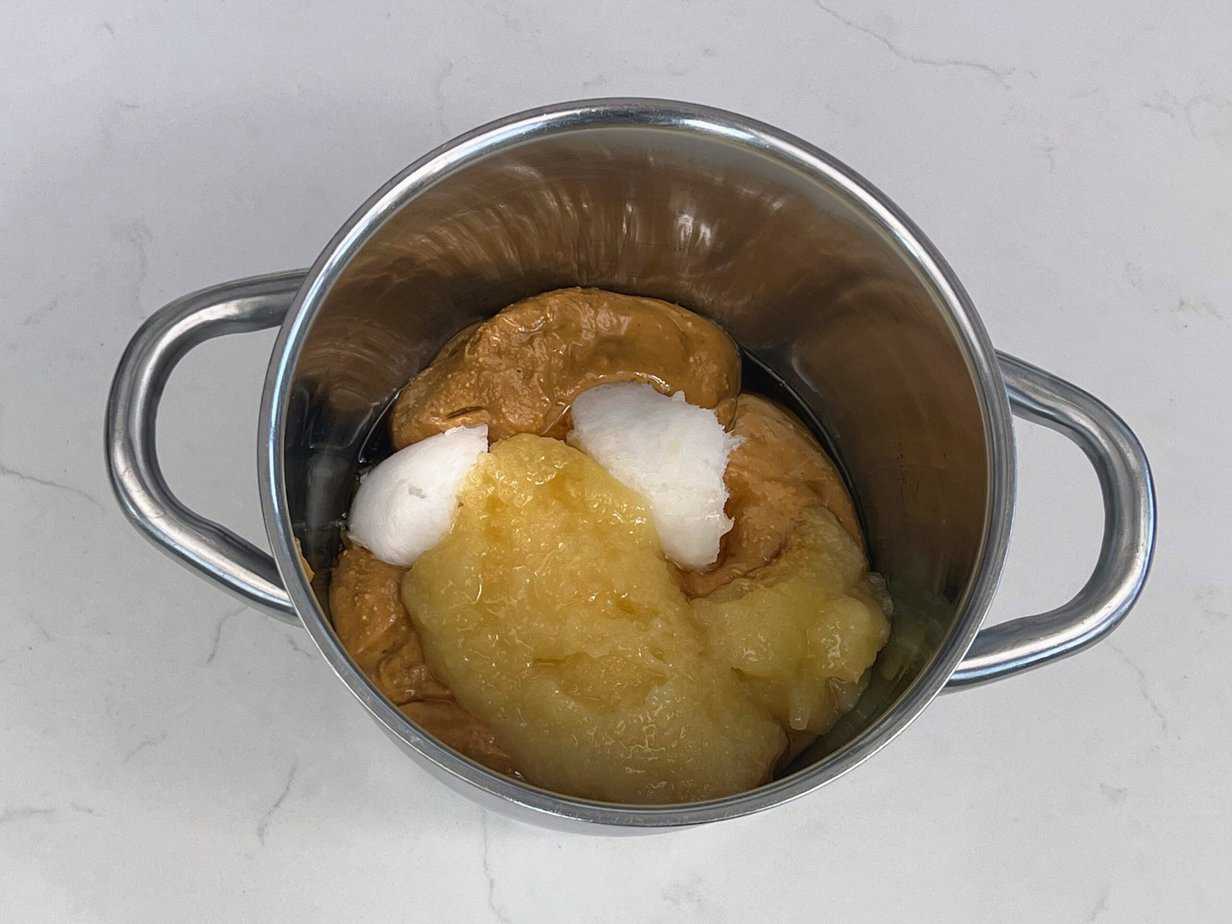
Heat these ingredients on low, stirring continuously, until melted completely, well blended, and smooth.
Then quickly and carefully take that peanut butter mixture and pour it into the bowl of dry ingredients, mixing as you go. Continue stirring until all of the dry ingredients are wet.
Finally, add a few handfuls of chocolate chips. I don’t have an exact amount for you here because it’s really a personal preference. Stir until the chocolate chips are evenly distributed, but just keep in mind that if you overmix it, the chocolate chips are likely to melt and then you will just end up with chocolate granola bars. We’ve done this, and they were actually very good that way as well, but I had to convince my kids that there were in fact chocolate chips in there before they had a chance to taste them.
If you are on the hunt for allergen-friendly chocolate chips, we absolutely love these.
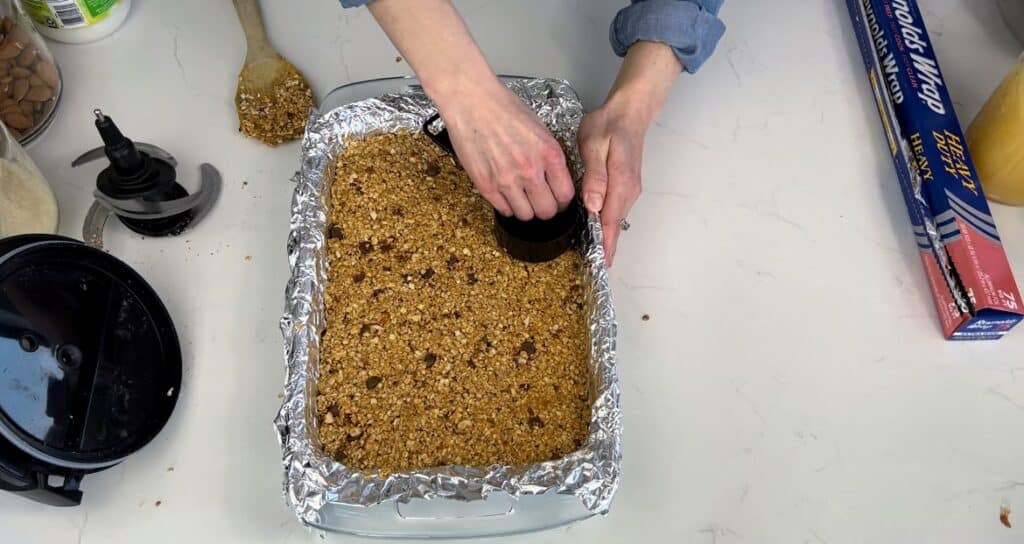
As soon as your mixture is ready, press it into that baking dish that you prepared. I like to use the back of a measuring cup to make sure it is nice and compacted. If you skip this step, they will crumble when you try to take them out.
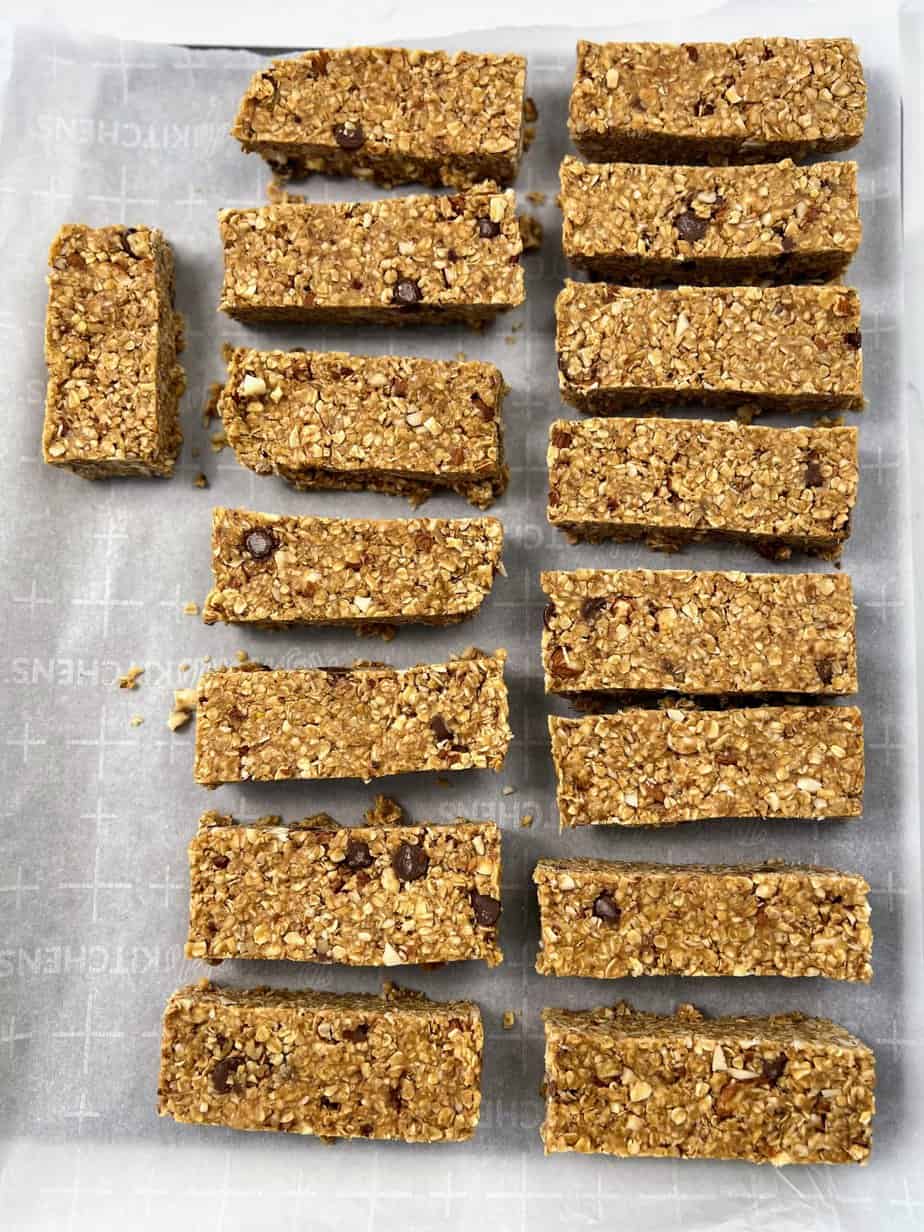
Refrigerate for 1 hour, then cut into bars and remove. Need to speed up the process? Just place them in the freezer to harden quickly.
If you won’t be eating them right away, you can also place them individually on a pan or baking sheet to flash-freeze them in your freezer. This will make them hard enough to put in a bag or container in the freezer without them sticking together and you will be able to just remove however many you need at a time.
Let me know your favorite granola bar ingredients in the comments!
No Bake Homemade Granola Bars Sweetened With Honey
Ingredients
- 4 cups quick oats
- 2 -2 1/2 cups add-ins: dried fruit nuts, shredded coconut, etc.
- 1 1/2 cups peanut butter
- 2 heaping spoonfuls of coconut oil
- 1 1/4 cups honey
- 1 tsp. vanilla extract
Instructions
- Add quick oats and add-ins to a large mixing bowl. If using nuts or large pieces of dried fruit, pulse in a food processor before adding to make sure there are no large pieces. We do 1/2 cup of shredded coconut and 2 cups of chopped pecans and almonds. Mix until well combined.
- To a small saucepan add the peanut butter, honey, coconut oil, and vanilla. Melt over low heat until smooth and well combined.
- While the mixture is heating, line a 9×13 pan with aluminum foil or parchment paper.
- Quickly and carefully pour the peanut butter mixture into the mixing bowl full of oats. Use a silicone spatula or wooden spoon to stir until all of the dry ingredients are wet.
- Add in a few handfuls of chocolate chips. I don’t have an exact amount for you here because it’s really a personal preference. Stir until the chocolate chips are evenly distributed, but just keep in mind that if you overmix it, the chocolate chips are likely to melt and then you will just end up with chocolate granola bars.
- As soon as your mixture is ready, press it into that baking dish that you prepared. I like to use the back of a measuring cup to make sure it is nice and compacted. If you skip this step, they will crumble when you try to take them out.
- Refrigerate for 1 hour, then cut into bars and remove. Need to speed up the process? Just place them in the freezer to harden quickly.
- If you won’t be eating them right away, you can also place them individually on a pan or baking sheet to flash-freeze them in your freezer. This will make them hard enough to put in a bag or container in the freezer without them sticking together and you will be able to just remove however many you need at at time.
Very good recipe, was a hit with the whole family.
I am so glad you loved it!
As a beekeeper, the hives stay at a consistent internal temp of 95F. If you heat honey over 110-115F, you will lose much of the beneficial properties of it. I’m looking forward to trying the recipe today. Thanks for the detailed instructions. 👍
Is there any issue with subbing rolled oats for the quick? It is what I have on hand.
Thanks!
Nope, you can use either one!
Have you tried this recipe using old fashion oats instead of quick oats? Did you have success?
Yes, you can use either. It changes the consistency a bit, but not in a bad way at all.
Do you have a substitute for coconut oil? I know it probably holds them together but I don’t like the taste… thanks!
You can do refined coconut oil that doesn’t have any taste. You might be able to use a different oil, but I haven’t tried it so I can’t say for sure.
thank you for this amazing recipe, loved it.
You are welcome. I’m so glad you loved it!
Have you tried this with sunflower butter? My sun has a nut allergy and can’t eat peanut butter
I haven’t, but I bet it would work just fine!
If my kids don’t want any add-ins, do I omit that 2 1/2 cups completely, or substitute with more oats?
You would need to add more oats to make the ratio work, but I can’t say that it would be a 1:1 nuts for oats as I have not tried it. I would start by adding 2 additional cups of oats and see how that turns out.
Does dried strawberries taste good with the peanut butter in this?
I haven’t tried it, but I would recommend freeze-dried strawberries as traditionally dried strawberry slices may be too firm.