This post may contain affiliate links. Please read our affiliate disclosure.
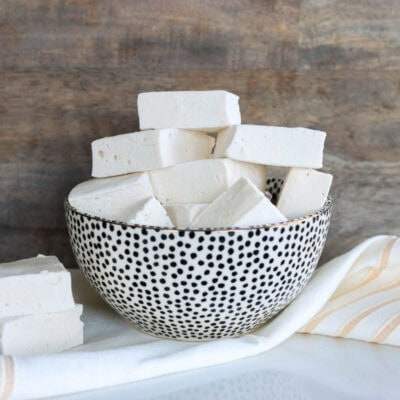
Whether you are making homemade rice crispy treats or s’mores around the campfire, these pillowy homemade marshmallows will be the star of the show. The best part? They take just a few minutes to whip up and contain zero toxic ingredients.
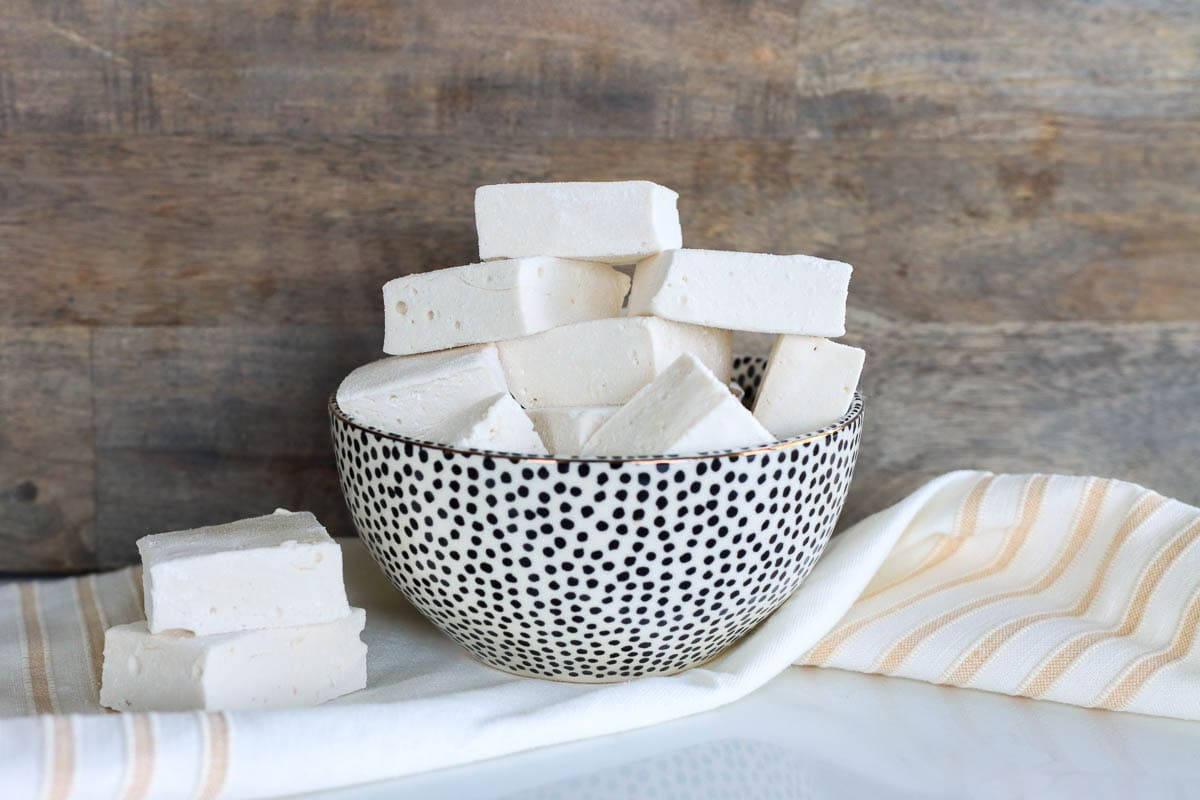
I was so pleased (and shocked) to find out that you can make homemade marshmallows at home that look and act just like the store-bought version, but without the toxic ingredients. In fact, they taste way better too!
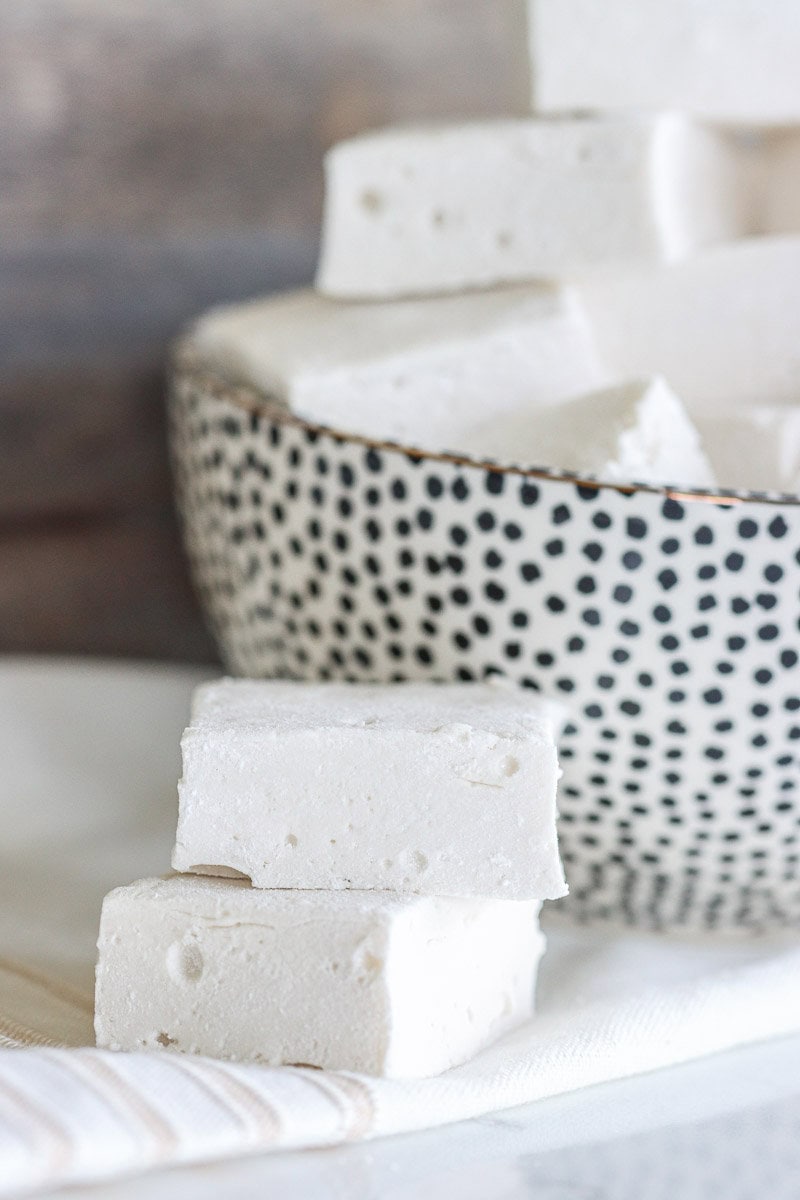
The first time I made them, I had to play with how to get them to cut nicely and not stick together in the bag, but once I got that figured out, I was completely sold.
These can be whipped up in no time at all, but they do need to sit and firm up for at least 3 hours, so if you need them for the evening campfire, I recommend making them the day before. They store well in just a closed container or bag for a few weeks at least (honestly, they have never lasted longer than that in this house), so no worries there.
Why make your own marshmallows?
While I love making cozy memories around the campfire, roasting marshmallows for s’mores, I’ve never been crazy about letting my kids eat them. In fact, we used to have a pretty strict one s’more per night rule (I mean…. I couldn’t let my kids miss out on this experience completely!) and only on special occasions like camping trips.
Have you ever seen the ingredients on your typical store-bought marshmallows? Here are just a few of the things listed on the Jet-Puffed bag:
- Modified cornstarch: highly processed and made of GMO corn; modifications are also often made using bleach, acids, and other industrial chemicals; zero nutritional value.
- Tetrasodium pyrophosphate: a synthetic food additive that helps extend shelf life; can mess with your body’s natural balance of calcium and phosphorus. Some studies suggest synthetic phosphates may contribute to inflammation in the body.
- Artificial flavor: “Artificial flavor” is often a blanket term for dozens (sometimes hundreds!) of compounds mixed together. And food companies don’t have to tell you what’s in it; linked to hyperactivity, mood swings, and focus issues; can contribute to gut imbalance, which messes with everything from immunity to mood.
- Blue 1: a synthetic coloring made of petroleum; has been associated with behavior issues in some children, including hyperactivity, irritability, and trouble focusing; can trigger allergic reactions or skin rashes, especially in people with asthma or aspirin sensitivity; interferes with the permeability of the gut lining (in other words, it creates a “leaky gut”); banned in several countries.
Why does this homemade marshmallow recipe contain corn syrup? Isn’t it bad?
While both the Jet-Puffed version and this homemade recipe contain “corn syrup,” there is a world of difference in the two ingredients. Most corn grown in the US is genetically engineered so that it can get sprayed with Roundup, a toxic weed control spray, and not die. I have nothing against corn syrup in general. My hangup is that I do not want to feed genetically engineered foods to my family.
Luckily, there are some organic corn syrups on the market, which is what I use and recommend! Organic corn syrup is never genetically altered, and I can feel good about using it in recipes for my family. I don’t use it in very many things, but this ingredient really makes the difference between homemade marshmallows that don’t act like the store-bought variety and ones that do.
How to Make the Best Easy Homemade Marshmallows
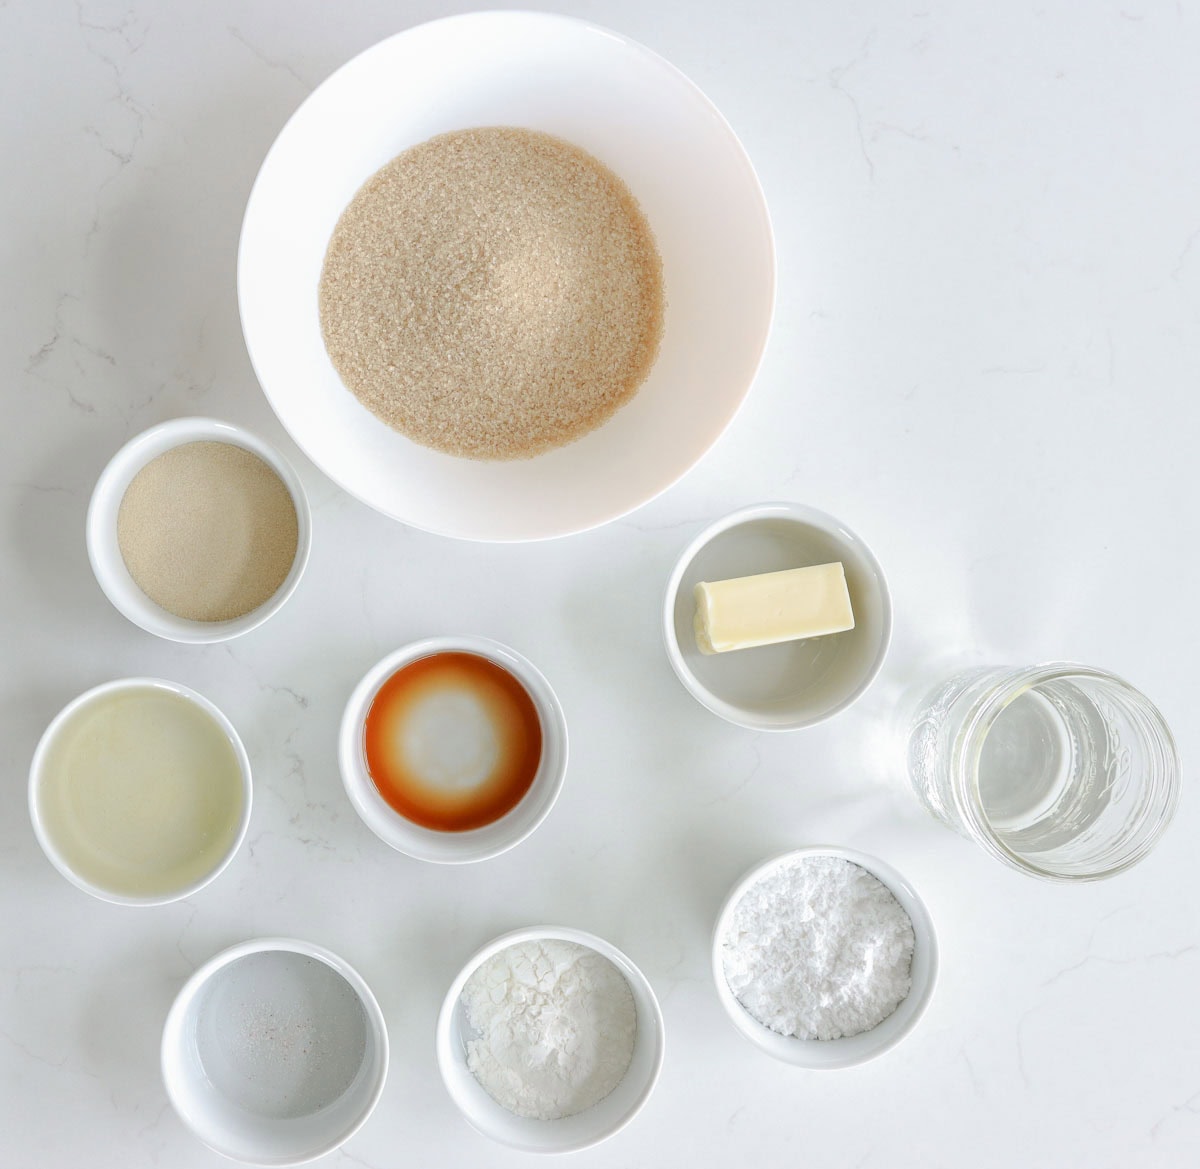
Ingredients you’ll need for this recipe:
For exact ingredient amounts, see the recipe card below.
Tools or other supplies you may need:
For best results, you should also watch me make these marshmallows in the video below so that you can see what each step looks like. This video also shows how to make Rice Krispies treats completely from scratch!
Step-by-Step Directions
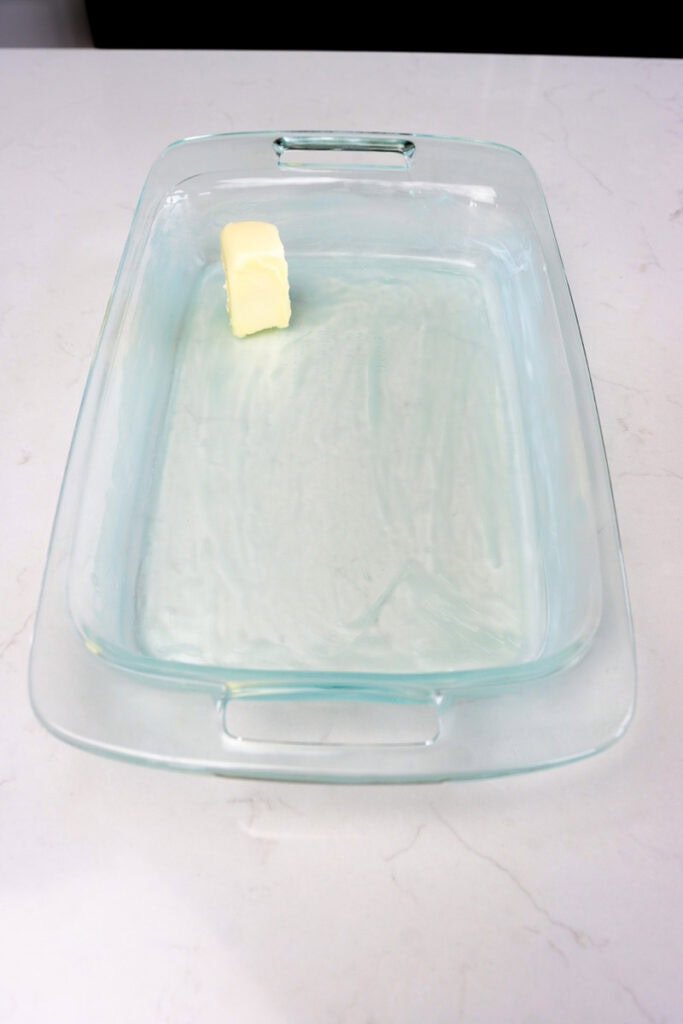
Step 1: Prep Baking Dish and Make Cornstarch Mixture
Begin by buttering all sides of a 9×13 inch baking dish and then set it aside. If you are dairy-free you could substitute refined coconut oil or another neutral-tasting oil.
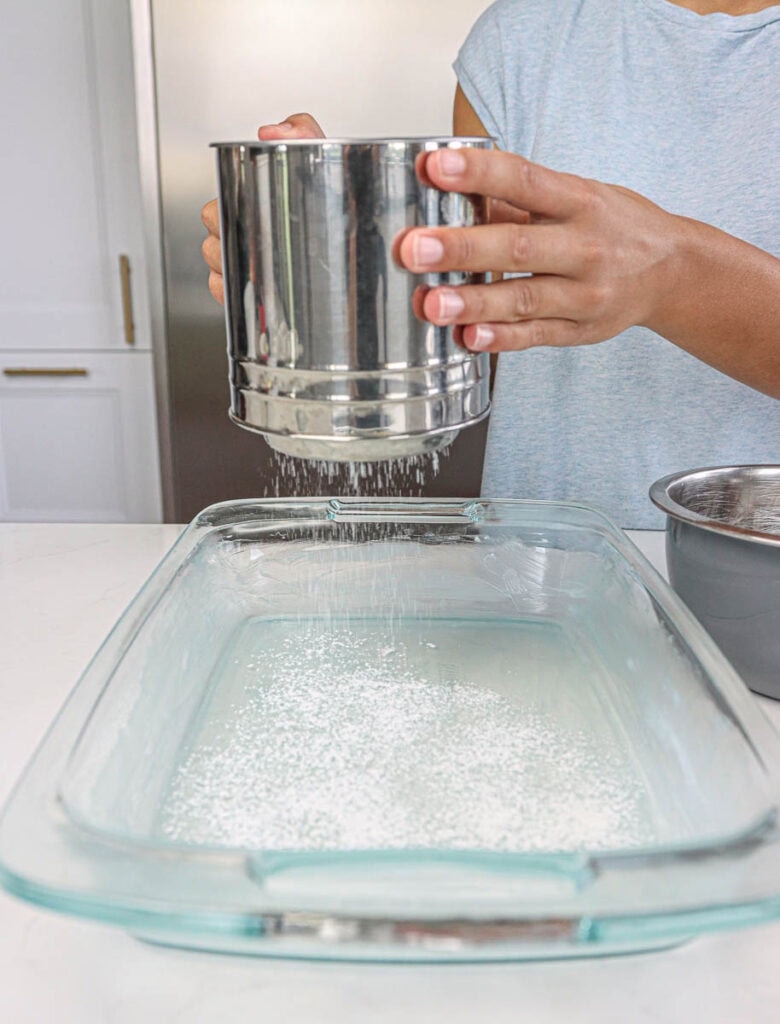
Then, in a small bowl, whisk together ⅓ cup of powdered sugar and 3 tablespoons of cornstarch. Dust all sides of the buttered pan with the sugar mixture. A sifter works great for this! You will then want to set the remaining cornstarch mixture aside because you will need it again later.
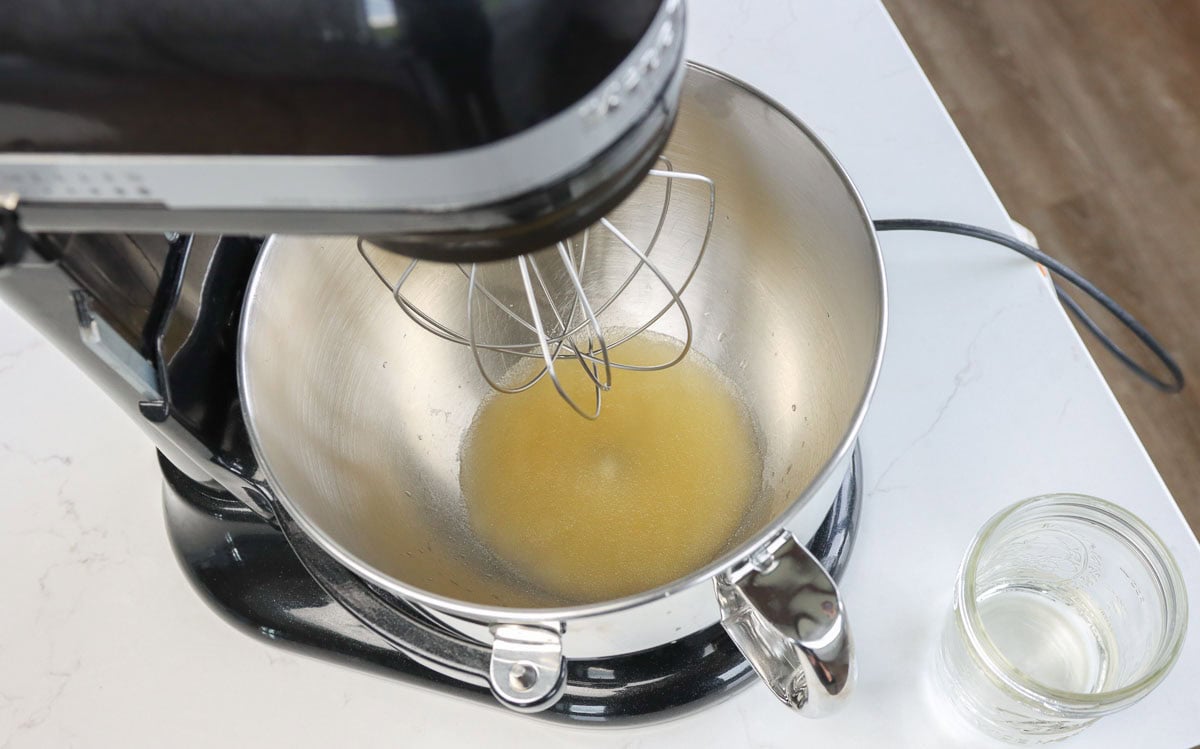
Step 2: Make Marshmallow Mixture
To the bowl of a stand mixer with the whisk attachment on, add 1/2 cup water. Then, sprinkle 2 ½ tablespoons of unflavored gelatin powder across the top. We use gelatin in homemade jello and ice cream too, so we buy it in bulk from Azure Standard.
Let the gelatin sit to “bloom”, or absorb some of the water, while you do the next step.
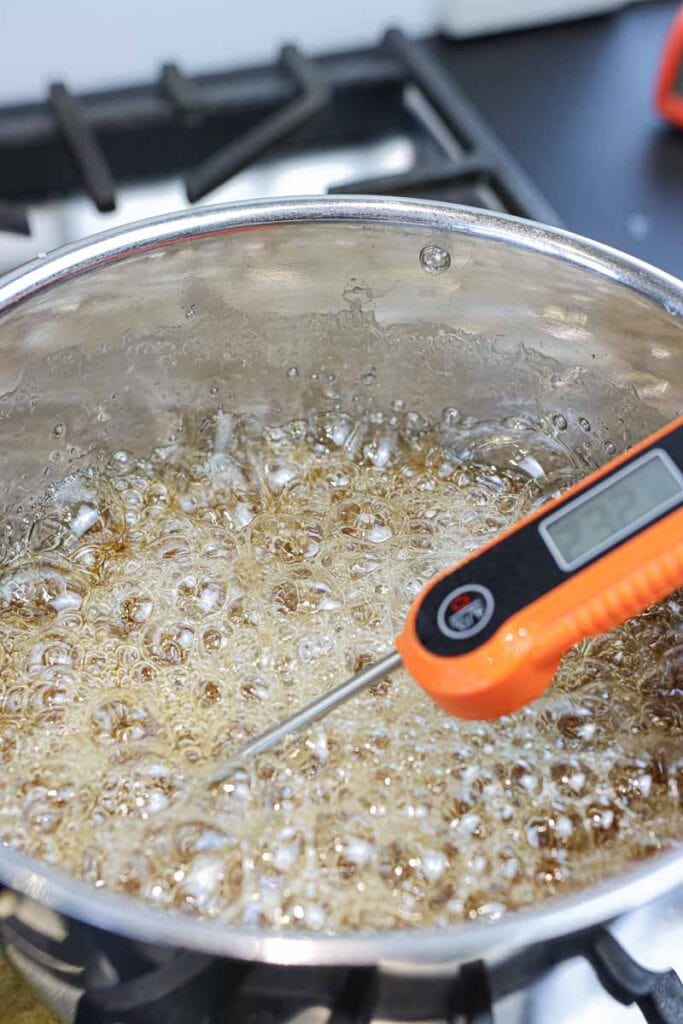
To a medium saucepan, add ½ cup of water, 1 ½ cups granulated sugar, 1 cup light corn syrup (organic is best!), and a pinch of salt. Whisk this together over medium heat. Put on the lid and let it heat up for about 4 minutes until it comes to a boil.
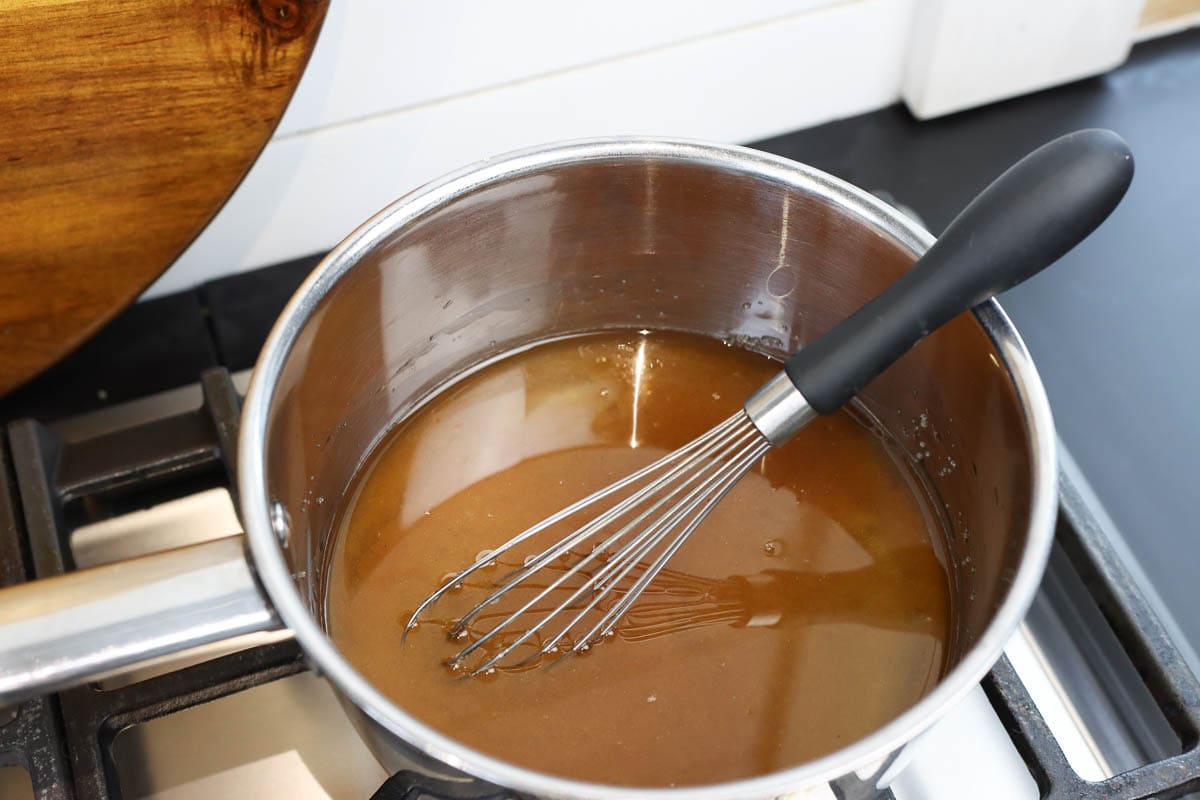
Next, remove the lid and cook over medium-high heat, without stirring, until the mixture comes to a temperature of 240 degrees Fahrenheit. The most professional way to do this would be using a candy thermometer in your saucepan. I personally don’t have one and just make do with an instant-read meat thermometer. Getting it to the correct temperature will take about 5-7 minutes.
Then, carefully take the hot syrup mixture and pour it down the sides of the stand mixer bowl, in with the gelatin mixture, while the mixer runs on low speed. After it comes together, turn up your mixer to medium-low speed and then to medium as the mixture begins to come together.
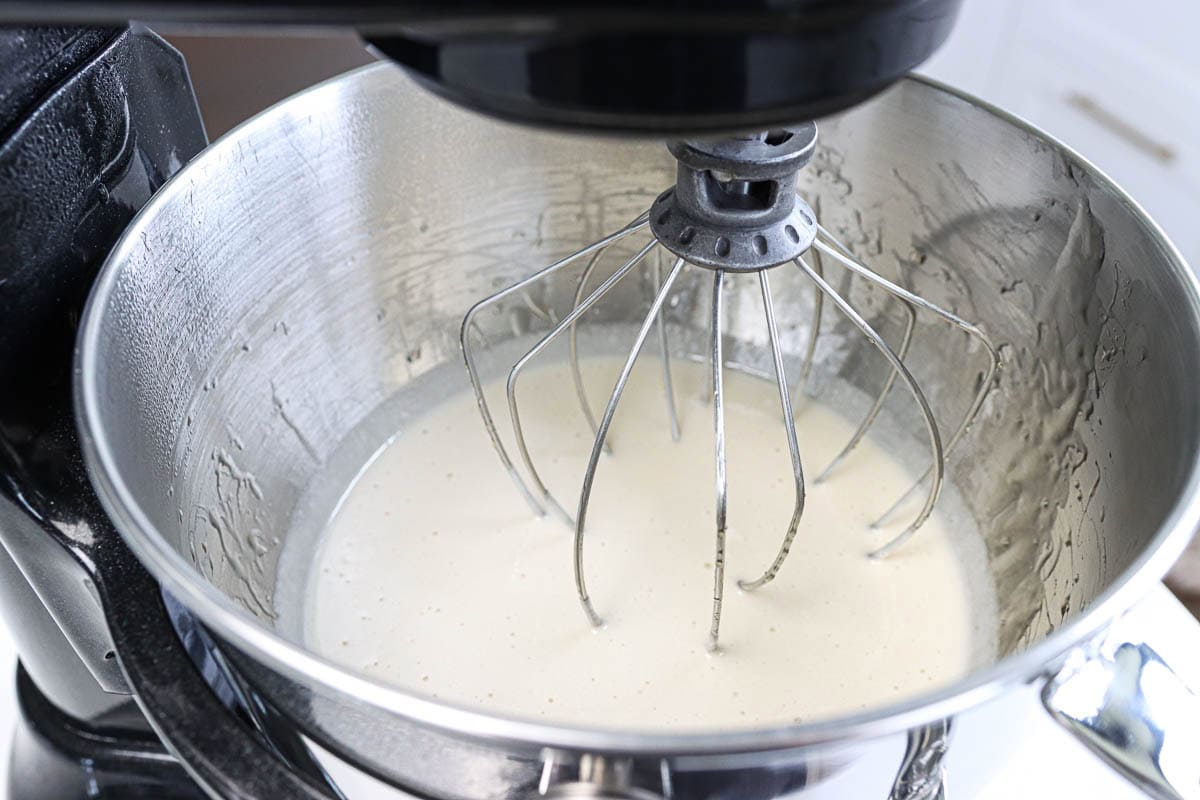
Step 3: Mix the Marshmallow Mixture Until Fluffy
Let the mixer run for about 10 minutes until the mixture fluffs up. You will see stiff peaks form, somewhat like making whipped cream. While it is mixing, you can tap off any extra powdered sugar in your pan. When it looks like it’s getting close to done (nice and fluffy!), add 1 teaspoon of vanilla extract, and then let it mix in for a minute more on high speed.
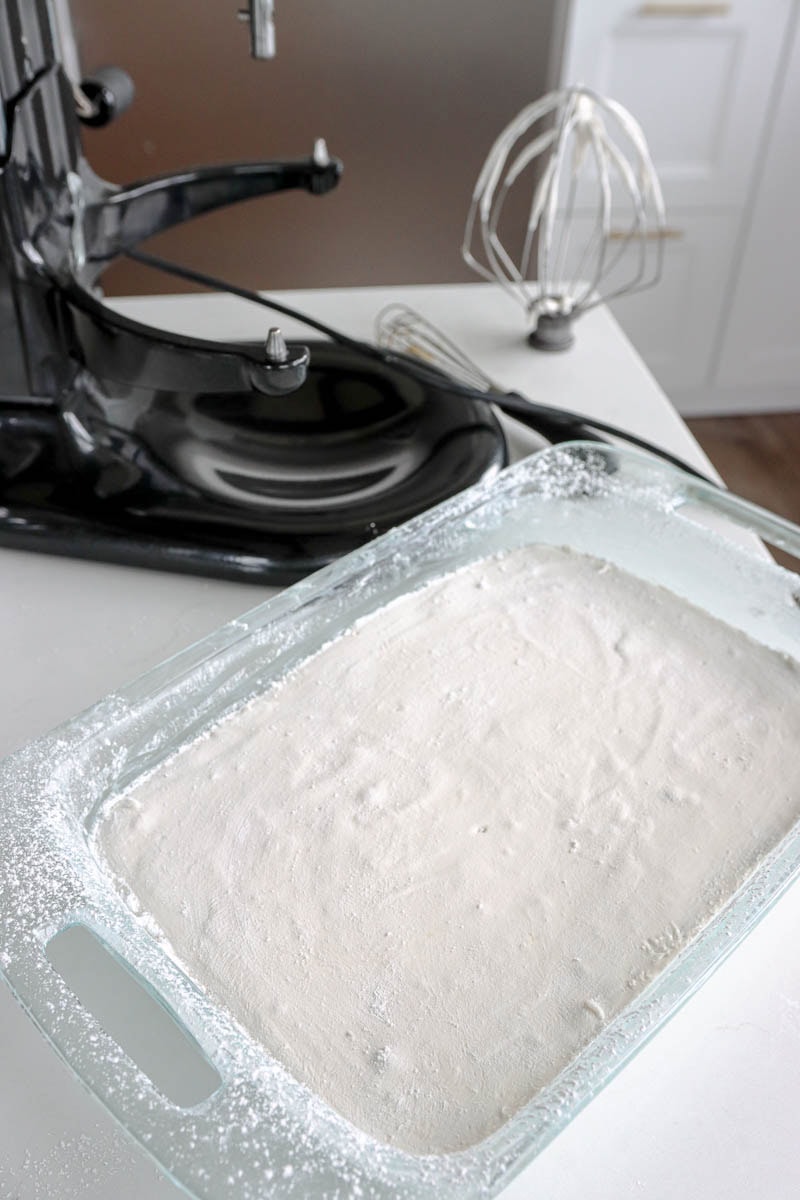
Step 4: Transfer Mixture to the Baking Pan
At this point, you are going to use a greased spatula (I use butter but use whatever works for your family) to transfer the marshmallow fluff to the prepared pan and smooth it down evenly. You will need to scrape the side of the bowl and work quickly as it will get stickier and stickier by the minute! I like to butter my hands next so that I can get it a little smoother and flatter.
Dust the top of the marshmallow sheet with more of the powdered sugar mixture and smooth it out so that just a light layer covers the entire surface. Cover the remaining mixture with a lid or plastic wrap and set it aside because you will need it again later when you cut the marshmallows.
Step 5: Cover and Let Sit
Cover the pan and set it aside for a minimum of 3 hours to firm up. Do not try to cut them right away because they don’t quite have the structure yet.
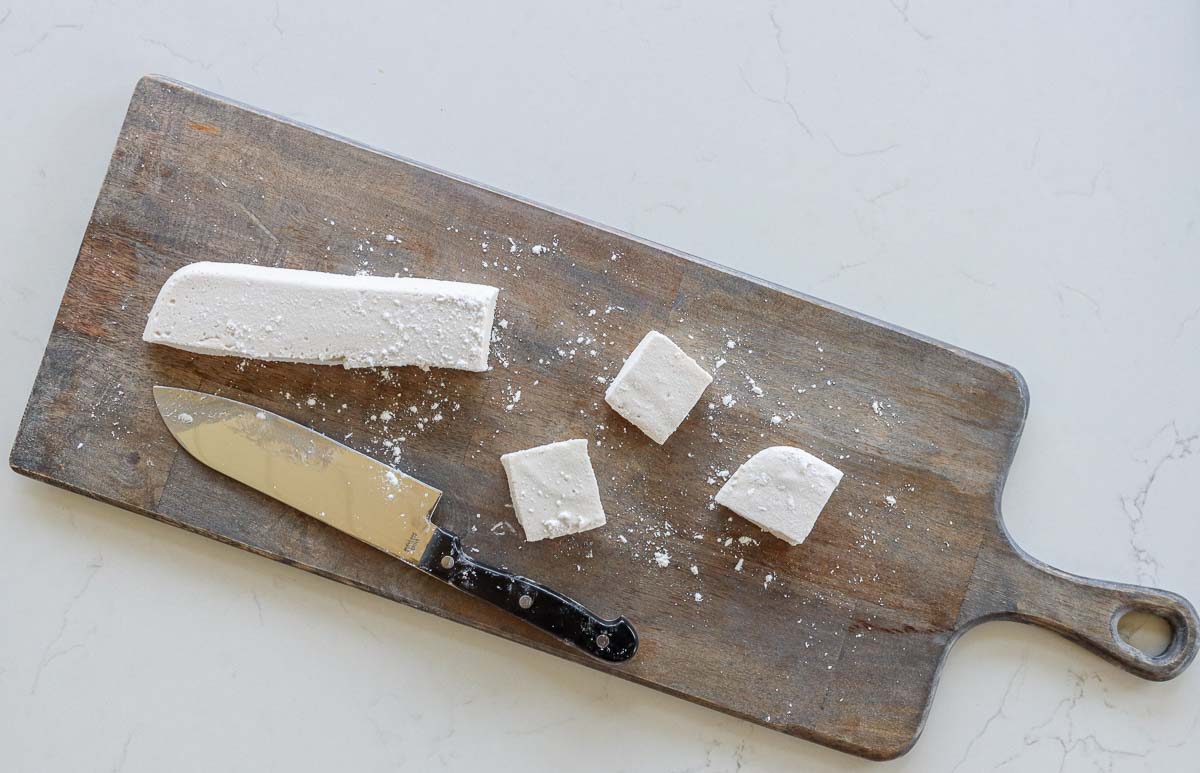
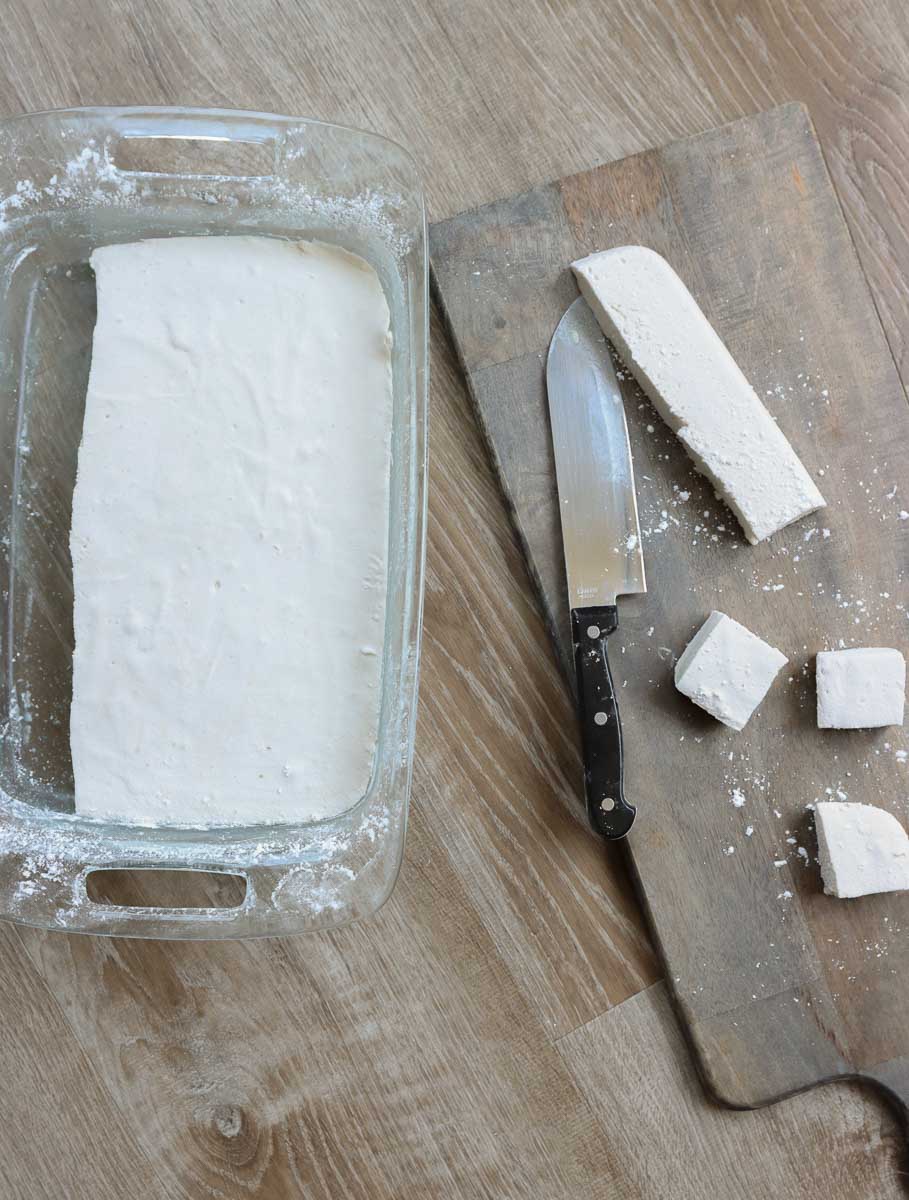
Step 6: Cut the Marshmallows and Dust With Cornstarch Mixture
Finally, use a buttered knife to cut the sheet of marshmallows into your desired size. I usually slice it into strips and then cut each strip into squares on a cutting board. Dust all of the sides with the remaining powdered sugar mixture so that they don’t stick together. Trust me, this step is very important!
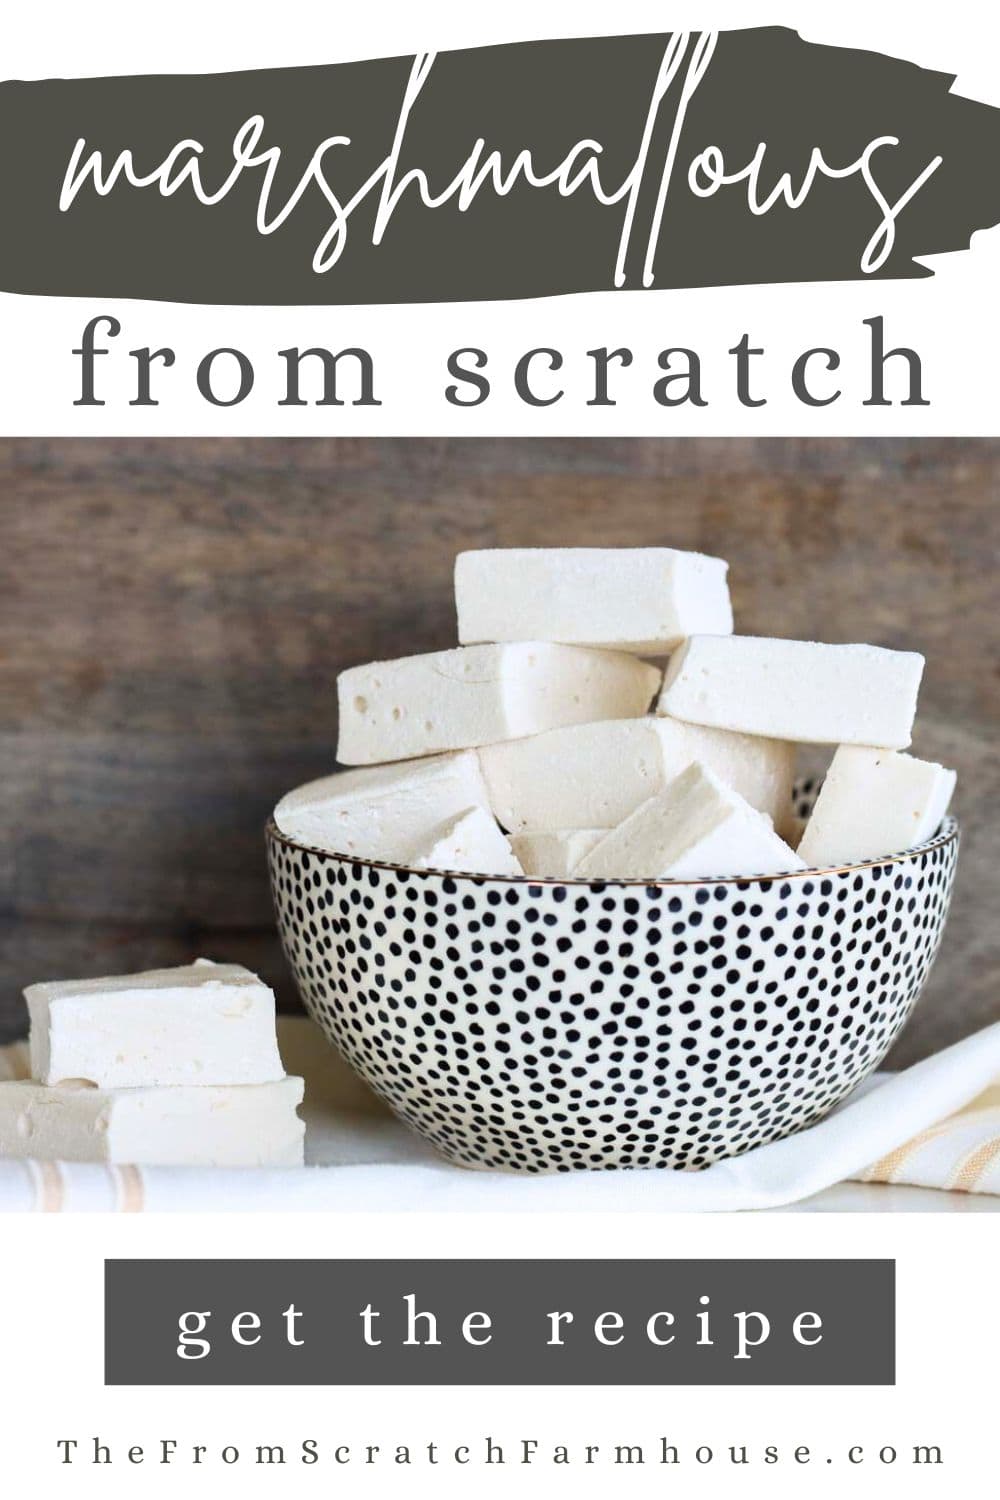
How to Make the Best {Easy!} Homemade Marshmallows
Equipment
- 9×13 baking pan
Ingredients
- 1/3 cup powdered sugar
- 3 tablespoons cornstarch I highly recommend organic
- 2 ½ tablespoons unflavored gelatin powder
- 1 cup water divided
- 1 ½ cups of granulated sugar
- 1 cup light corn syrup I highly recommend organic
- pinch of salt
- 1 teaspoon vanilla extract
- butter for buttering pan
Instructions
- Butter all sides of a 9×13 pan and set aside. In a small bowl, whisk together powdered sugar and cornstarch. Dust all sides of the buttered pan with the sugar mixture. A sifter works great for this! Set remaining mixture aside.
- To a stand mixer add 1/2 cup water. Then, sprinkle gelatin across the top. Let that sit to bloom, or absorb some of the water, while you do the next step.
- To a small saucepan add: ½ cup of water, sugar, corn syrup , and salt. Whisk it together over medium heat. Put on the lid and let heat up for about 4 minutes until it comes to a boil.
- Remove the lid and cook, without stirring, until the mixture comes to a temperature of 240 degrees Fahrenheit. This will take about 5-7 minutes.
- Carefully take the hot syrup mixture and pour it down the sides of the stand mixer bowl while the mixer runs on low speed. After it comes together, turn up your mixer speed to medium.
- Let it run for about 10 minutes until the mixture fluffs up. While it is mixing you can tap off any extra powdered sugar in your pan. Towards the end, add in vanilla extract, and then let it mix in for a minute more.
- Use a buttered spatula to transfer the marshmallow fluff to the pan and smooth it down evenly. I like to butter my hands next so that I can get it a little smoother and flatter.
- Dust the tops with more of the powdered sugar mixture and smooth it out so that just a light layer covers the entire surface. Cover remaining mixture and set aside.
- Cover the pan and set it aside for a minimum of 3 hours to firm up. Do not try to cut them right away because they don’t quite have the structure yet.
- Use a buttered knife to cut into your desired size. Dust all sides with the remaining powdered sugar mixture. Store in an airtight container.
Notes
How to Store Homemade Marshmallows
Store your finished marshmallows in an airtight container at room temperature. They will last at least a few weeks like this without getting stale or losing any quality. I honestly can’t tell you if they would last beyond that because we go through them too quickly!
If you want your homemade marshmallows to last longer than a few weeks, pop them in the freezer. They thaw well, but there might be some slight changes in texture.
What to Do With Leftover Marshmallows
Is too many marshmallows on hand something people struggle with? I’m not sure. But in case you are worried because you didn’t use up all of your marshmallows at last nights cookout, here are some suggestions:
First of all, marshmallows store wonderfully in an airtight container, or they can be frozen for long-term storage, so don’t worry about that!
- Homemade Rice Crispy Treats are a great way to use up your homemade marshmallows.
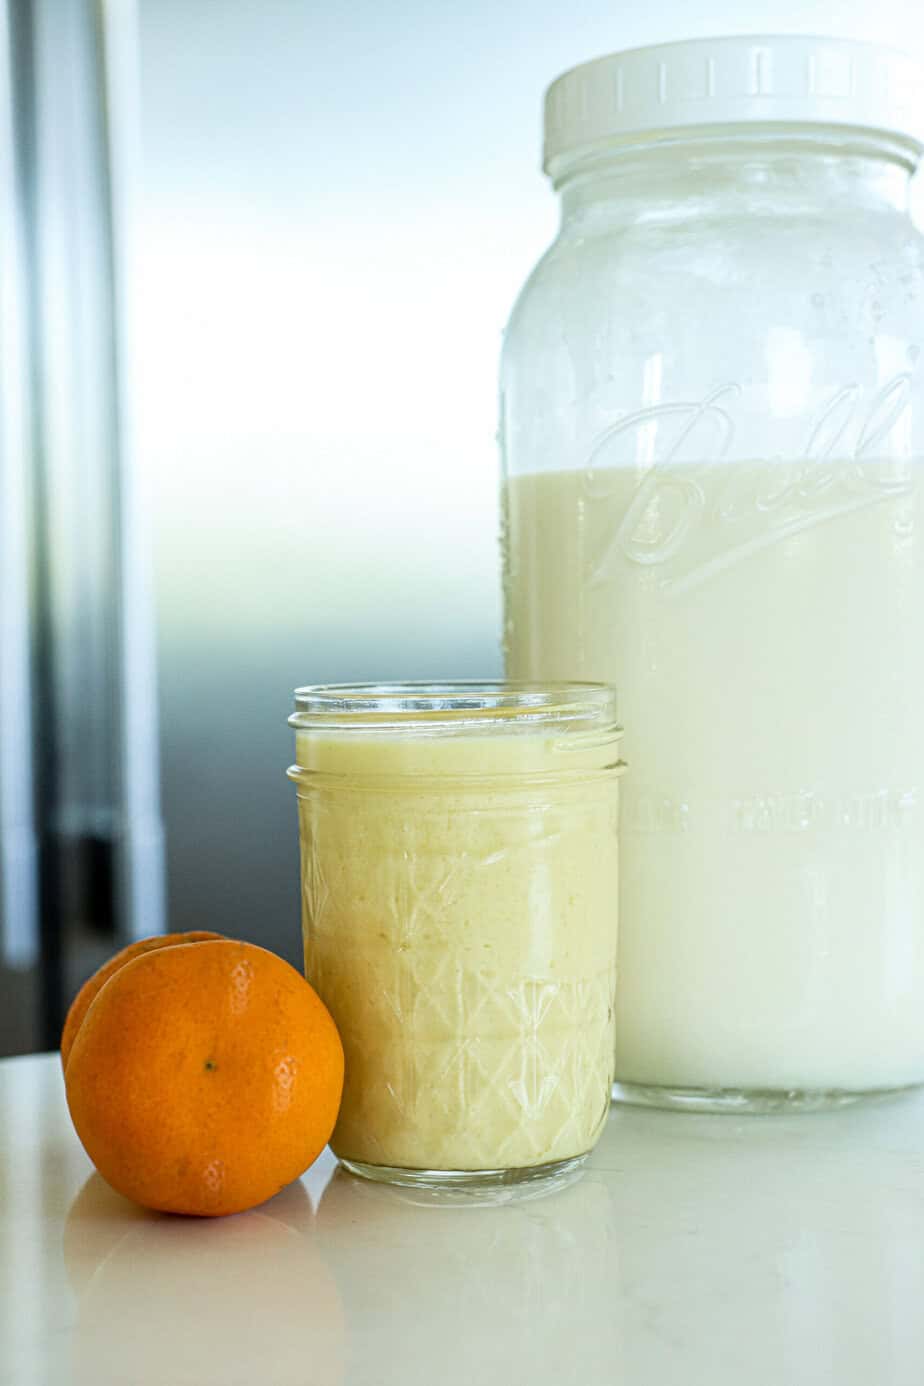
- I love making homemade frapps using a few marshmallows for some extra sweetness and creamy “marshmallow fluff” texture.
- Chop up your marshmallows and use them to top a sweet potato casserole
- Put them in your mug of hot chocolate or other warm and cozy beverage.
- Chop ‘em up and mix into cookie dough or brownie batter for a gooey surprise. Think rocky road vibes!
- Cut them into cute shapes and top cupcakes or a cake for an extra special touch.
- Chocolate-dipped marshmallows: Dip in melted chocolate, sprinkle with sea salt or crushed nuts, and freeze for a little sweet snack.
I’d love for you to tell me what you thought of this homemade marshmallow recipe in the comments, and be sure to Pin it for later on Pinterest!
FAQs
Can I substitute maple syrup or honey for the corn syrup?
You can definitely swap out these natural sweeteners for the corn syrup but keep in mind that the texture will be slightly different (less firm, more sticky), they won’t hold up great for toasting, and the shelf life will be shorter. Honey and maple syrup are also going to contribute their own unique flavors.
Are marshmallows dairy-free?
Most marshmallows are dairy-free, however, butter is used in this recipe to keep the mixture from sticking to the pan or the knife. To make it dairy-free, simply swap the butter for another neutral-tasting oil like refined coconut oil or avocado oil and go light.
Are marshmallows gluten free?
Yes, most (if not all) store-bought and homemade marshmallows, including this recipe, are gluten-free. If you would like the recipe to be completely grain-free, you can substitute tapioca starch for the cornstarch.
Are marshmallows vegan?
No, most marshmallows are not vegan because they contain gelatin, which is made from animal collagen (usually from bones and connective tissue). Definitely not plant-based. There are vegan options out there, but I don’t have a recipe for homemade vegan marshmallows.
Can you freeze marshmallows?
Yes! Marshmallows freeze really well. Just toss them in an airtight bag or container, and they’ll keep their shape and texture. Bonus: they don’t freeze rock solid, so you can eat them straight from the freezer (just don’t tell your kids!).
Can you put marshmallows in the fridge?
You can, but it’s not always ideal. The fridge can make them sticky because of the moisture in there. If you do refrigerate them, be sure they’re in a sealed container and dusted with plenty of powdered sugar + cornstarch mix to help prevent the stickiness.
Can you put marshmallows in the microwave?
Totally! They puff up like crazy in seconds!. Just be careful not to overdo it—they go from fluffy to lava in a flash. Great for:
- Quick s’mores
- Melting into recipes
- Making marshmallow fluff
Can you roast marshmallows over a gas fireplace?
Yes… but with caution. Make sure the fireplace doesn’t use ceramic logs with a chemical coating (some do, and that’s a no-go for food). If it’s a clean, open flame without weird coatings, it’s safe to roast over—but still not as ideal as a campfire or stovetop burner.
Did you make this recipe?
Please leave a 5-star review so that others can try it as well! Mention us @thefromscratchfarmhouse on Instagram so we can see your creations! You can also leave a comment below!
For even more from scratch dessert recipes, you may like these:
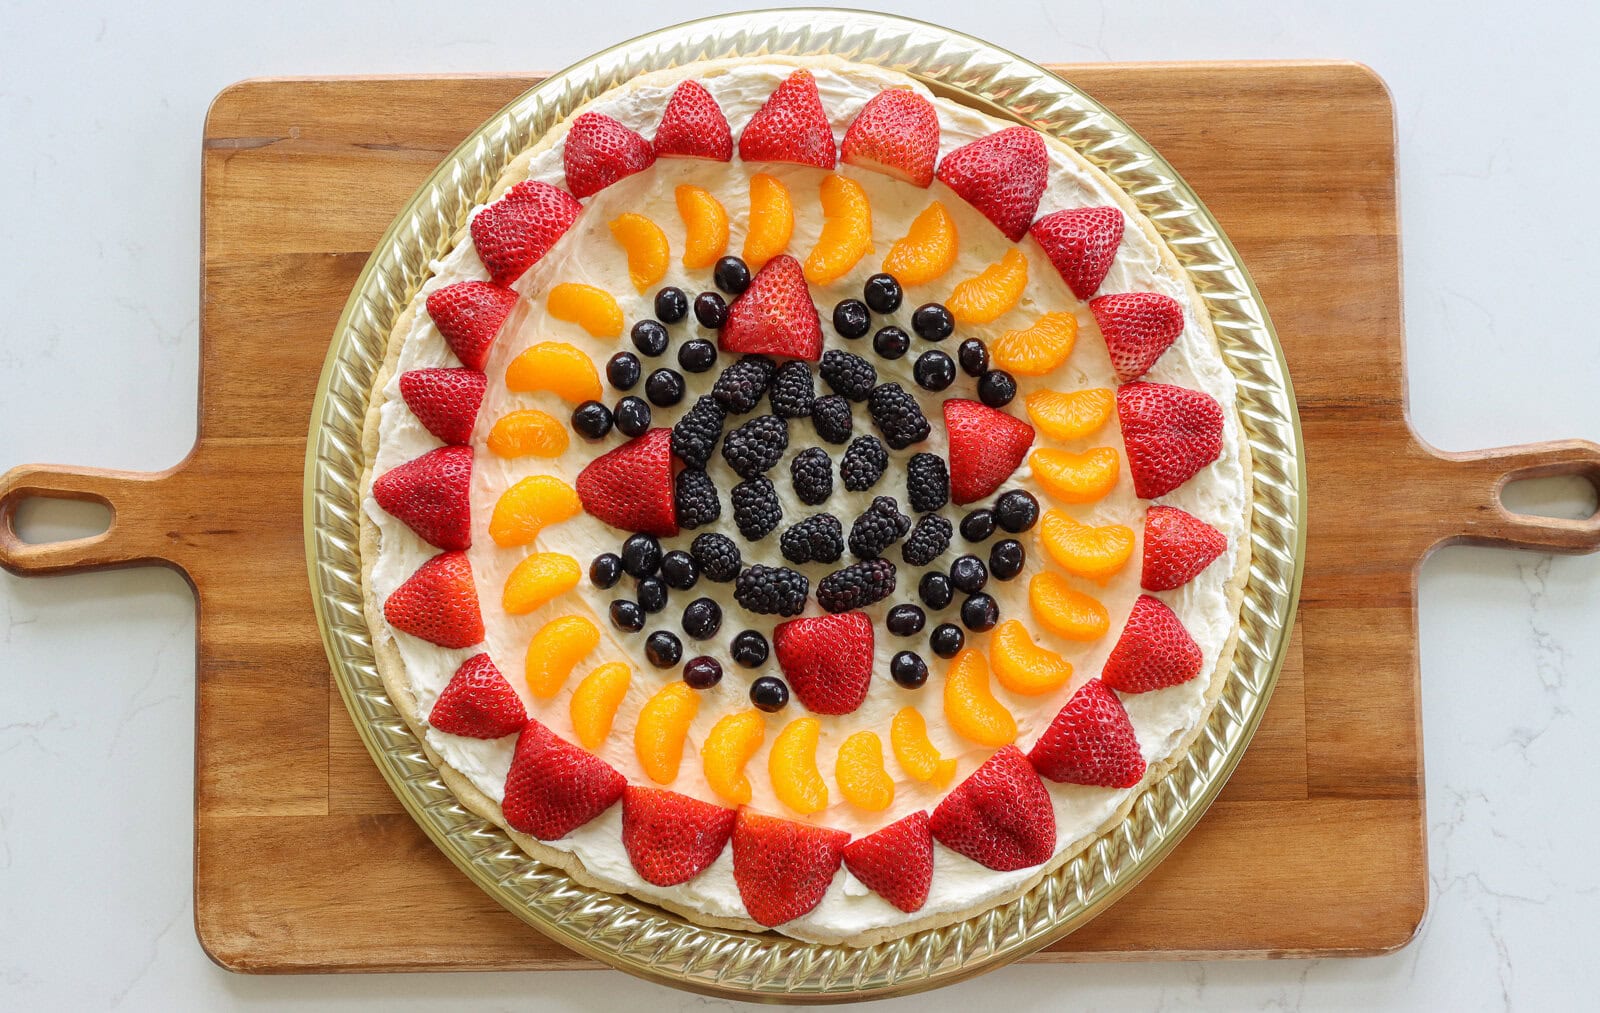
Best Sugar Cookie Fruit Pizza (easy summer dessert)

BEST Gluten-free Dairy-free Chocolate Chip Cookies {Without Flour, Refined Sugar, or Eggs}