This post may contain affiliate links. Please read our affiliate disclosure.
Whether you have already experienced the tangy crunch of pickled banana pepper rings and want to recreate them, or your garden has given you an abundance of peppers that you are not sure what to do with, this easy canning recipe is one of my favorite ways to preserve banana peppers. The best part? It’s a shelf-stable favorite you’ll enjoy year-round.
Banana Peppers are one of my favorite peppers to grow. Even in my northern climate, they have never failed me! I can always rely on a bountiful harvest and use this simple recipe to turn all those banana peppers into one of our most popular pantry staples.
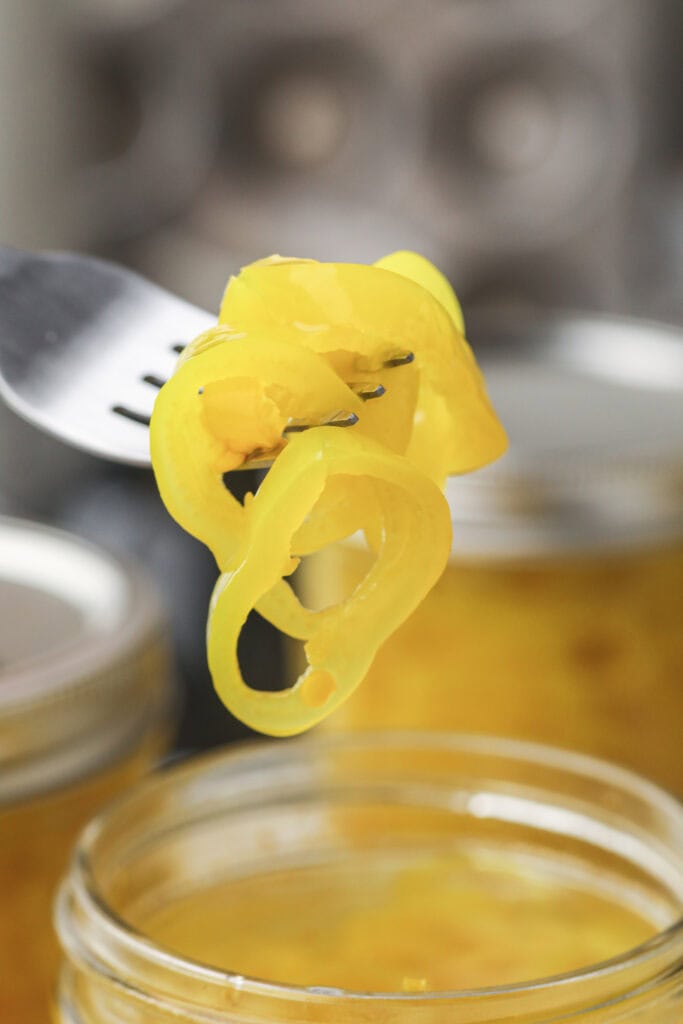
These flavorful pickled peppers are versatile and delicious. They have two purposes in my homestead kitchen – canned pickled banana pepper rings and salsa. Our favorite way to use them are to dress up salads and to top things like pizzas, hot dogs, pasta salads, tuna salad, and so much more. They add a delicious crunch and a tangy kick to every dish!
Why You Will Love This Recipe
- These pickled banana pepper rings are a go-to pantry staple with endless uses in the kitchen.
- This is a great recipe that requires low prep while turning your bumper crop of peppers into a shelf-stable condiment you can enjoy any time of year.
- You can adjust the amount of sugar in this recipe to fit your needs! More sugar for a milder pickle flavor, less sugar for a tangier taste.
Tips for Making Pickled Banana Pepper Rings
- Make sure to slice the banana peppers to the same thickness so the rings pickle evenly.
- Packing the peppers into the jars with a gentle push will keep banana pepper rings from floating to the top of the brine.
- Use white vinegar to clean the rim of the jar before putting on the canning lid. Unlike water, vinegar’s slight acidity is better at removing any sugar or salt residue from the brine that may still be on the rims.
How to Make Pickled Banana Pepper Rings
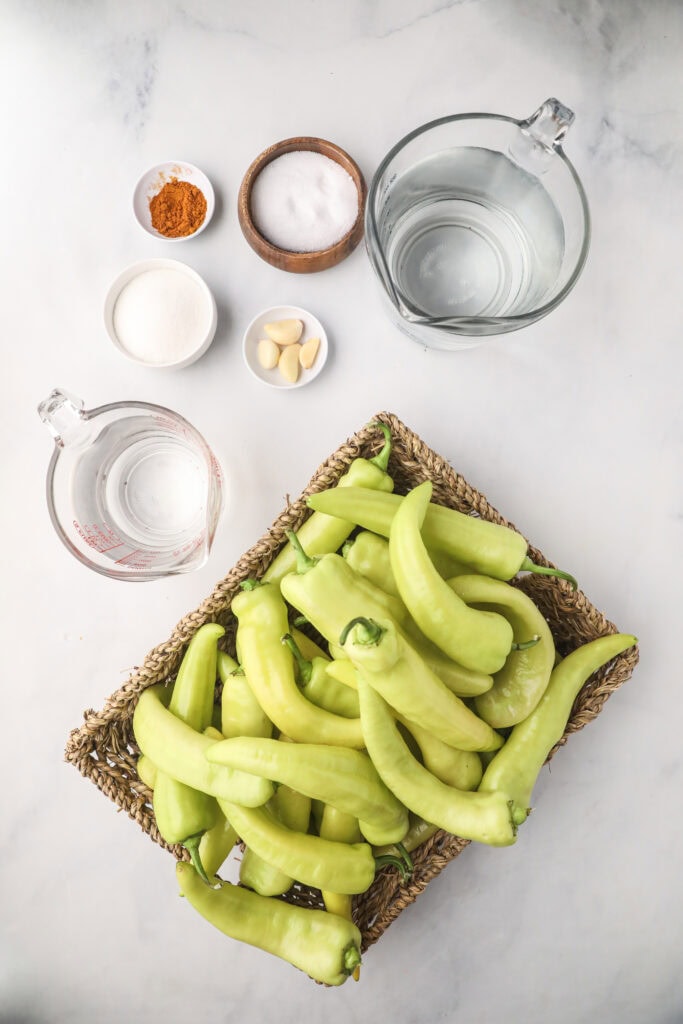
Ingredients you’ll need for this recipe:
For exact ingredient amounts, see the recipe card below.
Tools or other supplies you may need:
Step-by-Step Instructions
Step One: Harvest or source fresh banana peppers.
We can count on a harvest of banana peppers every year. Turning them into pickled banana pepper rings is our favorite way to preserve them and enjoy them all year round. Whether you have an abundance in your garden or you source them from the farmer’s market or grocery store, banana peppers are easy to find.
Use firm peppers that have just ripened. When overripe, they turn orange or red and can lose their crisp, classic crunch.
Step Two: Wash the peppers.
Banana peppers do not usually get very dirty while growing or when being harvested, but it’s still a good idea to rinse them well before canning to remove any dirt or bacteria.
Step Three: Prep your supplies and ingredients.
Check the equipment and ingredient lists and set out everything you need. Clean your jars with warm, soapy water. Look over the recipe and make sure you are prepared for each step. Canning projects always go smoother with a little prep.
Step Four: Slice the banana peppers into rings.
Cut the banana peppers into ¼ inch rings, discarding the ends. I usually push the majority of the seeds out of the rings and discard them as well. Removing them is completely optional, and keeping the seeds will not make the pickled banana peppers spicy.
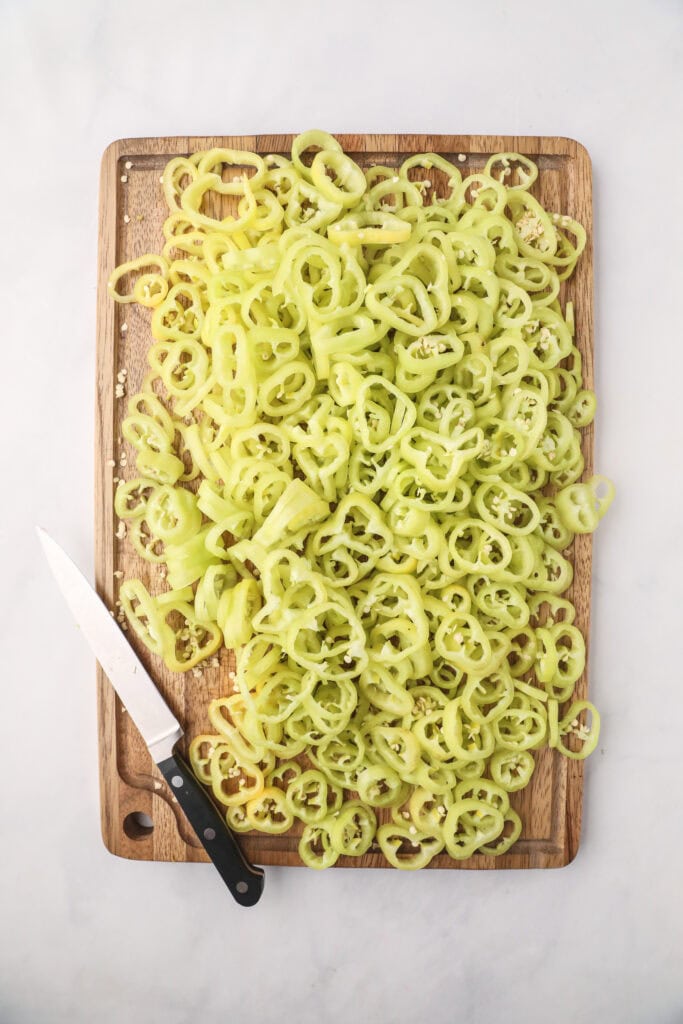
Step Five: Fill the jars with peppers.
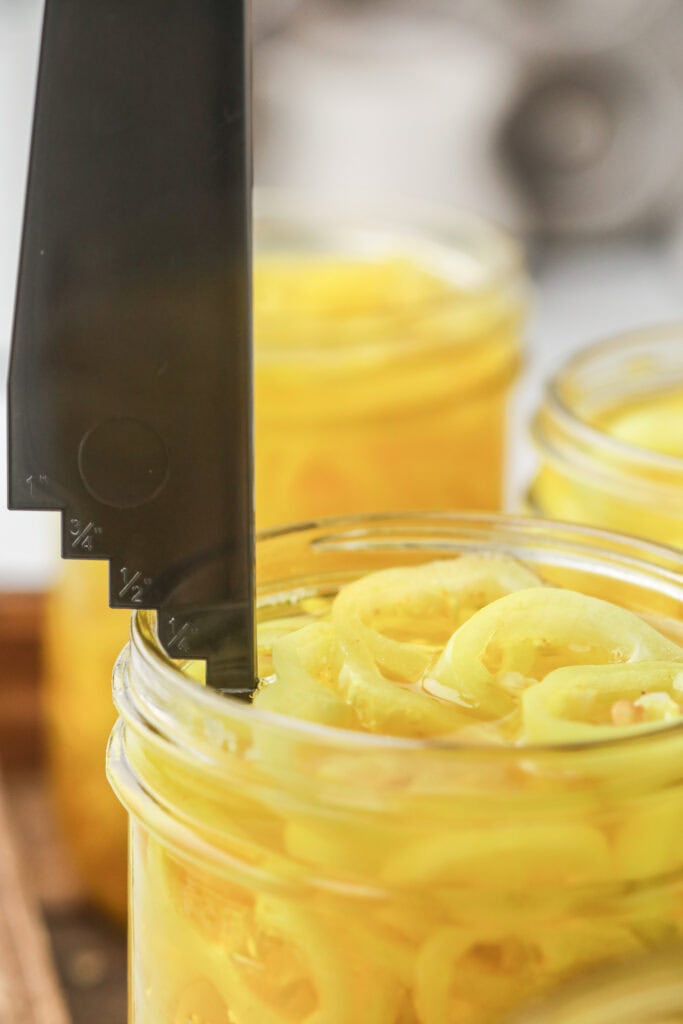
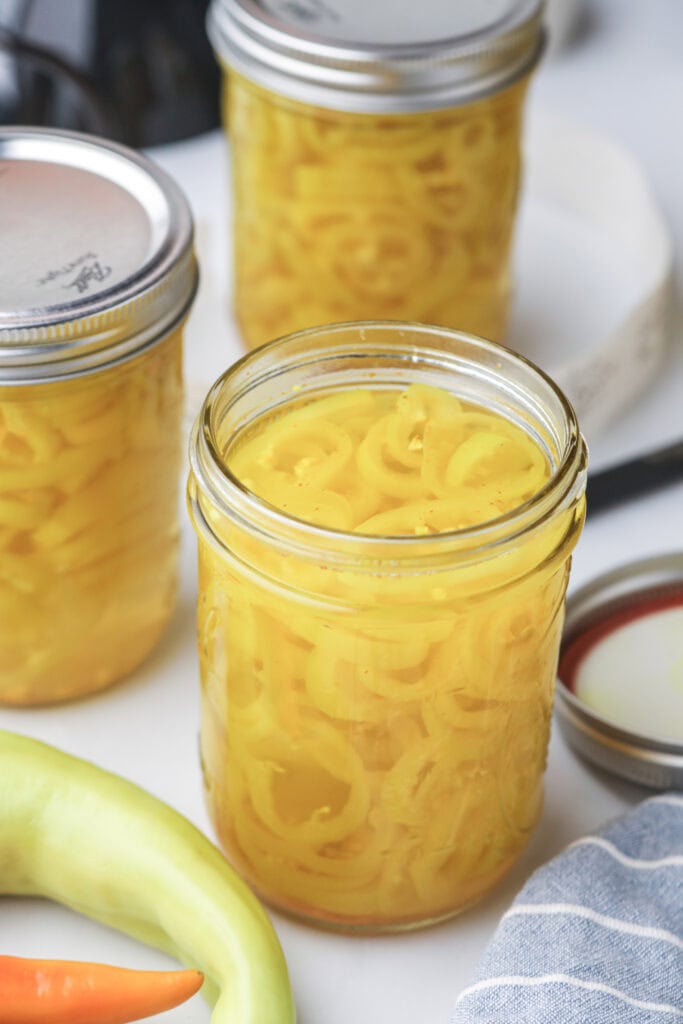
Fill 8 clean pint jars with the sliced banana peppers, leaving ½” of space between the peppers and the top of the jar. I like to make more room by gently pressing down on them as I’m filling the jar.
Step Six: Make the pickling brine.
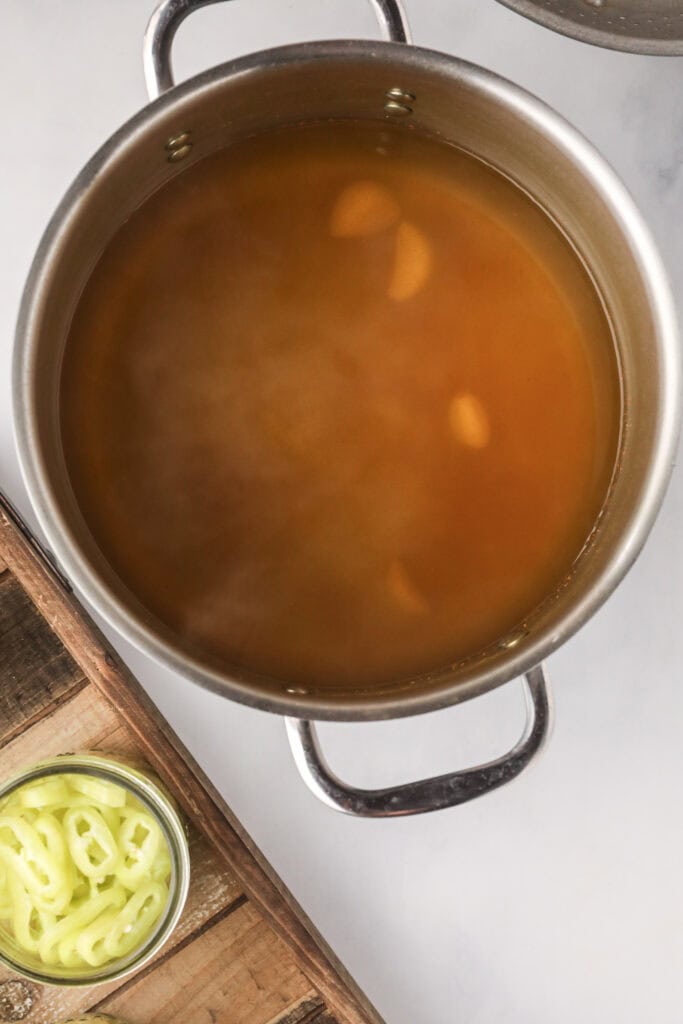
The remaining ingredients, except for the Pickle Crisp, are combined and brought to a boil in a large, non-reactive pot. I have a large stainless-steel pot that I use for most of my canning recipes, but you could also use enameled cookware. Aluminum, copper, and cast-iron cookware work well for other recipes, but they react to acidic ingredients, like white vinegar, and can cause off flavors or discoloration. Stick to stainless steel when canning.
Step Seven: Boil the brine.
Let the brine boil for two minutes, allowing for the salt and sugar to dissolve. Turn off the heat and use a clean stainless-steel or wooden utensil to remove the whole cloves of garlic from the hot brine.
Step Eight: Add the brine to the jars.
Pour the brine into the pint jars packed with the banana peppers. You can use a canning funnel to prevent spills and burns from the hot liquid. Make sure to leave ½” headspace. A headspace tool makes it simple to see and maintain the right headspace.
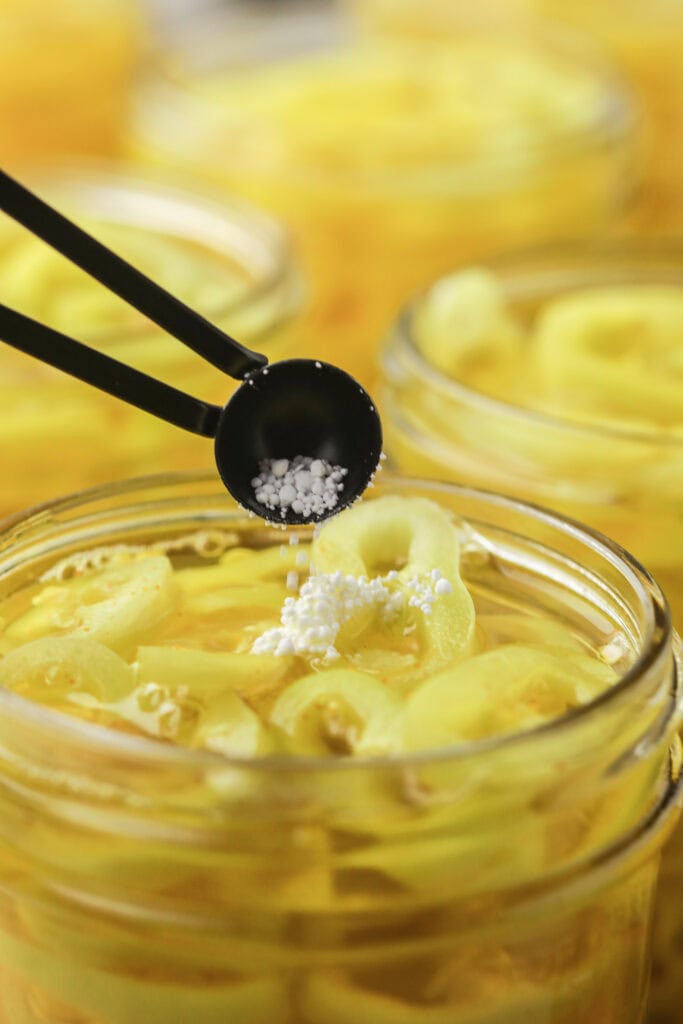
Step Nine: Add Pickle Crisp (Optional Step).
Add 1/4 tsp. of Pickle Crisp to each jar. Although this recipe is just as delicious without it, I like to add it in to make sure my pickled banana pepper rings come out crunchy.
Step Ten: Remove air bubbles.
Next, with a debubbler or knife, make sure to remove any air bubbles from each jar. Moving the debubbler around the inside edge of the jar and pressing lightly on the banana peppers will help release any trapped air bubbles. I usually double-check my headspace after doing this.
Step Eleven: Add lids and bands.
Wipe the rim of the jars with a wet paper towel or clean rag to ensure a good seal. Put on the lids and bands, securing the bands finger-tip tight. You should only be using the tips of your fingers to tighten them, not your whole hand. Not tightening enough will lead to brine escaping the jars. Overtightening can lead to cracked jars.
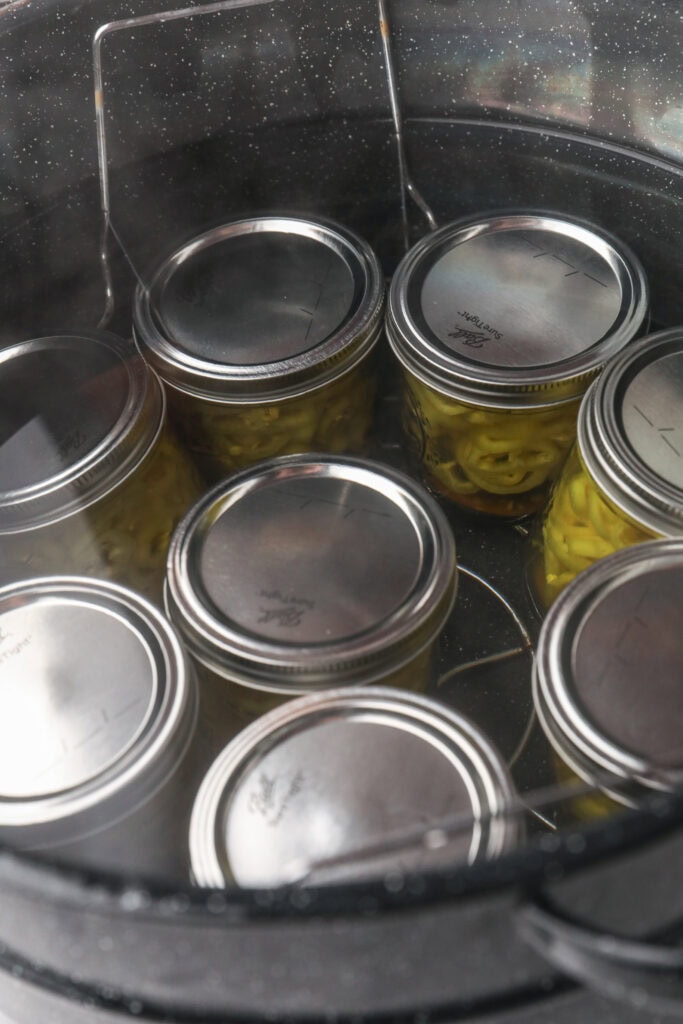
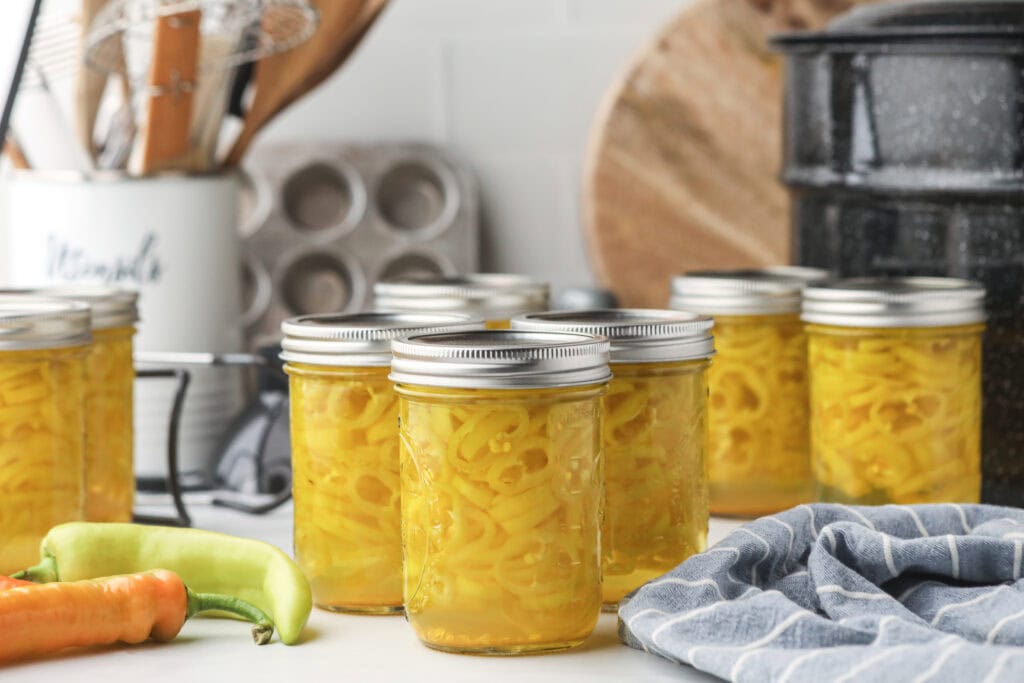
Step Twelve: Process the jars.
Finally, fill your water bath canning with enough water to cover the pint jars and bring the water to a simmer. Using a jar lifter, carefully lower each jar into the simmering water. Make sure the water covers the jars by at least 1 to 2 inches.
Cover the canner with a lid and bring the water to a full rolling boil. Once boiling, process your jars for 10 minutes (adjusting for altitude if needed).
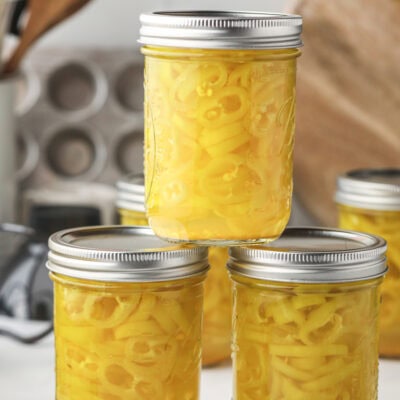
When the timer goes off, turn off the heat and carefully remove the lid. Let the jars sit in the hot water for 5 minutes—this helps prevent siphoning (brine leaking out). Then use your jar lifter to remove the jars and place them on a towel or cooling rack. Let them cool for 12-24 hours. You’ll hear the satisfying “ping” as the jars seal. After cooling, check seals by pressing the center of each lid—if it doesn’t pop back, you’re good to go!
Pro Tip
After the jars have cooled to room temperature, remove the rings from around the lids before storing your pickled banana peppers. This will allow you to easily spot any jars that failed to seal during canning and jars that experience seal failures while in storage (the lid will pop off or feel loose), keeping your pantry safer and your preserved food truly shelf-stable.
Pickled Banana Pepper Rings (easy canning recipe)
Equipment
- 8 Glass pint jars with new lids and bands (aka rings)
- Water bath canner
- Jar lifter
- Canning Funnel Optional: Helps to reduce spills
- Debubbler (aka bubble remover) Optional: You can use a spatula or butter knife
- Headspace tool
- Clean towels or paper towels
- Large stainless-steel pot
- Sharp knife
- Cutting board
- Measuring cups and spoons
Ingredients
- 4.5 cups Banana Peppers
- 10 cups White Vinegar
- 2 cups Water
- 1 tsp. Turmeric
- 8 tsp. Canning salt
- 4 T. Sugar
- 4 Garlic cloves Whole
- 1/4 tsp. Pickle Crisp
How to Store
The jars can be labeled with the contents and canning date once they have cooled and the seal has been checked.
Store them in a cool, dark place with low humidity.
Make sure to use the pickled banana pepper rings in the next 12 months, as their texture, color, and flavor can start to fade with long-term storage. They are safe to eat beyond that, so this is simply a recommendation for taste and texture!
Recipe Substitutions and Variations
This canning recipe calls for a specific calcium chloride called “Pickle Crisp”, which is a registered trademark of the Ball and Bernardin brands. It’s easy to find and a great addition to this recipe. You can also substitute it with another calcium chloride, but make sure it is food grade. Online retailers and some grocery stores that carry canning supplies will often have food-grade calcium chloride available.
Save this recipe for later by pinning it!
FAQs
Commonly asked question?
Is water bath canning different than pressure canning?
Water bath canning, also known as hot water bath canning, is used for high-acid foods like pickles. Because acidic foods can prevent the growth of C. botulinum (which makes botulism), they can be safely processed through the lower temperature of the boiling water (212°F) that water bath canning relies on. Low-acid foods, like vegetables and meat, can support the growth of C. botulinum and need to be processed at the higher temperatures (240-250°F) that a pressure canner can reach.
How long can you store an opened jar in the fridge?
If you have a jar of pickled banana pepper rings that doesn’t seal during canning, you can store it in the fridge for a couple of weeks.
How can you tell if pickled peppers have gone bad?
A bulging lid, mold, a slimy brine, and an off odor are all signs of spoilage. USDA guidelines recommend against tasting food to determine its safety. When in doubt, throw it out.
Are banana peppers a hot pepper?
Banana peppers are some of the mildest peppers when measured in Scoville heat units — way milder than jalapeños and other hot peppers. But if they are overripe or grown in hot weather, you can end up with hot banana peppers. Generally, they’re kid-friendly and great for pickling.
Did you make this recipe?
Please leave a 5-star review so that others can try it as well! Mention us @thefromscratchfarmhouse on Instagram so we can see your creations! You can also leave a comment below!
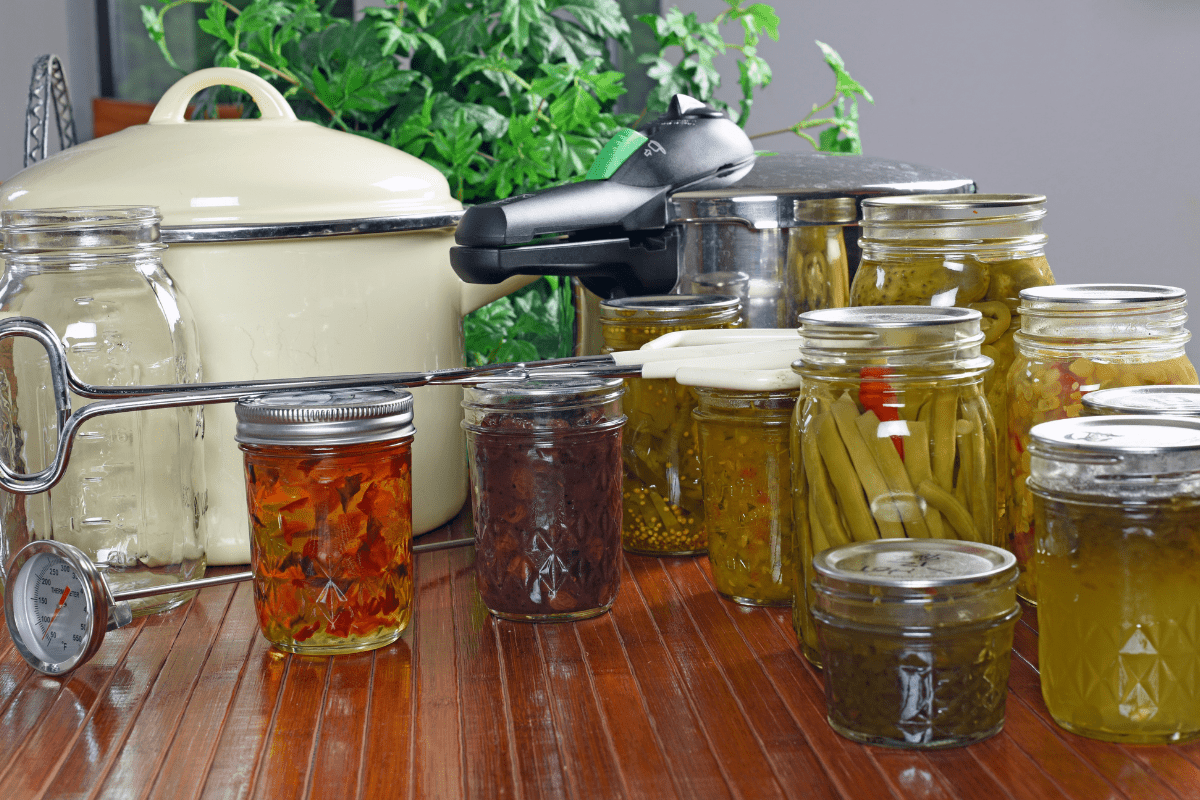
Check out these posts for more canning recipes and tips!
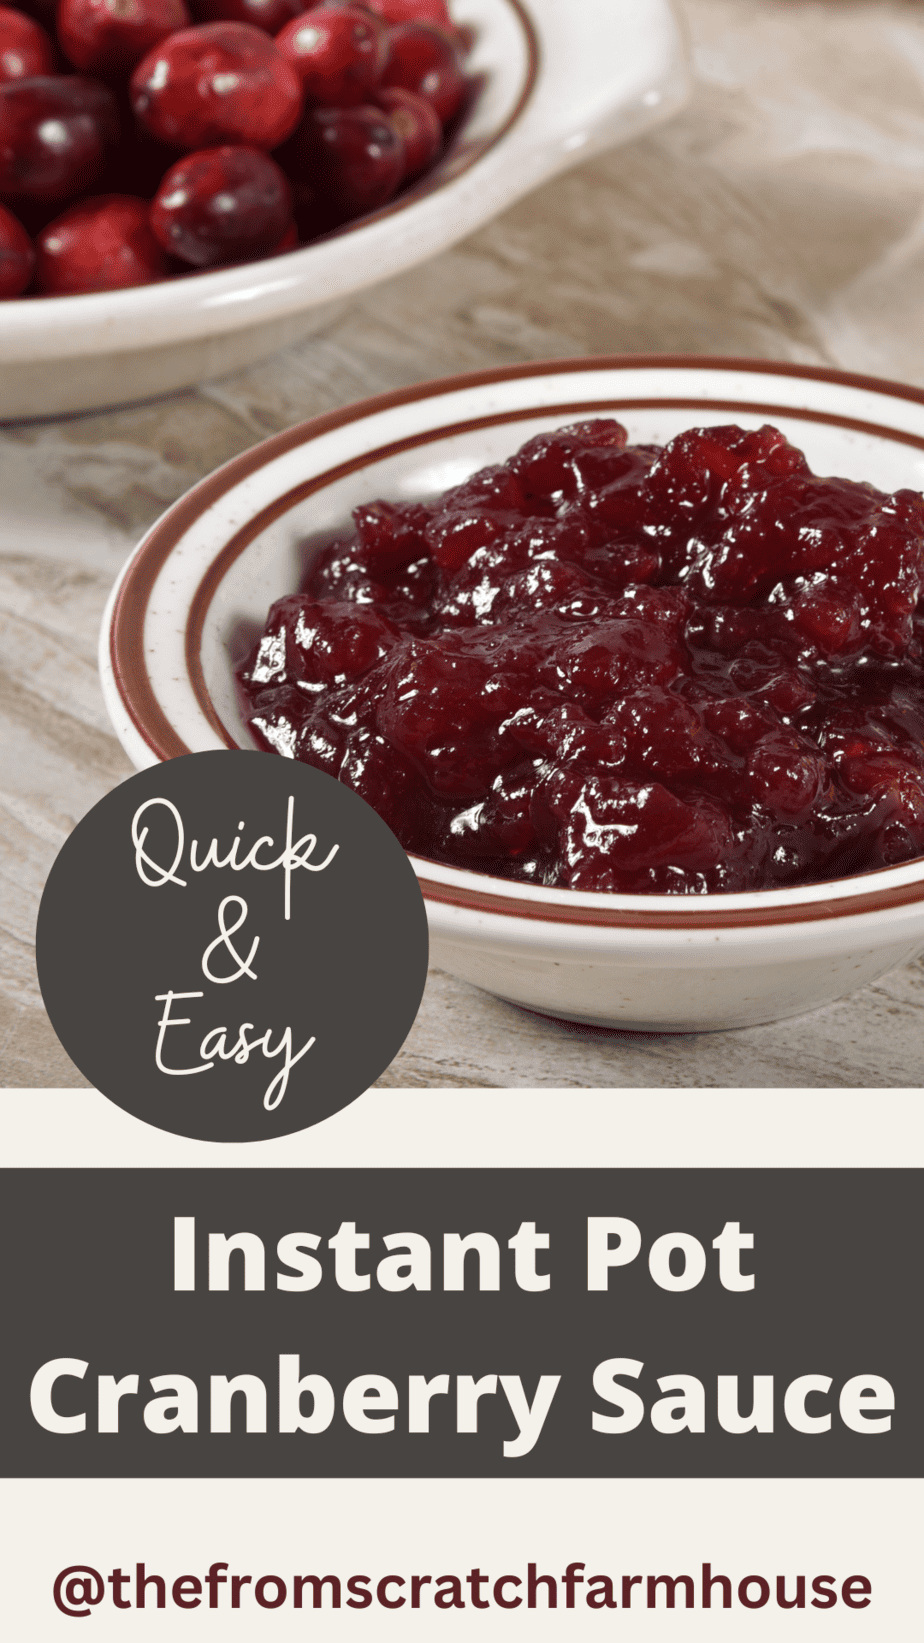
The Best Instant Pot Cranberry Sauce (+ how to can it)
How to Prepare for Your First Canning Season {Best Beginner Canning Equipment}