This post may contain affiliate links. Please read our affiliate disclosure.
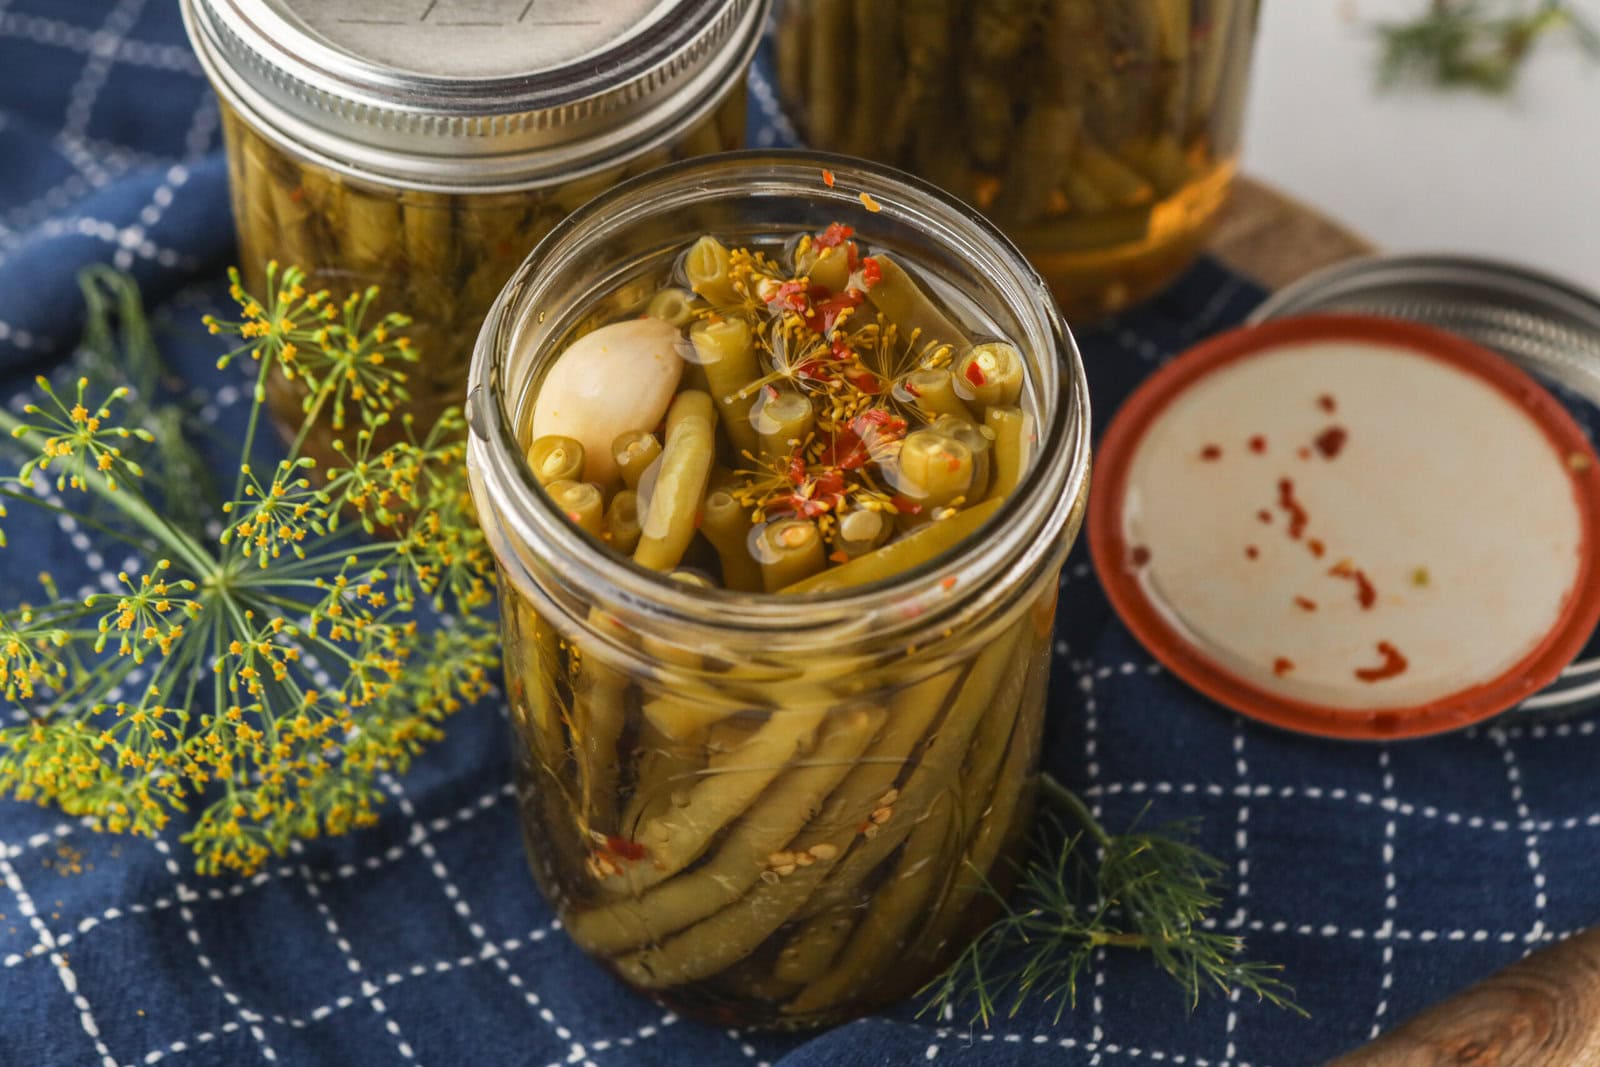
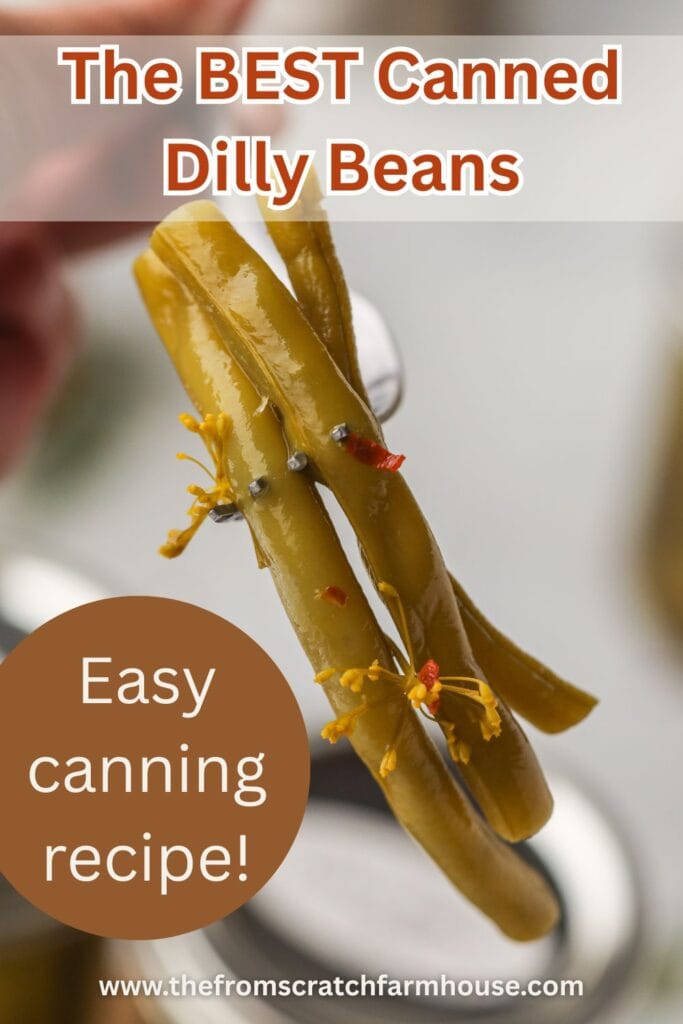
These zesty, crunchy dilled green beans are a family favorite that we can up many pints of each year. Even if you are new to canning, this easy recipe will have you filling your pantry in no time. Whether your family likes the mild version or the spicy dilly beans, they are sure to become a hit in your home too!
If you have come across this recipe, you are likely in one of two camps. You either experienced dilly beans at a friend or family member’s home, fell in love, and needed a recipe to recreate them, or you came across my posts on Pinterest, social media, or YouTube and became intrigued.
I was in the first camp. I was nearly 30 when I went to a friend’s house and experienced dilly beans (aka pickled green beans) for the first time. My entire family loved them and begged me to make them. The problem? My friend couldn’t remember which canning book she had gotten the recipe out of and admitted that she had probably “winged” the amounts anyway.
If you know me, you know that I do not “wing” anything, but especially canning recipes (safety first!). I was determined, though, and went right to work researching and testing recipes. That first summer, I tried four different versions and we taste-tested them through the winter. Testing pickled veggie recipes is a long, drawn-out process because they don’t reach their peak of flavor for 6-8 weeks.
The following year, we tried our three favorite versions with a few tweaks. Finally, making our two favorite versions (a hint of spice and spicy) became a non-negotiable part of our summer routine.
Can I be honest, though? One of my favorite things about canning up 40+ jars of these easy dilled beans is that for the next year, I have the perfect grab-and-go food item to bring visiting or set out for guests. They are always a hit!
Why You Will Love This Dilly Bean Canning Recipe
- The combination of flavors (garlic, dill, red pepper flakes) has been perfected over the years to be full of flavor, yet not too spicy or overwhelming. In my experience, very few people don’t like them!
- Love spice? I’ve included an easy way to kick it up a notch.
- This recipe is so easy! It is a great project for beginner canners.
- A great way to use up green beans!
- Perfect for bringing visiting or pulling out for last-minute guests
- Great homemade shelf-stable snack for kids
Tips for Making the Best Dilled Green Beans
- Green beans should be picked fresh and canned the same day whenever possible. Yes, you can use store-bought green beans, but they will likely be a little less crisp.
- When harvesting green beans there is a sweet spot. They should look full, not thin or undeveloped, but you shouldn’t be able to see the shape of each individual bean inside. These are too ripe!
- Laying out all of your supplies ahead of time will make the process quick and easy
- Dill heads, sprigs of dill, or dried dill can all be used. Fresh dill, either heads or sprigs, is best!
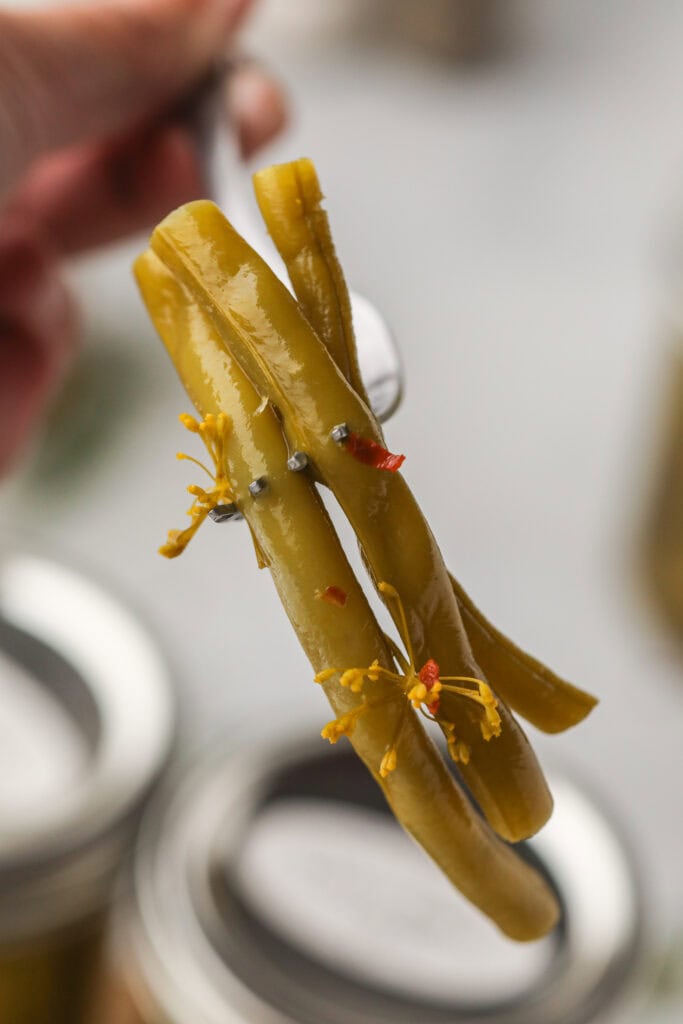
How to Serve Dilly Beans
- A quick snack that everyone loves
- As an addition to a charcuterie board
- Antipasto platters
- Take a piece of lunch meat and place a dilly bean and a strip of cheese in the middle. Roll up and serve. This is a great toddler lunch item!
- Chop into 1-inch pieces and add to your favorite pasta for a wonderful side dish
How Can Dilly Beans (Dilled Green Beans )
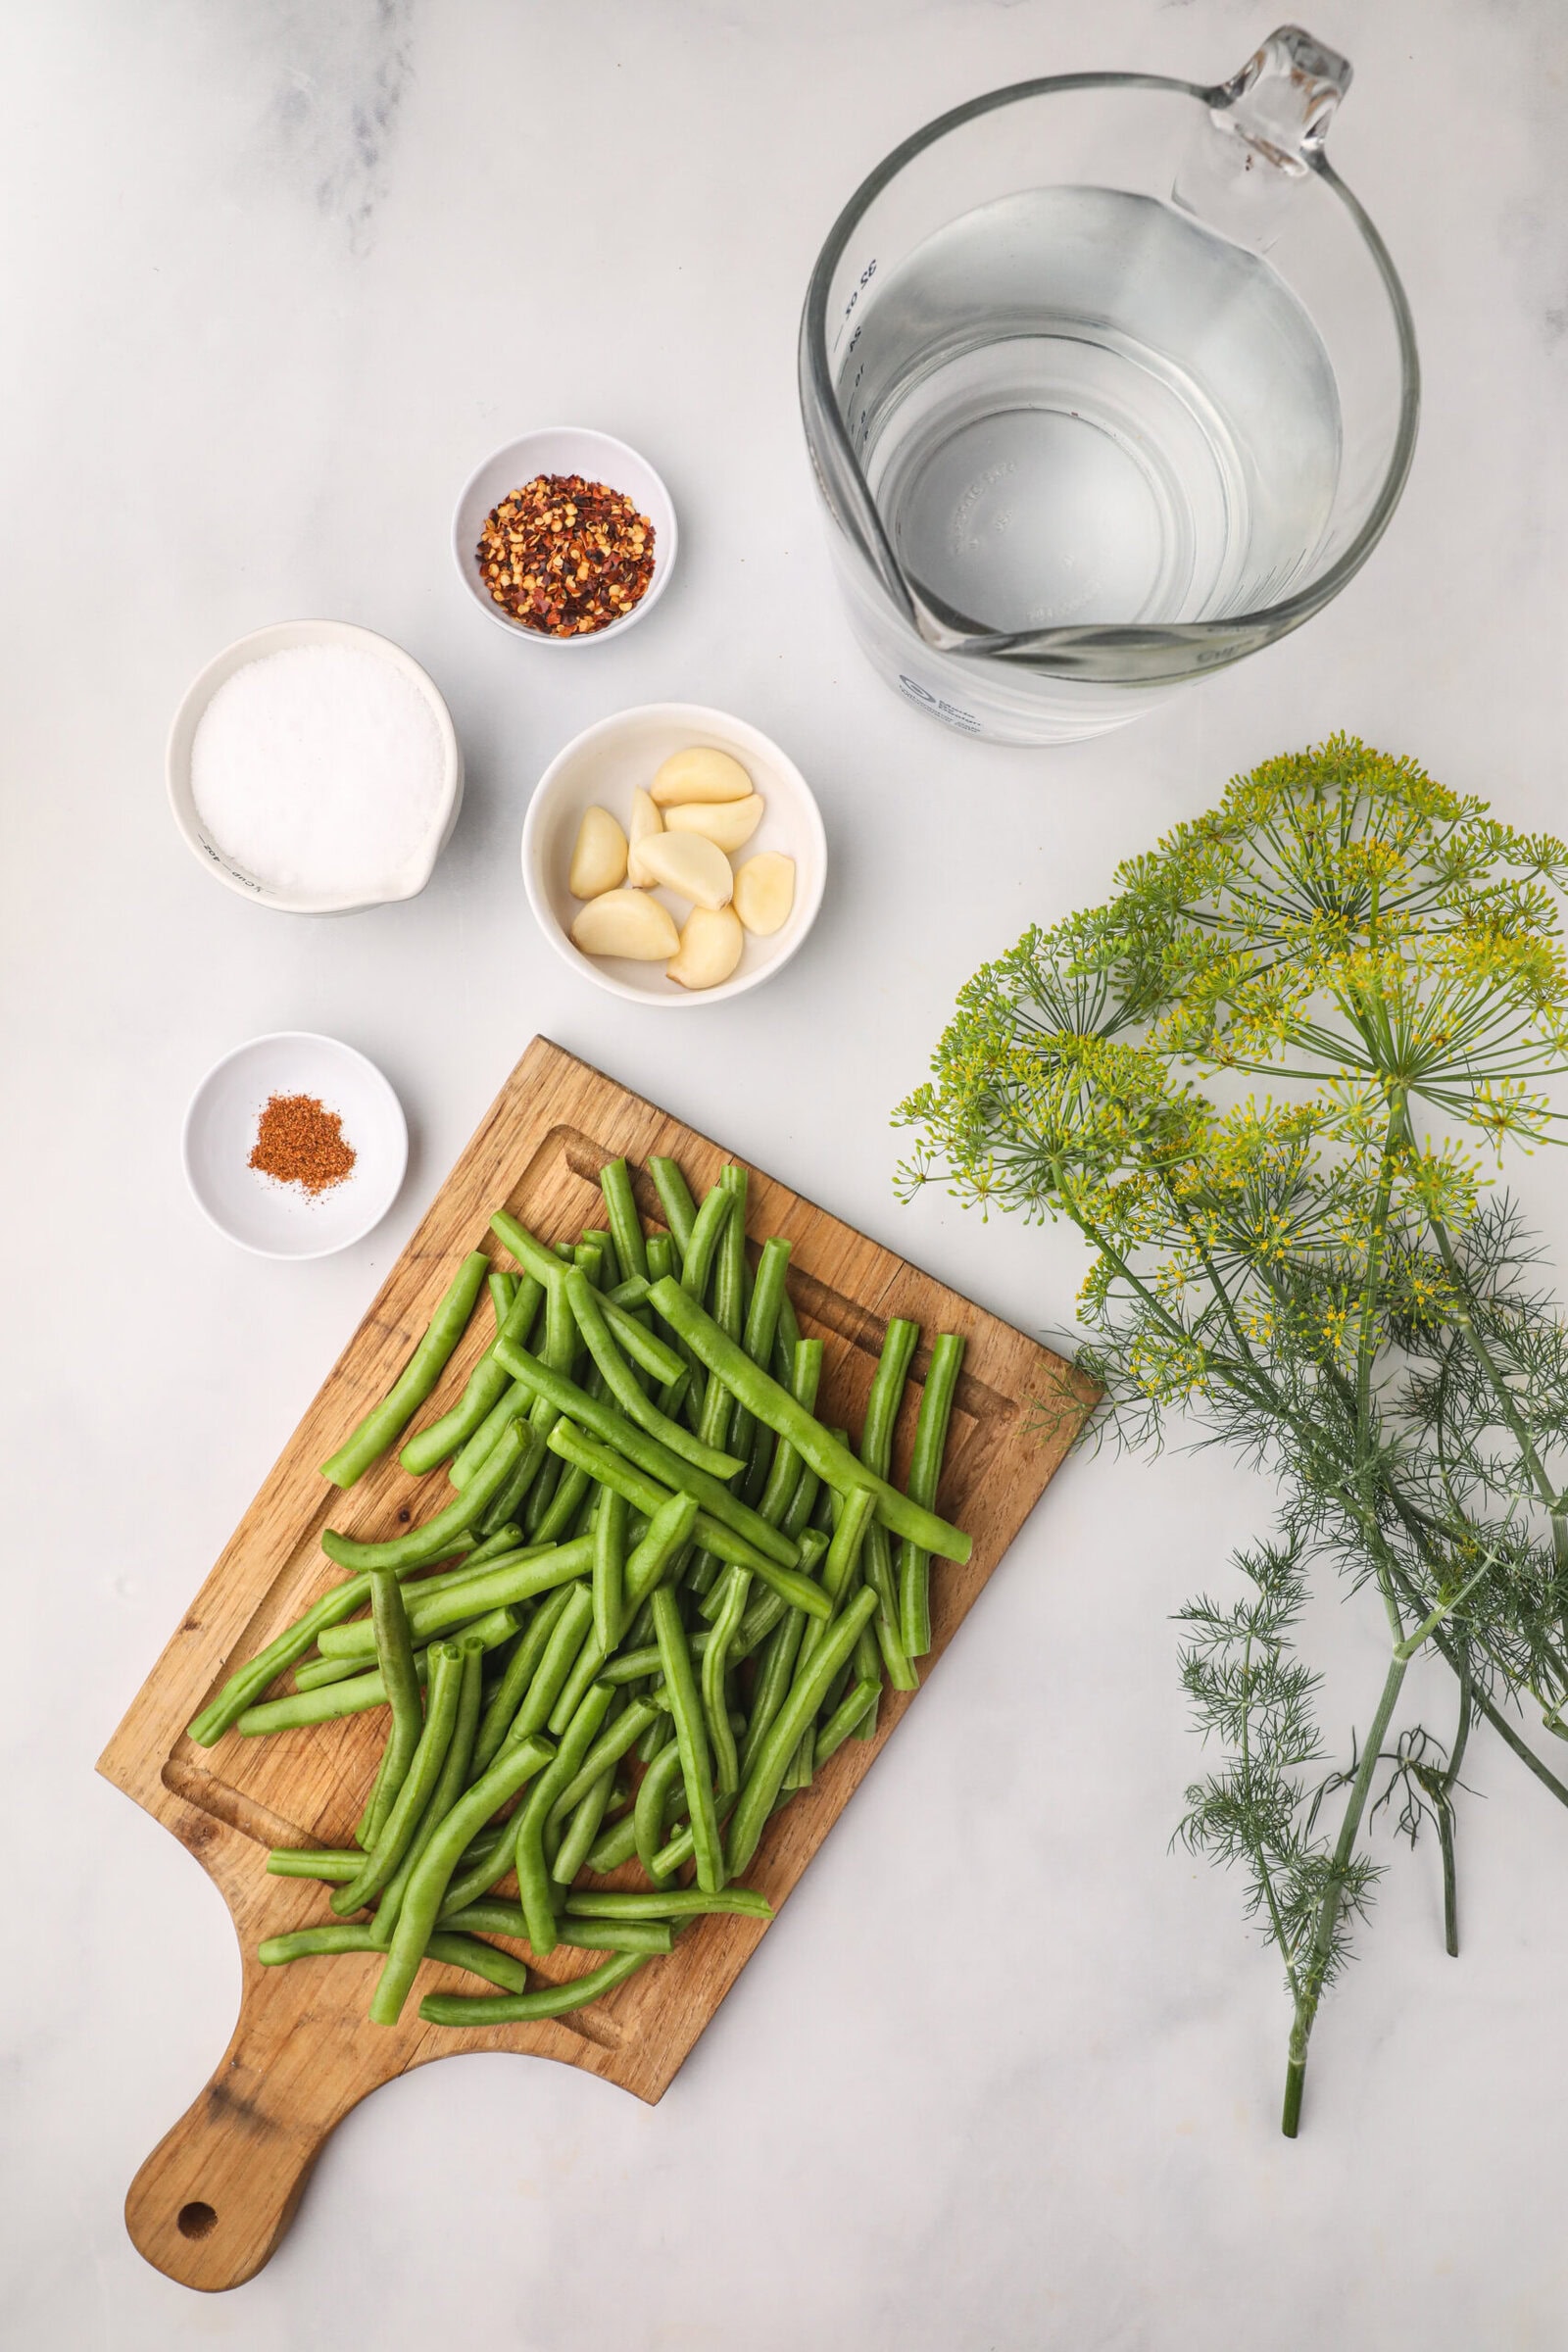
Ingredients you’ll need for this recipe:
For exact ingredient amounts, see the recipe card below.
Tools or other supplies you may need:
Step-by-Step Instructions
Step 1: Harvest or source fresh stringless green beans.
We grow a large patch of green beans each year. Some of them get canned, but the majority of them go to making these dilled beans. I prefer the Provider bush bean variety if you want to try growing your own.
Other places to source bulk fresh green beans are farmers’ markets, local vegetable farms, or your gardener friend who just might have way too many. Your local grocery store may have green beans as well, although they are likely not as fresh.
For making dilly beans, make sure to harvest the beans when they are fully mature (not flat), but before they get plump and tough. You shouldn’t be able to see the shape of the beans inside the pod. This is too overripe and your dilly beans will not be tender enough to chew easily. Make sure to refrigerate the green beans after harvesting or they will get soft and wilted.
Step 2: Wash the green beans.
This is probably the most laborious part of the entire process, but is a great job for kids who want to help. Green beans don’t get super dirty in the garden, but it’s still a good idea to rinse them well to remove dirt, bacteria, and the occasional bug.
Step 3: Prep your supplies and ingredients.
Check the equipment and ingredient lists in the recipe card below and set out everything you need. Clean your jars. Look over the recipe and make sure you are prepared for each step. Canning projects always go smoother with a little prep.
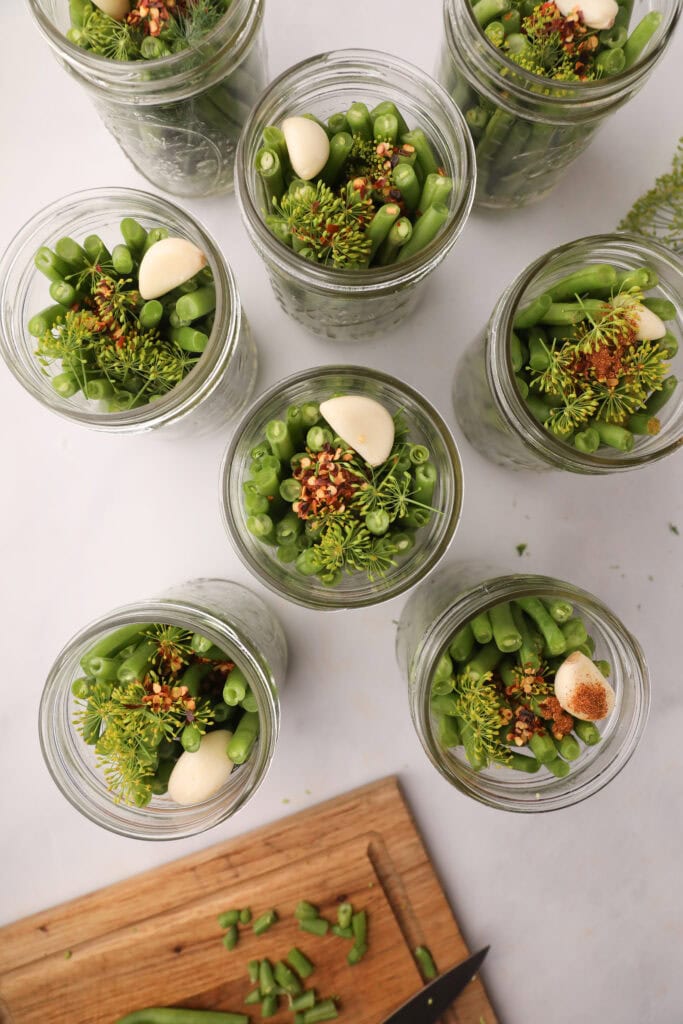
Step 4: Prep your jars.
Set out 8 clean pint jars. Place one head of dill in the bottom of each jar. A “head” is a large cluster of yellow flowers. These can vary in size quite a bit. If the head of dill is quite large, just do a few of the yellow flower clusters. I like to add a little green dill sprig along the side of the jar as well.
If you don’t have heads of dill, you can use fresh sprigs (the green leafy portion) instead. These are readily available at grocery stores in the produce section.
Step 5: Chop the green beans to size.
Cut your beans to the correct size, cutting off each end. It helps to use one bean as a template of sorts. Place it in the jar to see how long it needs to be so that it doesn’t rise above the neck of the jar. Then use this bean to get the rest to the correct size as well.
Step 6: Fill the jars with the cut beans.
As you chop the beans, add them to the jars. You want to pack the jars as tightly as possible.
Step 7: Add in the flavor.
Once all of your jars are filled with beans, add 1 small clove of garlic, ½ of a small head of dill (or a few of the yellow flower clusters), ¼ tsp. red pepper flakes. If you want spicy dilly beans, add ⅛ tsp of cayenne pepper as well. Most people prefer the milder version, so I usually only make one batch of spicy per year. The non-spicy version does have a bit of kick to it from the red pepper flakes, but not enough to deter kids or those who don’t like spice.
Step 8: Prepare the brine.
To a large stainless pot, add 5 cups of water, 5 cups of white distilled vinegar, and ½ cup of canning salt. Whisk well while heating over medium heat until all of the salt is dissolved and the brine is almost to a boil.
Step 9: Fill and start heating your canner.
Fill your water bath canner about half full and start heating the water over medium heat. The water level should be high enough to cover the jars. You don’t want the water to boil yet. The goal is to get the brine and the canner water to approximately the same temperature so that you don’t get any cracked jars.
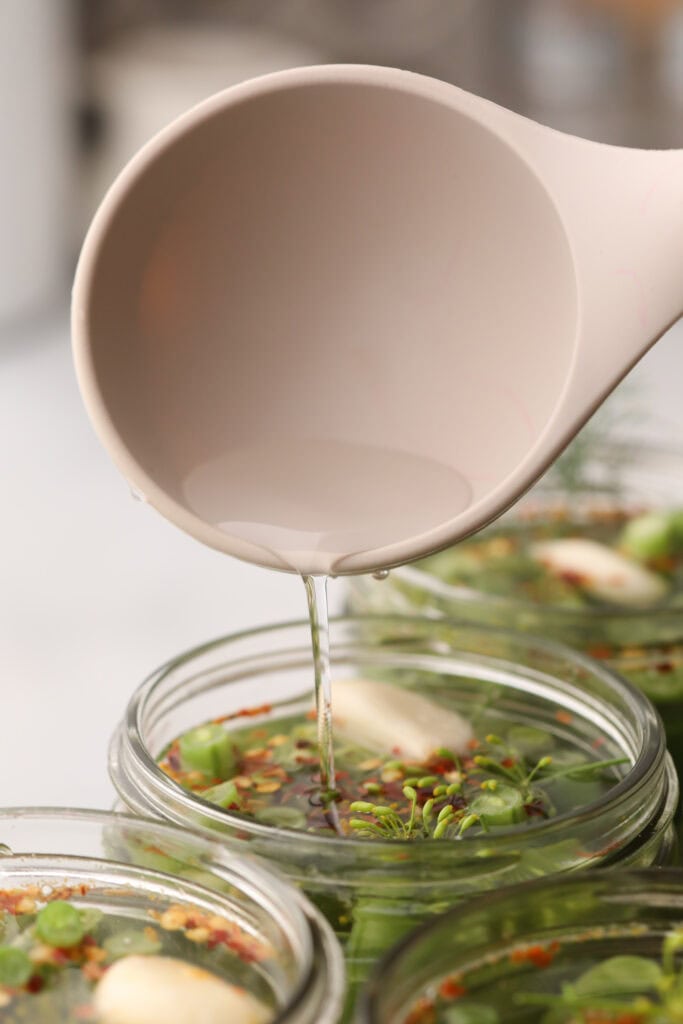
Step 10: Fill the prepared jars of beans with the hot brine.
Add the brine to the jars using a ladle, leaving ½ inch of headspace. Remove any trapped air bubbles with a knife or debubbler as you go. Wipe the jar rims with a wet paper towel or rag. Put on lids and rings. Secure the rings finger tip tight, meaning you are only using the tips of your fingers to tighten them, not your whole hand. Not tightening enough will lead to jars losing brine. Tightening too much can lead to cracked jars.
Step 11: Process the jars in the water bath canner.
Place the hot jars in the hot (not boiling) canner, making sure that the jars are covered with a few inches of water. Turn your canner to high heat and bring the water to a boil. Put the lid on your canner as it heats.
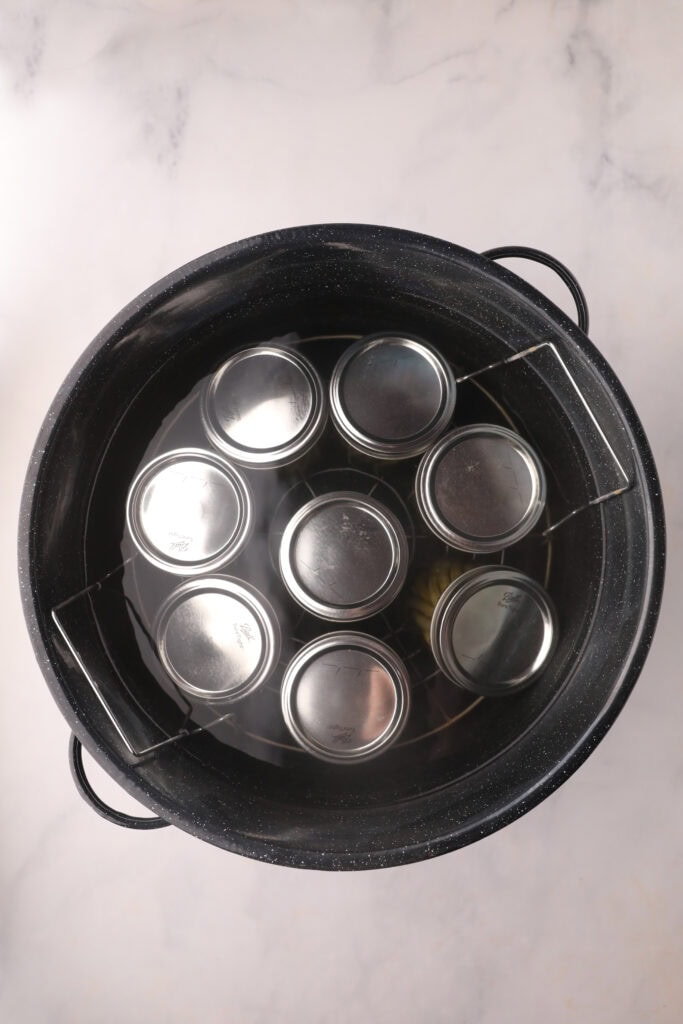
When the water comes to a rolling boil, start your timer for 10 minutes. When the timer goes off, turn off the heat and remove the lid. Let the jars sit for 5 minutes, still in the canner, while the canner cools slightly. This is to reduce the chance of “siphoning,” where the brine seeps out of the jars after they have been removed. This can be prevented by letting the jars cool more slowly.
Remove the jars, using a jar removal tool, to a dry towel and let them cool for at least 12 hours before checking the seals and removing the rings. Label and store in a cool, dark place.
Any that did not seal can be stored in the fridge and eaten over the next 3-4 weeks. This is uncommon though, so if you are having jars fail to seal, check your process and make sure your lids are new, clean, and from a reliable source.
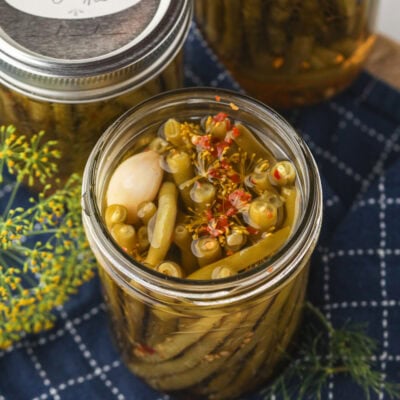
The Best Canned Dilly Beans (dilled beans recipe + video)
Equipment
- waterbath canner or large pot with lid
- 8 pint-sized canning jars
- bands and lids for jars
- Jar lifter
- debubbler and headspace tool optional, but handy
- Funnel optional
Ingredients
- fresh stringless green beans about 4.5 lbs
- 16 small heads of fresh dill or 8 large
- 8 small green sprigs
- 5 cups water
- 5 cups white distilled vinegar
- ½ cup canning salt
- 8 cloves of garlic
- 2 teaspoons red pepper flakes divided
- Optional for “spicy” dilly beans: 1 tsp. Cayenne pepper divided
Instructions
- Start by setting out 8 clean pint jars. Place one head of dill in the bottom of each jar. If the head of dill is quite large, just do a few of the yellow flower clusters. I like to add a little green sprig along the side of the jar as well.
- Wash and cut your beans to the correct size, cutting off each end. It helps to use one bean as a template of sorts. Place it in the jar to see how long it needs to be so that it doesn’t rise above the neck of the jar. Then use this bean to get the rest to the correct size as well.
- As you cut the beans, fill the jars tightly. They should be so packed in there that you can’t shove another bean in.
- Once all of your jars are filled with beans, add 1 clove of garlic, ½ of a small head of dill (or a few of the yellow flower clusters), and ¼ tsp. red pepper flakes. Optionally, add ⅛ tsp of cayenne pepper for extra spice.
- To a large stainless pot, add 5 cups of water, 5 cups of white distilled vinegar, and ½ cup of canning salt. Whisk well while heating over medium heat until all of the salt is dissolved.
- At the same time, start heating your canner water. The water should be high enough to cover the jars.
- Add the brine to the jars using a ladle, leaving ½” of headspace.
- Remove any air bubbles with a knife or debubbler as you go.
- Wipe the jar rims with a wet paper towel or rag.
- Put on lids and rings. Secure finger tip tight.
- Place the hot jars in the hot (not boiling) canner, making sure that the jars are covered with a few inches of water. Turn your canner to “high” and bring to a boil. Put the lid on your canner.
- When the water comes to a boil, start your timer for 10 minutes.
- When the timer goes off, turn off the heat and remove the lid. Let sit for 5 minutes.
- Remove the jars to a dry towel and let cool for at least 12 hours before removing the rings. Label and store in a cool dark place.
You can also watch me make dilly beans in the video below!
Save this recipe for later by pinning it!
FAQs
Can I use a water bath canner or do dilly beans need a pressure canner?
Due to the vinegar in this recipe, dilly beans can be safely water bath canned. Do not lessen the amount of vinegar! Without the correct acidity, there is a risk of botulism.
Can I can dilly beans in quart jars?
I do not recommend canning these in quart jars because the increased processing time would make them mushy.
Can I make dilly beans without canning them?
Yes, just make them similar to refrigerator pickles. Instead of placing them in 8 different small jars, put them all in a 1-gallon jar. Add all of the pickling solution and then refrigerate for at least a week before eating.
Can I use yellow beans for dilly beans?
Yes! I usually just grow one variety, but you could do green and yellow for a beautiful jar.
I don’t have canning salt, can I use table salt?
The reason that canning recipes call for “canning salt” is that table salt often contains additional additives. Just be sure that yours does not or it may affect the quality of your finished product.
What is the shelf life of canned dilly beans?
They are best eaten between 6 weeks and 1 year, but they are perfectly safe to eat as long as your seals are still tight. This could mean years!
Did you make this recipe?
Please leave a 5-star review so that others can try it as well! Mention us @thefromscratchfarmhouse on Instagram so we can see your creations! You can also leave a comment below!
For more easy canning recipes, check out these:
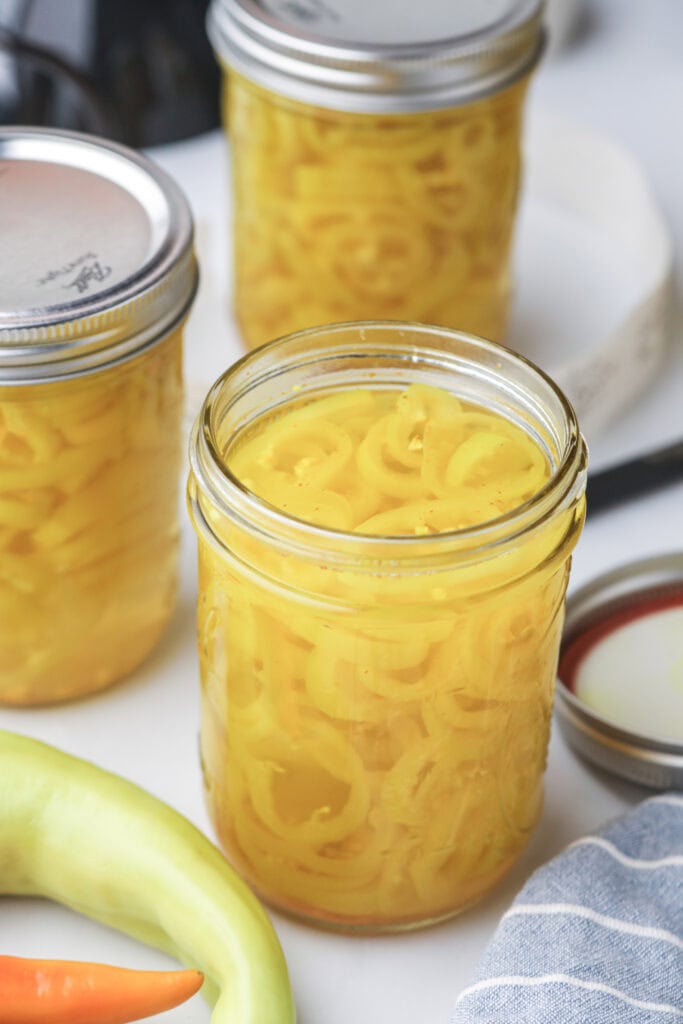
Pickled Banana Pepper Rings (easy canning recipe)
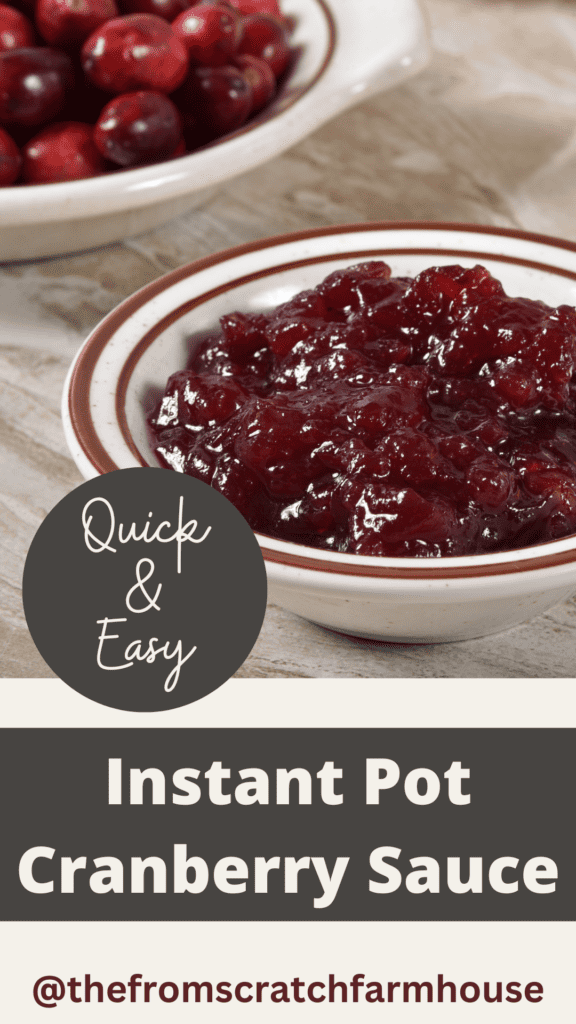
The Best Instant Pot Cranberry Sauce (+ how to can it)