Looking to get started canning? Now is the time to gather your canning supplies and prepare for the growing season ahead! This tutorial is beginner-friendly and will have you ready to tackle this homesteading skill with confidence.
In today’s news headlines “Food Shortages” are the hot topic. While theories vary greatly on the underlying cause, we can’t deny the quickly rising prices, and in some cases, bare shelves at the stores.
I am feeling extremely grateful that the food supply issues have yet to affect my family. How can this be? We have months’ worth of food stocked away in our freezers and cellar!
If you are thinking that it is time you jumped on board learning how to grow and preserve your own food, I’ve got your back.
Today we are going to get you prepared for your first canning season. By canning your own food, you will be in a position to preserve what you grow for long-term storage, and even to preserve any food you snag a good deal on from other sources.
I’ll start by going through the best beginner canning equipment, recipe sources, and places where I buy food in bulk.
Then, I’ll share some resources for learning how to can safely.
At the end of this post, I’ll share one thing I did differently this year that made a huge difference in my success in stocking my shelves!
Best Beginner Canning Equipment
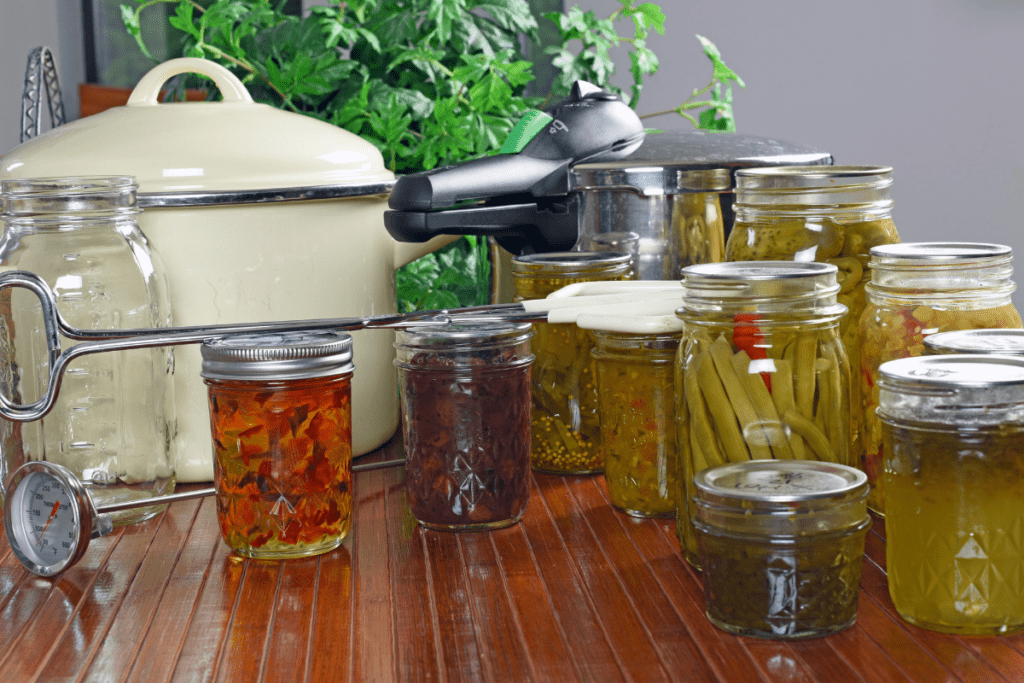
The wonderful thing about canning is that there really are not very many items that you need in order to do it. Also, most of the supplies can be reused every year!
Below is a list of equipment and supplies I recommend. These are wonderful for both beginner canners and seasoned canners alike.
This post contains affiliate links. I may make a small commission if you make purchases through these links at no extra cost to you.
Water Bath Canner: While you can certainly use any pot for water bath canning, this one is large enough to hold several jars at a time and comes with a rack. If you use a pot of your own, you will need to purchase a rack separately.
Pressure Canner: Most beginner canners like to start with water bath canning, but really, pressure canning isn’t any more difficult once you are familiar with the steps. I encourage you to dive into pressure canning right off the bat. Besides, it is the only safe way to can many food items, such as meat and veggies.
There are many different types of pressure canners. I do not recommend a canner with a dial gauge only. This is because, in order to be safe, the dial must be checked yearly to make sure it is calibrated correctly. A non-functioning dial could mean that your food isn’t safe to eat!
A better option is a weighted gauge that rocks gently when it comes to pressure. The linked canner has this system.
If you want to go all-in right off the bat, the next step up would be a canner that has both. I actually plan to upgrade to an All-American pressure canner with both a dial and a weighted gauge this year. They are significantly more expensive, but they are also built to last a lifetime.
Canning Jars: Canning jars come in several sizes, but the ones I keep on hand are both wide mouth and regular mouth quart-size jars, pint-size jars, and jelly jars.
Wondering why you would want both wide mouth and regular mouth jars? Wide mouth openings are handy for larger items. This is especially true with things like asparagus where it seems to work better if they can stand up straight. On the other hand, narrow mouths are more convenient for pouring and they can work to help hold down fruit that likes to float. In a nutshell, both types will work and it really just comes down to personal preference.
Canning Lids and Bands (aka Rings): First, let’s go over quickly how a canning jar works. It is essentially a 3-piece system. You need a glass jar made for canning, a lid, and a metal band. The lid has a substance around the edge that allows it to seal. For this reason, most lids are considered one-time-use only. The jar gets filled, the lid gets placed on top, and then a metal ring is tightened around the lid. The metal band only helps to hold the lid in place while it is sealing. After the jar is cooled and sealed, you will remove it. For this reason, you can reuse the bands as long as they don’t get rusty.
This all means that while you can keep your jars and bands from year to year, you will need to buy more lids each year. There are reusable lids on the market, but they don’t last forever either and have a learning curve of their own. I would recommend sticking with regular lids for now.
You will need lids for both wide mouth jars and regular mouth jars if you are working with both sizes.
Jar Lifter: This is a canning tool designed to help you carefully move hot jars to and from the canner. The one linked here is a set with other items listed below. This is the set I bought many years ago and it’s still going strong!
Bubble Remover and Headspace Measuring Tool: This handy little tool allows you to quickly make sure you have the correct amount of headspace in your jar. You can also slide it along the edges of the jar to remove any air bubbles.
Canning Funnel: Can you can without it? Sure! Will you make an absolute mess without it? Most likely. A funnel will help you get your prepared recipes in the jars without spilling.
Ladle: This is another tool that may be seen as optional, but trust me that it will make canning much easier!
Kitchen Tongs: This tool comes in handy when arranging hot food in jars, such as peach halves.
Pectin: Most jams and jellies are going to call for pectin. This is a thickening agent that helps you achieve the consistency you are familiar with. I have linked my absolute favorite brand of pectin, Pomona’s Pectin. It is all-natural. Also, unlike other types on the market, it does not require sugar to gel. This is important if you plan on canning jams and jellies with little or no sugar.
Citric Acid or Lemon Juice: Depending on the recipe, it may call for either one of these ingredients. Both of these help to preserve color and increase the acidity to ensure that the recipe is safe for water bath canning.
Canning Salt: Canning salt is salt in its purest form. It does not contain anti-caking agents, which would not be suitable for canning. It also dissolves easily. Canning salt is also known as pickling salt. You should not replace canning salt with kosher salt, however, as the granules are a different size and this would affect your measurements.
Best Canning Recipe Sources
I find the best (safe!) canning recipes on county extension websites. You can also go to the National Center for Home Food Preservation and search for recipes there. While I’m not usually big on government resources, I will say that this one is great.
Another one of my favorite online resources for canning recipes is Healthy Canning. This site has a ton of recipes and tutorials that are great for beginners.
Practical Self Reliance is another blog that I have been finding some great recipes on as well.
While blogs and websites are great, sometimes it is nice to have a real book in hand. I have several canning books on my shelf that I turn to often. My top three favorite canning books for beginners would be Ball Complete Book of Home Preserving, Ball Blue Book Guide to Preserving, and The Complete Guide to Pressure Canning
Best Places to Buy Food in Bulk
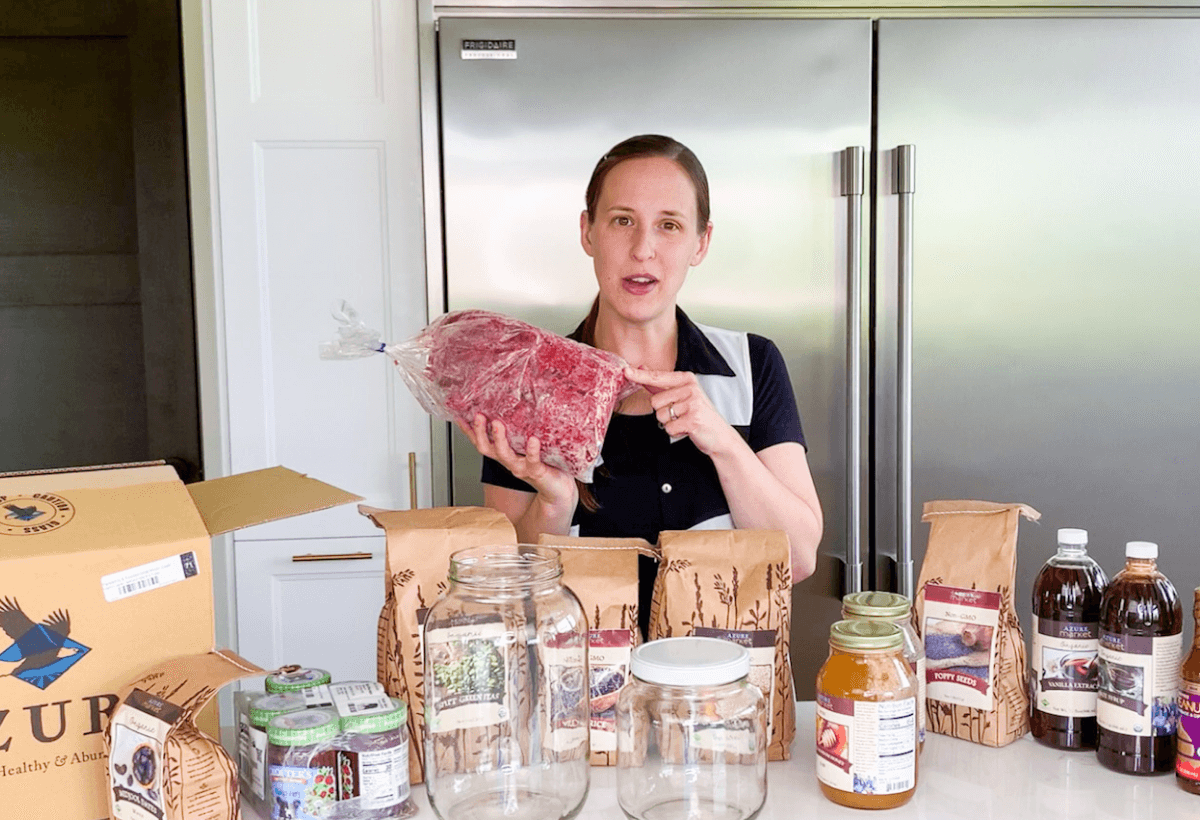
My favorite place to buy pantry staples and produce that I can’t get locally is Azure Standard. Our family has been buying from them for many years, even before we moved to Wisconsin.
Azure is unique in that you order online, and then you pick up your order at your nearest “drop point.” A large delivery truck meets you there and everyone at the drop helps to unload and sort the boxes. Azure has saved our family a TON of money, and is fun too!
Bonus: you don’t even have to get the kiddos out of the car to grab your groceries!
If you want to learn more about Azure Standard, check out the video I did on it here.
Another great place to buy in bulk is actually from your local farmers. If you are not sure where to find farmers that are local to you, Local Harvest is a great place to start.
Learn How to Can
I think the absolute best way to learn how to can is in person, but if you are lacking in friends or family members with this skill, then video is my next suggestion. There are many great tutorials on YouTube that can show you how to can just about anything (Ok.. not anything. Some things are not safely canned).
I have a video on canning peaches without sugar that is made for beginners and plan to add more canning videos soon!
My one word of caution is to always verify that the person you are learning from is using a recipe that has been tested for safety. Food poisoning and botulism are easily prevented by doing this. Using a recipe that has been passed down (even if the owner claims it never killed anyone) is not a good idea.
Preserving Goals and Records
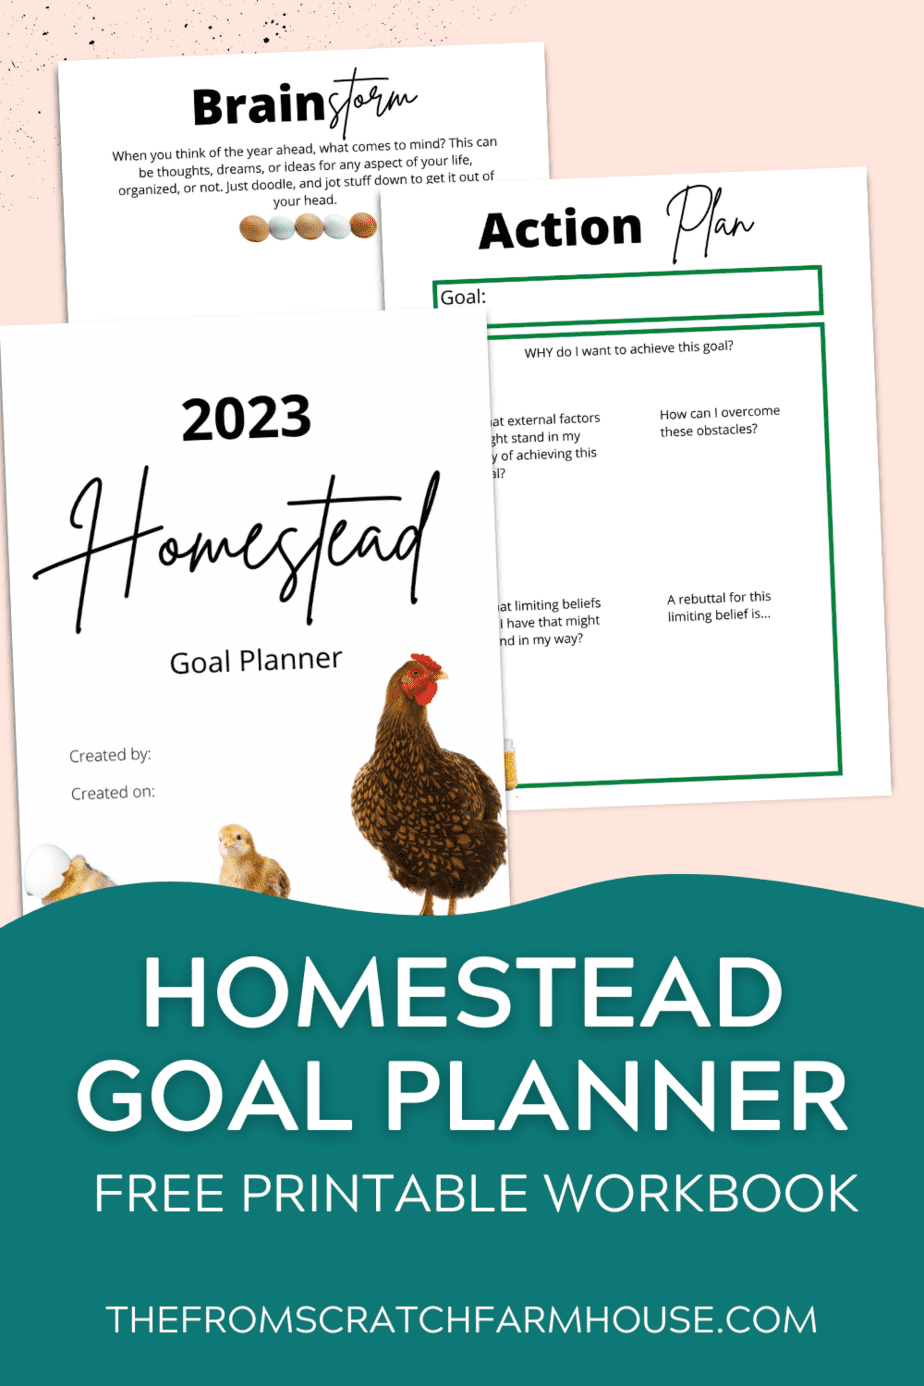
One thing I wish I would have done early on was to keep better track of the recipes I use and the amounts I have canned each year. I have big goals this year of preserving enough food for a year for our large family. In order to reach this goal, I buckled down and got organized.
I made a canning cheat sheet and records printable for myself and it is going to be available in my new membership, Homestead From Scratch, which launches February 1st!

